In Windows 10 Creators Update, there is a new app called Windows Defender Security Center. The app, formerly known as "Windows Defender Dashboard", has been created to help the user control his security and privacy settings in a clear and useful way. It combines all essential security features under a single dashboard. It can be used to add an exception to Windows Defender Virus Protection. Here is how.
Before you proceed, here is what you need to know. Don't confused Windows Defender with Windows Defender Security Center. Windows Defender is the built-in anti-virus software which provides real-time protection against threats. The Windows Defender Security Center app is just a dashboard which allows you to track your protection state. It can be used to configure various security options like SmartScreen. It shows an icon in the system tray.
You can launch Windows Defender Security Center from the Start menu. Navigate to the letter "W" using the alphabet navigation feature of the new Start menu and click the "W" letter in the grid as shown below.
Advertisеment
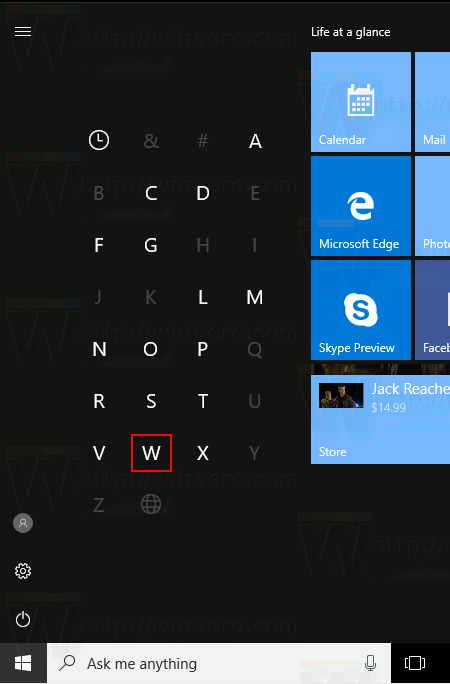
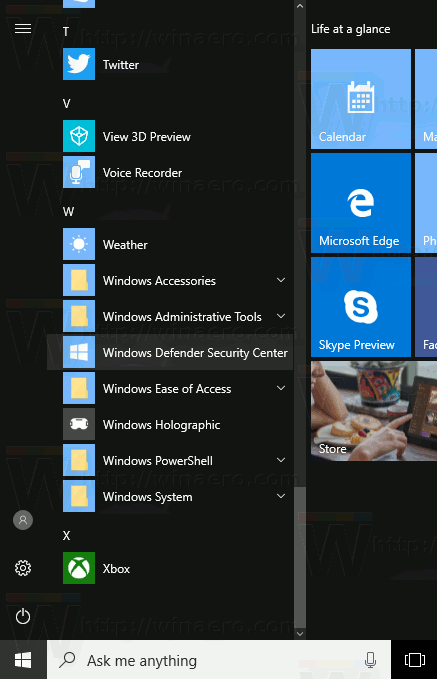
There, you'll find the shortcut to the new Security Center app.
The app unifies many useful security options you might want to track and control. The user interface of the Windows Defender Security Center app comes with a toolbar on the left and the main area which occupies the rest of the window area.
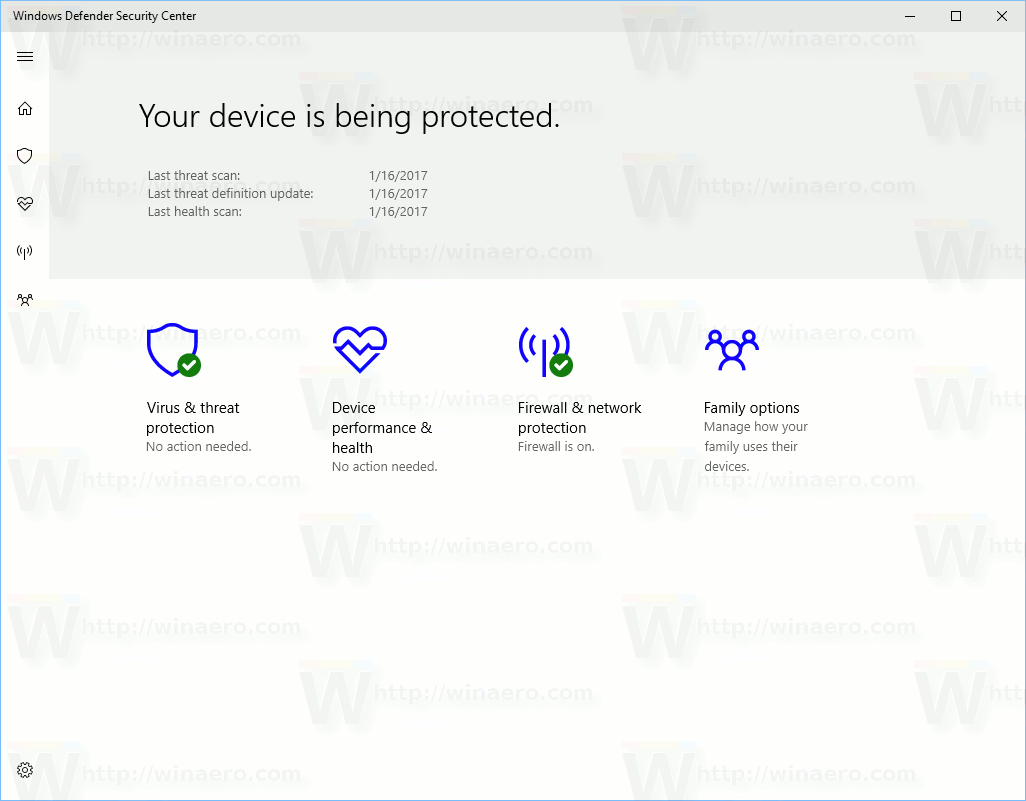 Once you open the app, it shows a special start page. The start page comes with the following sections:
- Virus & threat protection
- Device performance & health
- Firewall & network protection
- Family options
Each section has its own icon. A special check mark indicates that a section has no issues.
Virus & threat protection is what we are looking for. Before proceeding, ensure that your user account has administrative privileges. Now, follow the instructions below.
To add an exception to Windows Defender in Windows 10, do the following.
- Open Windows Defender Security Center as described above.
- Click on the Virus & threat protection icon.
- Click on the link Virus & threat protection settings.
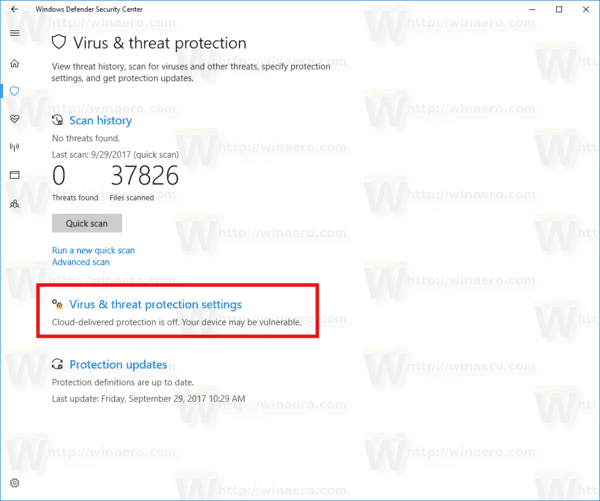 This will open the following page:
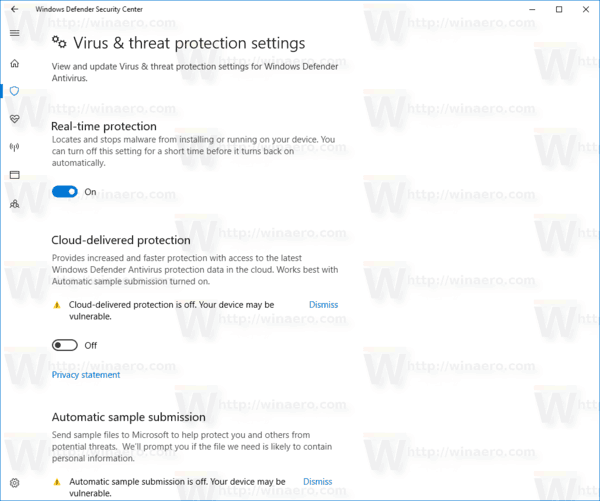
- Scroll down to Exclusions and click on the link Add or remove exclusions.
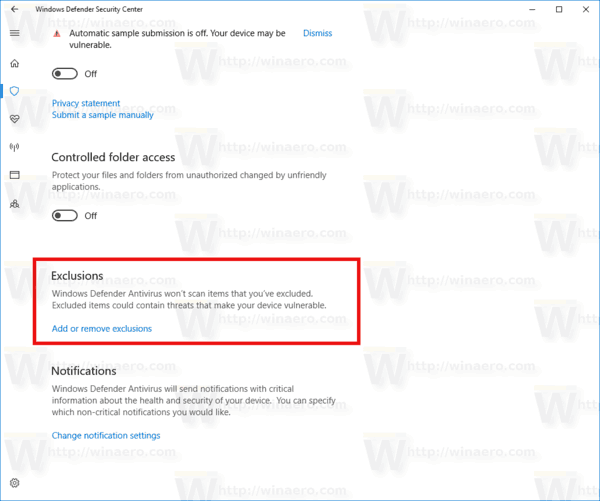
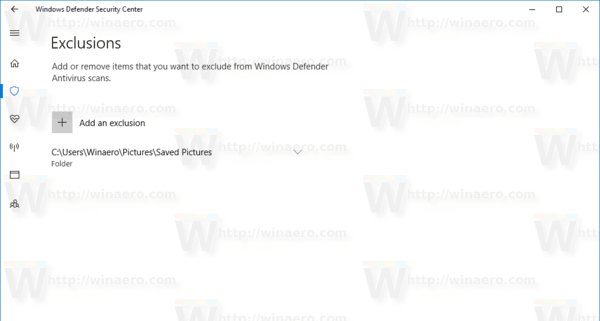
- The following page will open:
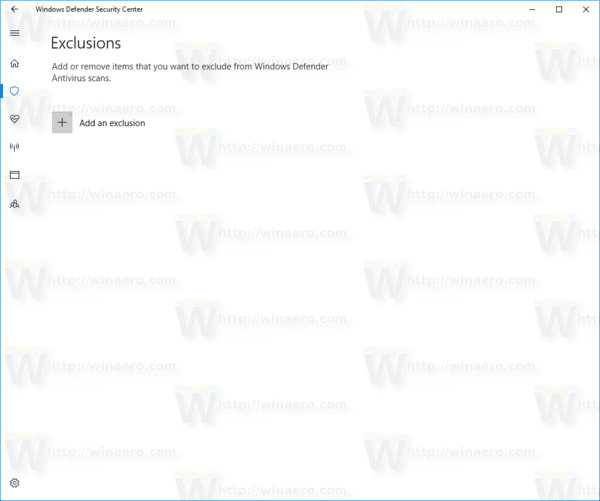 Here, click on the button Add an exclusion.
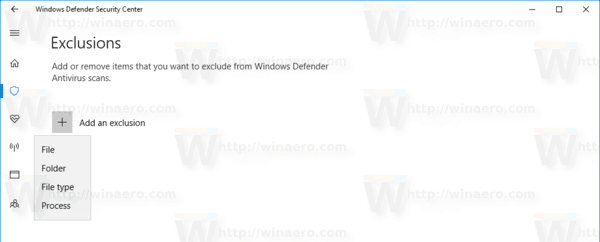
In the drop down menu select one of the following options:- File - Folder - File type - Process
- Specify the desired object to exclude, e.g. a folder and you are done.
Here is something you need to know.
File - this option removes a specific file from being scanned by Windows Defender.
Folder - this option removes a specific folder from being scanned by Windows Defender. All its contents will be excluded recursively.
File type - here you can add a file extension (e.g. *.txt) as an exclusion.
Process - this option can be used to add a process as an exclusion, so any file used by this process won't be scanned by Windows Defender.
See the following screenshot: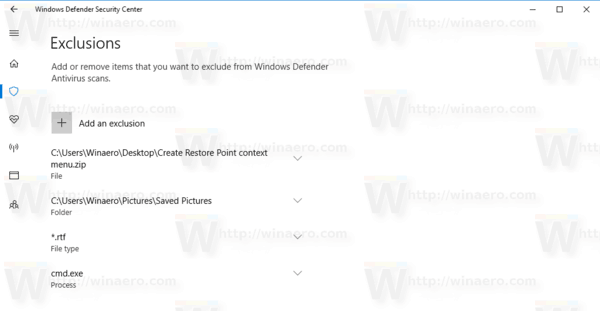
That's it.
Support us
Winaero greatly relies on your support. You can help the site keep bringing you interesting and useful content and software by using these options:

thanks! so helpful
What if my laptop don’t have Windows Defender Security Center? I have look it up, and it didn’t exist.
Same here!
Does anyone in the world know how to add a process exclusion? Do you enter the process name like Whatever, the process name with exe like Whatever.exe, or the name that shows up in Task Manager?