You can now enable sudo in Windows 11 to elevate console and GUI apps from the command prompt with minimum efforts. Microsoft has published the source code of the new tool on GitHub. But by default, sudo is disabled in Windows, but we will now learn how to enable it.
Advertisеment
Microsoft has officially introduced sudo in Windows 11 Build 26052. The company considers it a new way to get done administrative tasks faster. Many users always want to have an option to run an elevated command without losing the context of the current console session. But it wan't possible until now.
The origins of sudo are in the Unix world. In BSD and Linux distros, the sudo command allows starting a program with the security privileges of another user. It not only applies to the administrator(root) account, but can run commands in any other user's context. To complete your request, it asks your password, and checks if you have permissions for using it in a special file.
But the Windows version of the app is nothing like that. It solely relies on User Account Control, and have three different modes.
In this tutorial, we will learn how to enable and configure the new sudo app on Windows 11.
Enable Sudo in Windows 11
To enable the sudo tool in Windows 11, do the following.
- Open the Settings app by pressing Win + I or with any other method you like.
- Navigate to System > For Developers page.
- There, turn on the Enable Sudo option.
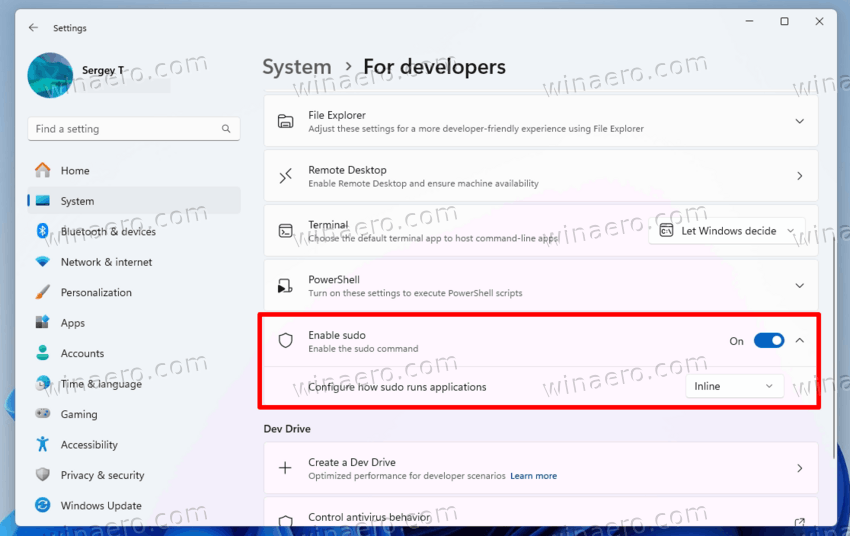
- Congrats, you now have the sudo tool enabled in the operating system.
You are done. It is easy to disable the sudo tool by turning off the same option in the Settings app. For that, again open System > For Developers, and switch off the Enable Sudo toggle option.
Turn on sudo in the command prompt
Alternatively, you can enable sudo in the command prompt by following these steps:
- Press Win + X and select Terminal(Admin) from the menu.
- Now, switch to the Command Prompt tab by pressing the Ctrl + Shift + 2 shortcut, or selecting it in the Terminal drop-down arrow menu.
- In the cmd tab, type the following command and press Enter to run it:
sudo config --enable enable.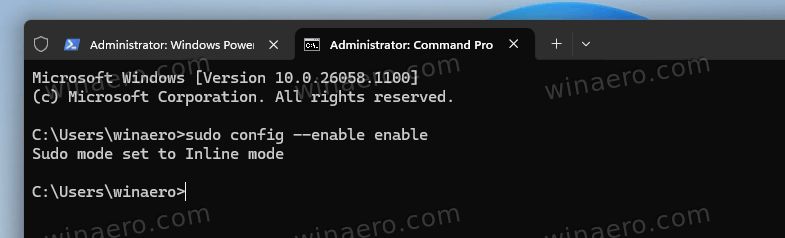
- You have successfully enabled it on Windows 11.
Note: The undo command that turns off the sudo command is sudo config --enable disable.
The next thing to is to learn what are the options and how to set them for this new tool.
How to configure sudo for Windows
Sudo for Windows supports few configuration modes. Depending on the active mode, it behaves differently.
To configure sudo on Windows 11, do the following.
- Open the Settings app (Win + I).
- On the left, click on System.
- On the right, click For developers.
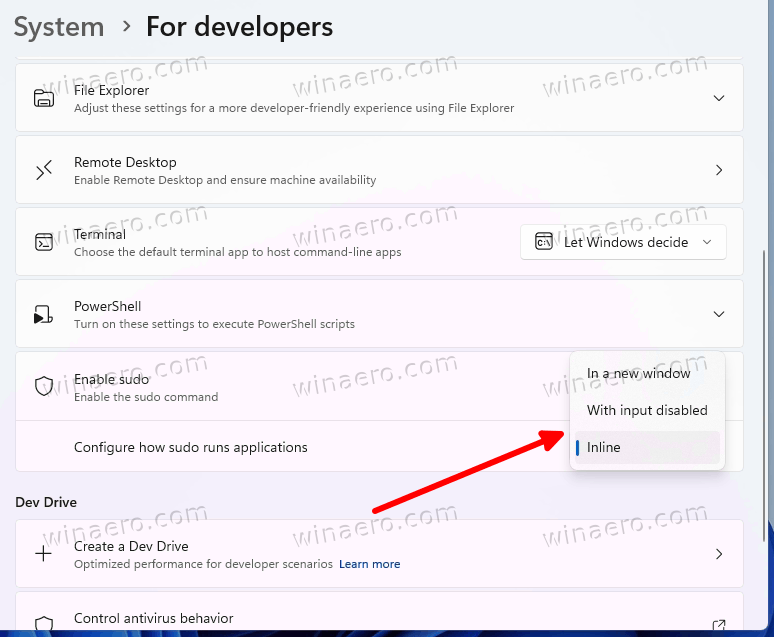
- Under Configure how sudo runs applications, select one of the following options:
- In a new window
- Input closed
- Inline
- The change applies instantly, so you don't need to restart the computer or do any other manipulation.
You are done.
💡Learn more about the supported modes in the FAQ section of this tutorial.
Alternatively, you can set the preferred mode from the command prompt.
Change sudo mode from the command prompt
- Open a new elevated Terminal by right-clicking the Start button and selecting Terminal(Admin).
- Switch to the Command Prompt tab with the Ctrl + Shift + 2 keyboard sequence.
- To enable the "In a new window" option for sudo, type
sudo config --enable forceNewWindow.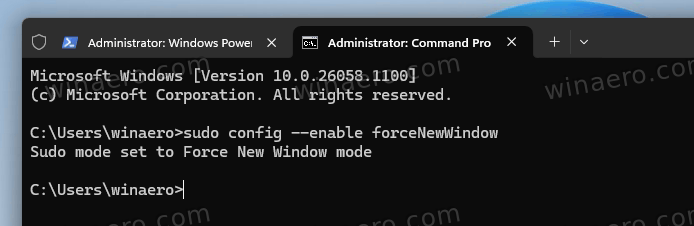
- To enable the "Input closed" option for sudo, type
sudo config --enable disableInput.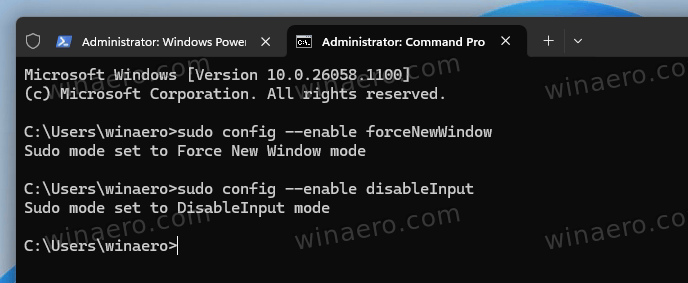
- To enable the "Inline" option for sudo, type
sudo config --enable normal.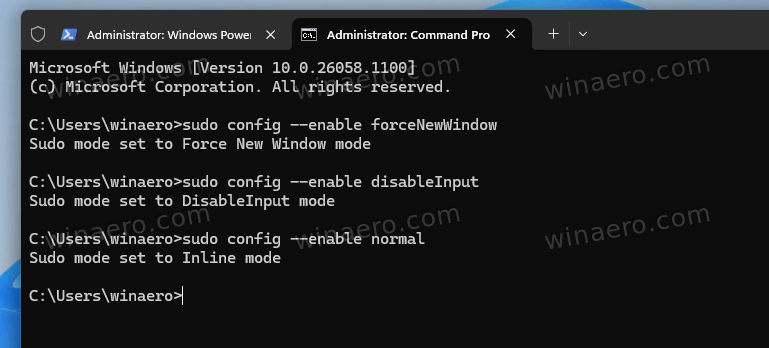
- Hit the Enter key to execute the command. Voila, the new sudo mode is set.
Finally, the last thing you may be interested in is how to enable and configure Sudo with a Registry tweak. The next chapter of the tutorial reviews this in detail.
Enable Sudo on Windows 11 from Registry
To turn on the sudo command from the Registry, do the following.
- Open the Registry Editor tool, for that press Win + R, type regedit in the Run box, and hit Enter.
- Navigate to the HKEY_LOCAL_MACHINE\SOFTWARE\Microsoft\Windows\CurrentVersion key. You can paste this path into the regedit's address bar to go to the key directly.
- Right-click the CurrentVersion section in the left pane, and select New > Key from the menu.
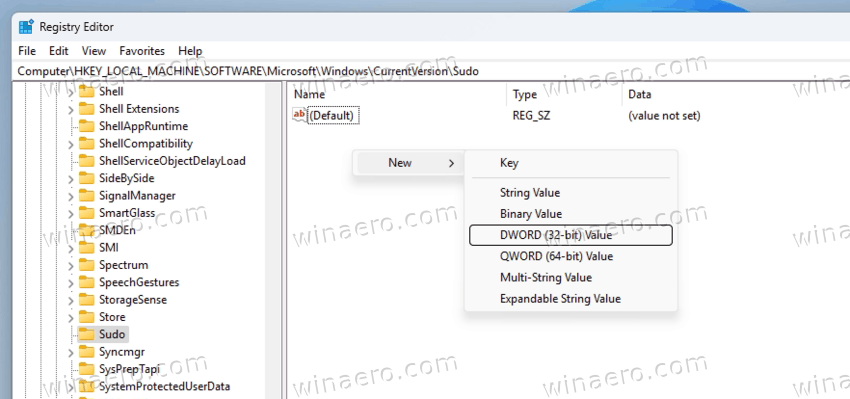
- Name the new key Sudo. Note: You can skip the steps 3-4 if you already have the Sudo key.
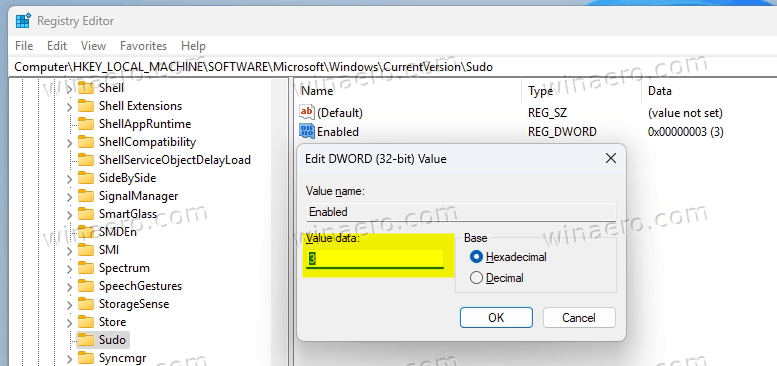
- Now, right-click the Sudo key again on the left, and select New > Dword 32-bit value.
- Name the new value Enabled and double-click it to edit it.
- Set its value data to 1 to enable sudo in New Window mode.
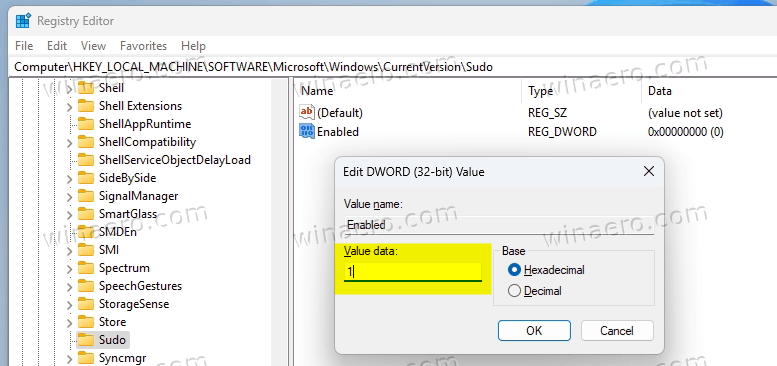
- Set Enabled to 2 to make it run with input disabled.

- Set Enabled to 3 to turn on the inline mode.
- Set its value data to 1 to enable sudo in New Window mode.
You are done!
To disable the Sudo command, change the reviewed Enabled value to 0.
To save your time, I have prepared ready-to-use Registry files. You can download them from the following link.
They are in the ZIP archive, so extract them to any convenient location.
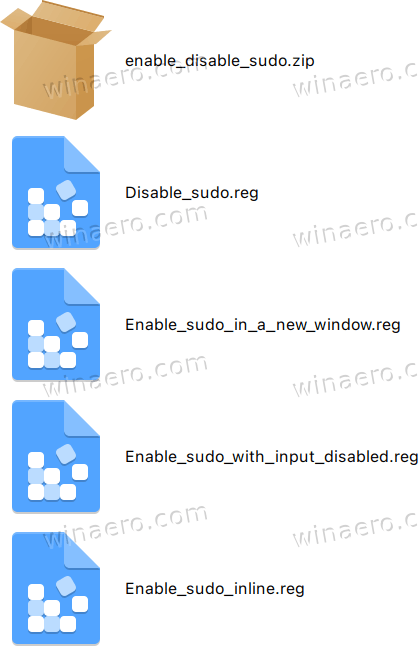
They names are self-explanatory, so just double-click a file that enables the desired mode for the utility, and click Yes & OK to confirm your intention and change the Registry.
The undo tweak is also included.
FAQ: Sudo for Windows
What are the different modes the sudo command supports?
- In a New Window: In this setup, when Sudo for Windows is enabled, it will open a new elevated console window and execute the command in that window as the default option.
- Input Closed: In this setup, Sudo for Windows will execute the elevated process in the current window, but the new process will be created without the ability to accept user input. Hence, this configuration won't be suitable for processes that require additional user input after elevation.
- Inline: This configuration closely resembles the behavior of sudo on other operating systems. In this setup, Sudo for Windows will run the elevated process with its stdinput, stdoutput, and stderror all linked to the current window. As a result, the new elevated process can receive input and display output in the current window.
Has Microsoft made a direct port to Linux?
Now, it is a different app, which is not compatible with any of the Linux implementations. Despite the same name, it has nothing common with the Linux app.
Is it a proprietary software?
The sudo for Windows is an open source project. Its source code is available on GitHub.
Does it support configuration files like 'sudoers'?
No, instead it works via the User Account Control. When elevating a process from the command-line with sudo, a UAC dialog will appear asking the user to confirm the elevation. The new instance will work with the same set of environment variables, with the same working directory and so on. For Input Closed and Inline modes it will perform data exchange via a special RPC connection, allowing it to run a command elevated and pass its data back to the regular non-elevated instance.
Support us
Winaero greatly relies on your support. You can help the site keep bringing you interesting and useful content and software by using these options:
