If you are using a Microsoft Account to sign in to Windows 10, the operating system synchronizes your preferences between all the devices you use. To quickly customize your sync preferences, you can create a special shortcut to open them directly.
Advertisеment
The various settings which are synced across PCs when using a Microsoft account include saved passwords, favorites, appearance options and a number of other settings you have made to your desktop to personalize it. You can customize your sync settings to include or exclude your theme, regional preferences, saved password, Ease of Access options, File Explorer and Microsoft Edge options, and more. Also, Windows 10 will create a backup copy of the options on OneDrive for enabled items.
To create the Sync Settings Shortcut in Windows 10, do the following.
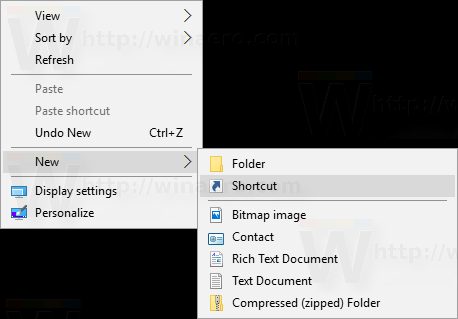
- Right click the empty space on your Desktop. Select New - Shortcut in the context menu (see the screenshot).
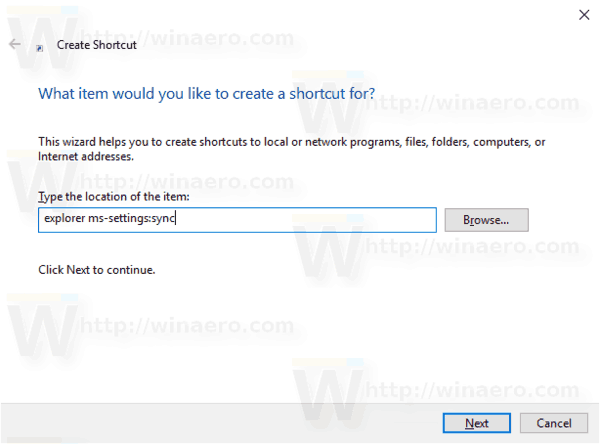
- In the shortcut target box, type or copy-paste the following:
explorer ms-settings:sync
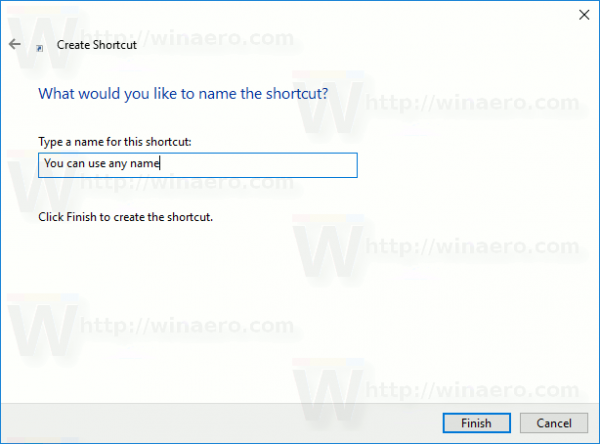
- Name your new shortcut as Sync Settings. Actually, you can use any name you want. Click on the Finish button when done.
- Now, right click the shortcut you created and select Properties.
- On the Shortcut tab, you can specify a new icon if you wish. You can use any icon from the c:\windows\system32\imageres.dll file as shown below.
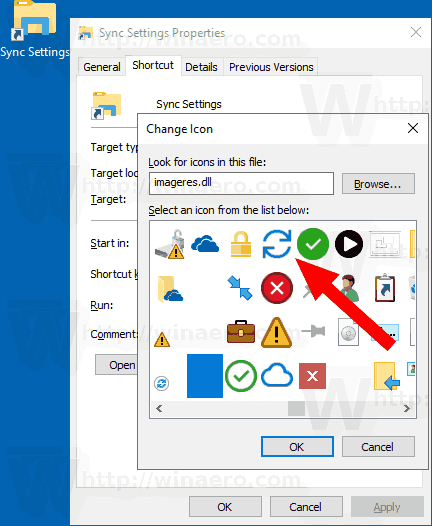
- Click OK to apply the icon, then click OK to close the shortcut properties dialog window.
You are done. Double-click on the shortcut to open the following page:
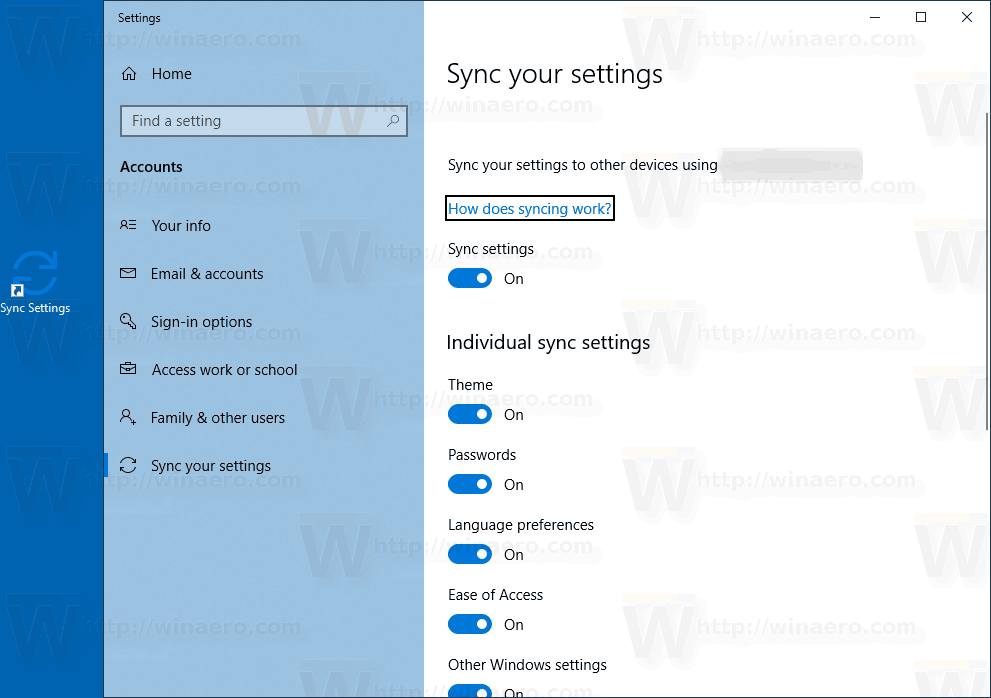
Now, you can move this shortcut to any convenient location, pin it to taskbar or to Start, add to All apps or add to Quick Launch (see how to enable Quick Launch). You can also assign a global hotkey to your shortcut.
The command we used is a special ms-settings command. Almost every Settings page and other GUI parts in Windows 10 have their own URI, which stands for Uniform Resource Identifier. This allows you to open any Settings page or feature directly with a special ms-settings command. For reference, see
ms-settings Commands in Windows 10
That's it.
Related articles:
Support us
Winaero greatly relies on your support. You can help the site keep bringing you interesting and useful content and software by using these options:
