How To Create File History Shortcut in Windows 10
File History allows you to create a backup of the important data stored in your Documents, Pictures, Music, Videos and Desktop folders. To save your time, you can create a File History shortcut in Windows 10. Clicking on it will allow you to access File History directly.
Advertisеment
Windows 10 comes with a built-in backup system called "File History". It allows the user to create a backup copy of files stored on your PC. It will prevent data loss in case something goes wrong. There are a number of use cases for this feature. For example, it can help you to transfer your files from an old PC to a new one. Or you can use it to backup your files to an external removable drive. The File History feature was first introduced in Windows 8, and has been improved in Windows 10. It allows browsing and restoring different versions of files.
File History requires using the NTFS file system. File History relies on the journal feature of NTFS to track file changes. If the journal contains records about changes, File History includes the updated files in the archive automatically. This operation is very fast.
File History automatically creates backup versions of your data on a schedule to a drive you select to save to.
To Create File History Shortcut in Windows 10,
- Open the classic Control Panel.
- Navigate to Control Panel\System and Security.
- Click on the File History icon.
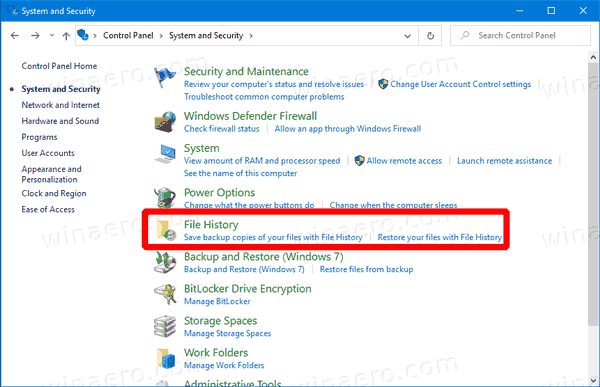
- Click-and-hold the left mouse button on tiny File History icon in the address bar, and drag it to the Desktop.
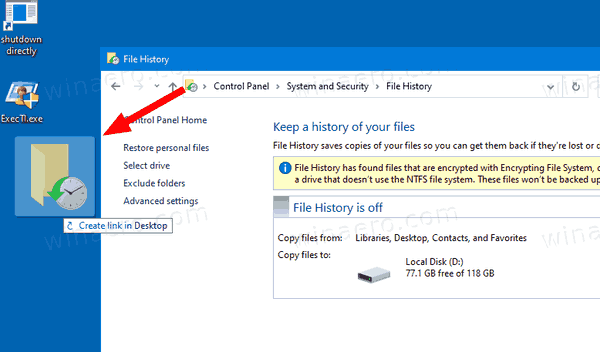
- Voila, you have a File History shortcut on the Desktop.
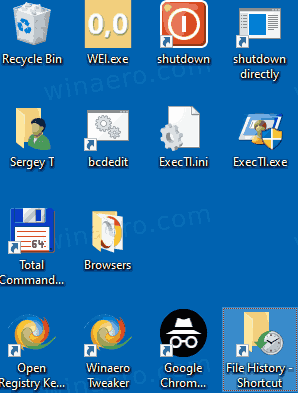
You are done.
Alternatively, you can create such a shortcut manually. Here's how it can be done.
Create File History Shortcut Manually
- Right click the empty space on your Desktop. Select New - Shortcut from the context menu (see the screenshot).
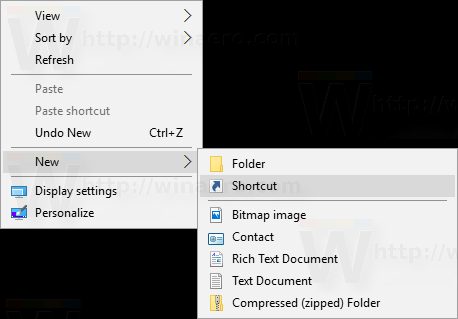
- In the shortcut target box, type or copy-paste the following:
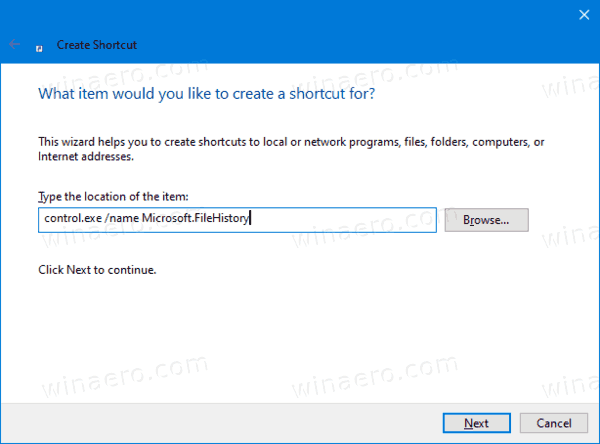
control.exe /name Microsoft.FileHistory
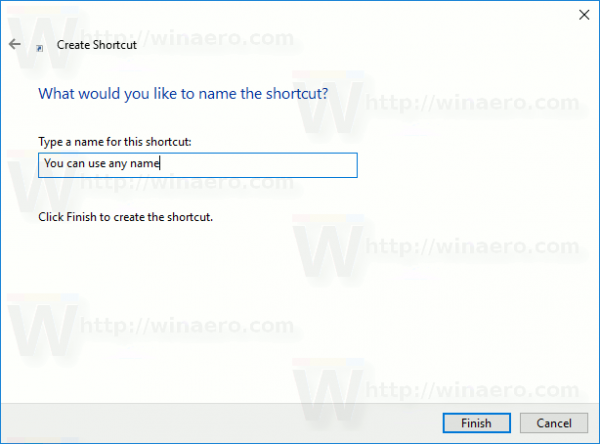
- Type File History as the name of the shortcut on the next page. Actually, you can use any name you want. Click on the Finish button when done.
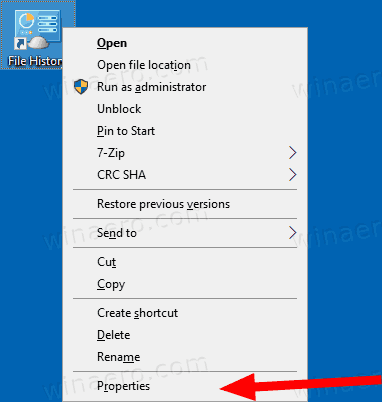
- Now, right click the shortcut you created and select Properties.
- On the Shortcut tab, you can specify a new icon if you wish. A suitable icon is in the
C:\Windows\System32\FileHistory.exefile.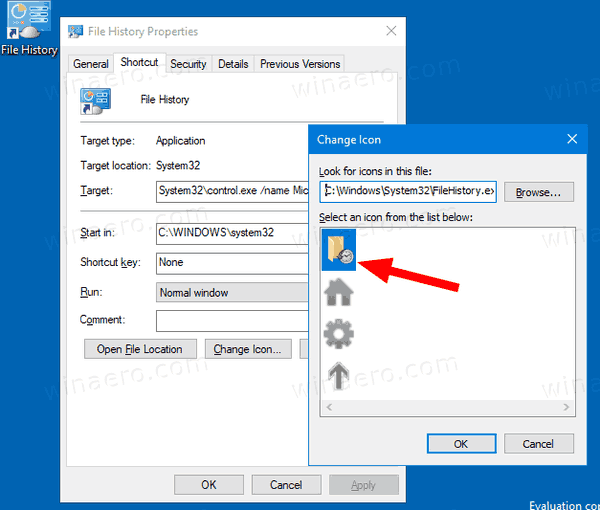
- Click OK to apply the icon, then click OK to close the shortcut properties dialog window.
Now, you can move this shortcut to any convenient location, pin it to taskbar or to Start, add to All apps or add to Quick Launch (see how to enable Quick Launch). You can also assign a global hotkey to your shortcut.
Related articles:
- Restore Files from File History in Windows 10
- How to Enable File History in Windows 10
- Change Drive for File History in Windows 10
- Change How Long to Keep File History in Windows 10
- Delete Older Versions of File History in Windows 10
- How to Reset File History in Windows 10
- Change How Often to Save File History in Windows 10
That's it.
Support us
Winaero greatly relies on your support. You can help the site keep bringing you interesting and useful content and software by using these options:
