Explorer Toolbar Editor is powerful and easy-to-use software that helps you add or remove buttons from the Windows Explorer toolbar in Windows 7.
Unlike other existing programs, Explorer Toolbar Editor supports multiple folder types and displays the current set of buttons for each one. Also, you can use it to reorder the toolbar buttons.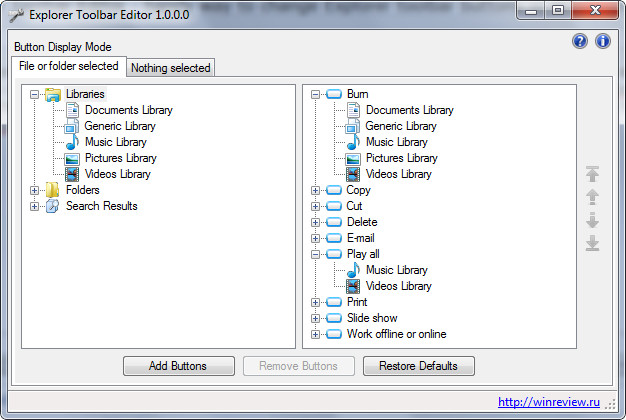
The latest version is 2.0, it contains bugfixes and Windows x64 native binaries.
Features
Explorer Toolbar Editor allows you to:
- view current button sets for each folder type
- add/remove buttons to individual or all folder types
- change the order of buttons on the toolbar
- restore the default set of buttons
Advertisеment
Explorer Toolbar Editor How to
Before you get started with configuring the Explorer toolbar, you need to be aware of two button display modes.
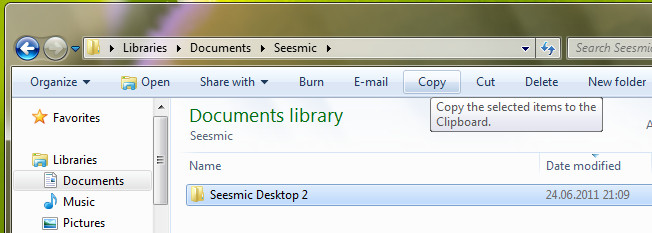
File or folder selected means that a button is only displayed when you select a file or folder. This mode is useful for adding buttons that deal with file management, e.g. Copy, Paste, Cut, Rename, etc.
Nothing selected means that a button is only displayed when there’s nothing selected in a folder. This mode is useful for adding buttons that deal with the Explorer display, e.g. Preview Pane, Navigation Pane, Details Pane. Note: it makes perfect sense to also add such buttons when a file or folder is selected, so you can always see them on the toolbar.
In the Explorer Toolbar Editor, each display mode has a dedicated tab:
Keep this in mind when you’re adding, removing, or sorting buttons.
How to quickly configure the Windows Explorer toolbar
It takes about five minutes to get the desired set of buttons on the Explorer toolbar.
- Open the File or folder selected tab.
- In the left pane, select folder types. Tip: use CTRL or SHIFT to select multiple or better all folder types.
- In the right pane, select the buttons you don’t want to have on the toolbar and click Remove Buttons.
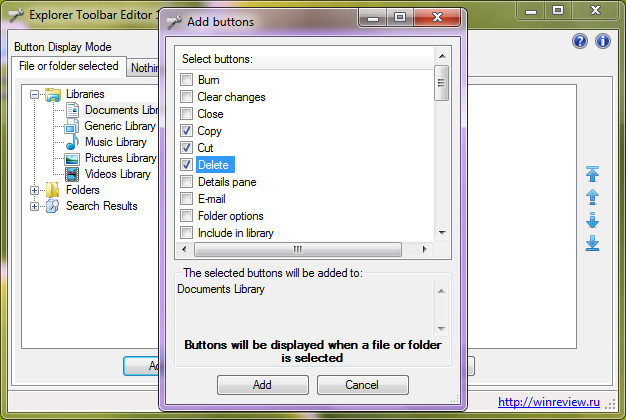
- Click Add Buttons and select the file management buttons you want to display on the toolbar.
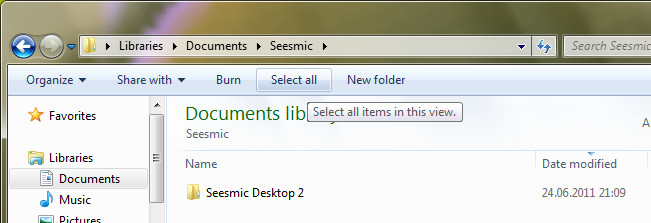
That’s it! Now open a folder or press F5 in an existing one, select a file or folder, and you’ll see your buttons.
If you want to reorder buttons, select an individual folder type in the left pane, then select a button in the right pane and use arrows to move it to the desired position.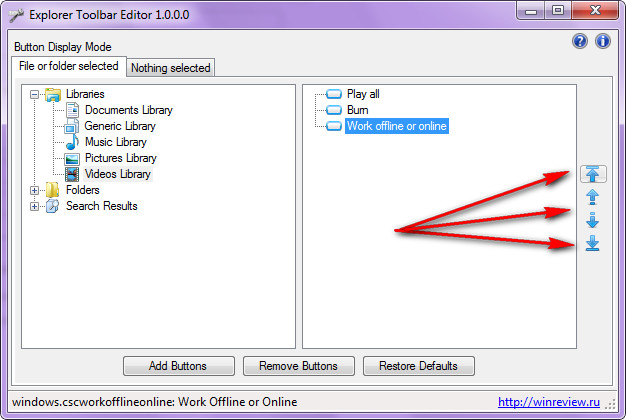
How to revert your changes
You can roll back any changes you made with Explorer Toolbar Editor by pressing the Restore defaults button. You will get the set of buttons that you had before you used Explorer Toolbar Editor for the first time.
Explorer Toolbar Editor was created by Happy Bulldozer and Vadim Sterkin.
Download Explorer Toolbar Editor
Support us
Winaero greatly relies on your support. You can help the site keep bringing you interesting and useful content and software by using these options:
