Offline Files is a special feature of Windows that allows you to access files stored on a network share locally, even when you are not connected to that network. In modern Windows version, it includes a special "Always Offline" mode, that saves your bandwidth by syncing files between your PC and the appropriate network share periodically. Today, we will see how to change the Offline Files sync schedule.
Advertisеment
What is the Offline Files Feature
Offline Files makes network files available to a user, even if the network connection to the server is unavailable or slow. When working online, file access performance is at the speed of the network and server. When working offline, files are retrieved from the Offline Files folder at local access speeds. A computer switches to Offline Mode when:
- Always Offline mode has been enabled
- The server is unavailable
- The network connection is slower than a configurable threshold
- The user manually switches to Offline Mode by using the Work offline button in File Explorer
Note: The Offline Files feature is available
- In Windows 7 in the Professional, Ultimate, and Enterprise editions.
- In Windows 8 in the Pro and Enterprise editions.
- In Windows 10 in the Pro, Enterprise, and Education editions.
Offline Files Sync Schedule
The Offline Files feature in Windows 10 is using a schedule to synchronize your network files and folders. The schedule can be customized by the user. It is possible to remove or change its default entries or create a new schedule and set its sync interval to what you want. You will be able to have network folders synced when you want to.
Before changing the Offline Files sync schedule, you need to turn on the Offline Files feature in Windows 10. Refer to the article
Enable Offline Files in Windows 10
To change the Offline Files Sync Schedule in Windows 10, do the following.
- Open the classic Control Panel app.
- Switch its view to either "Large icons" or "Small icons" as shown below.
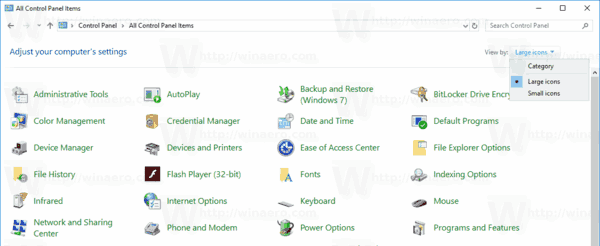
- Find the Sync Center icon.
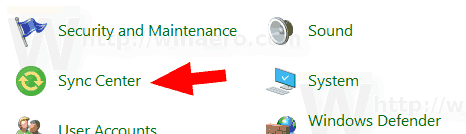
- Open Sync Center and click on the link View sync partnerships.
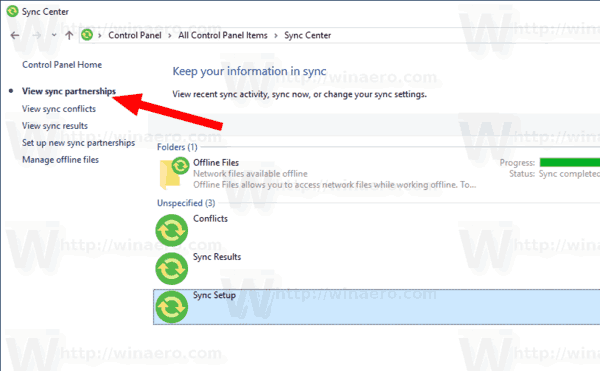
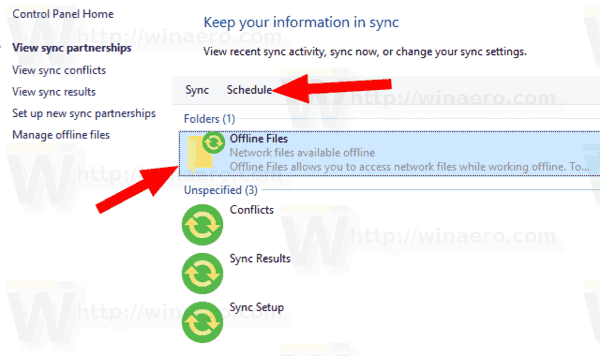
- On the right, select the Offline Files sync partnership.
- Select the Offline Files item and click on the button Schedule on the toolbar.
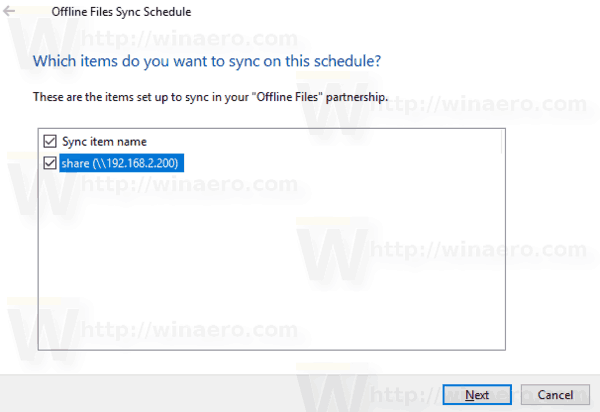
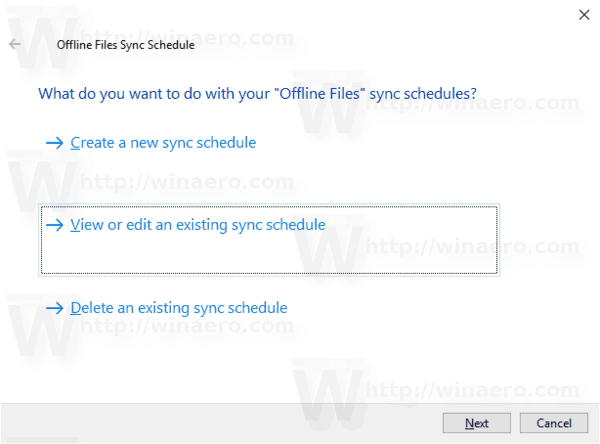
- In the next dialog, pick an item you want to change a schedule for.
- The next dialog will allow you to create a new schedule if you haven't create it earlier, or edit/delete any existing schedule for your user account.
Create a new Offline Files Sync Schedule
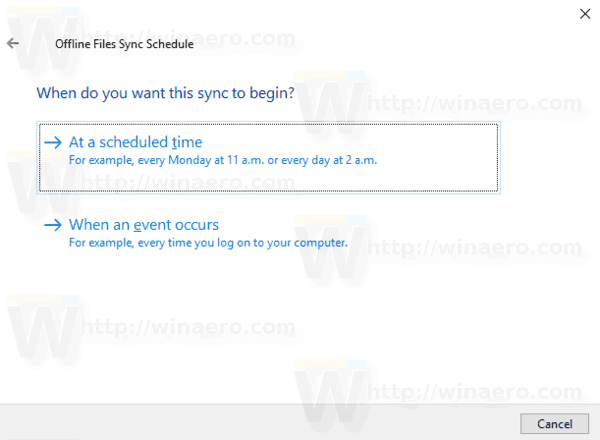
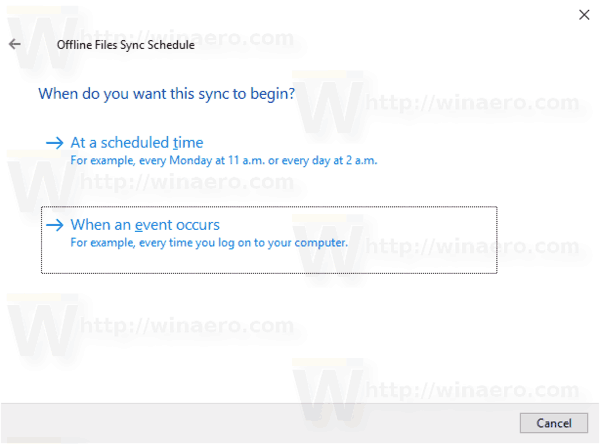
It is possible to make your sync schedule begin at a scheduled time or when an event occurs.
To run the sync operation at a scheduled time,
- In the "When do you want this sync to begin dialog" shown above, select At a scheduled time.
- On the next page, select what time you want to sync your files and folders.
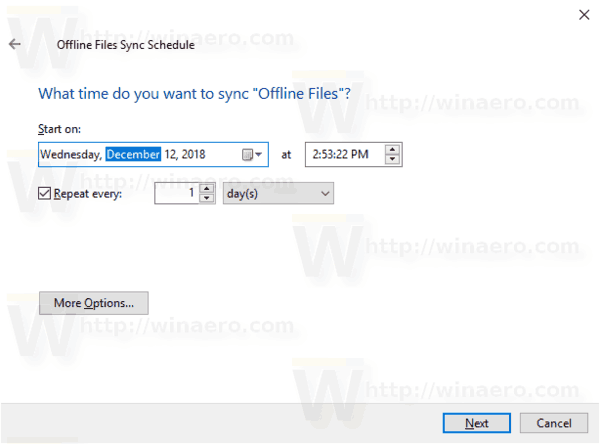
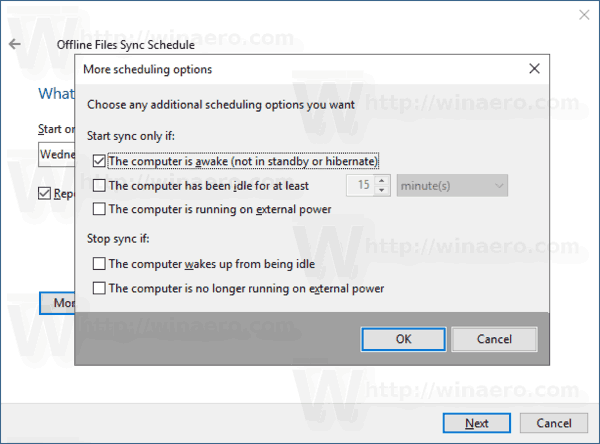
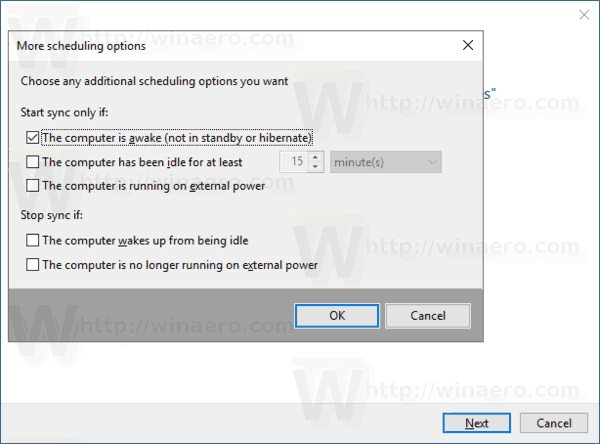
- Click on the More Options button and review the available options. You might want to adjust them.
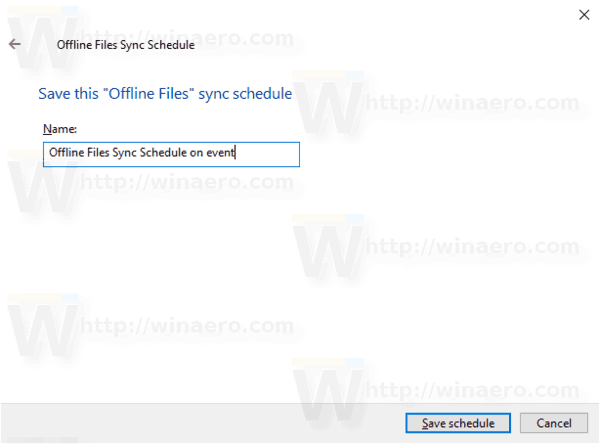
- Give your schedule some name and you are done.
To run the sync operation when an event occurs,
- In the "When do you want this sync to begin dialog" shown above, select When an event occurs.
- On the next page, select events you want to automatically sync your offline files and folders.
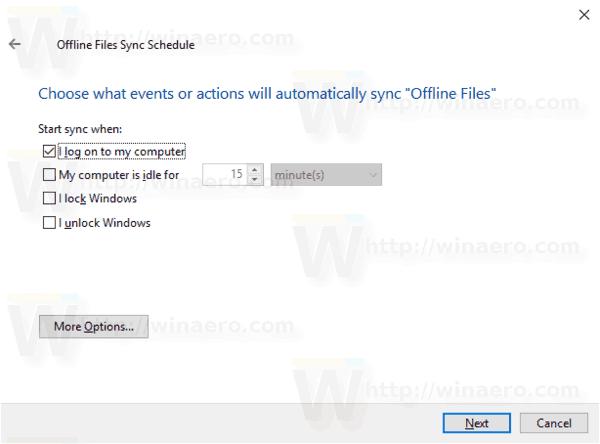
- Click on the More options button and adjust the options for your schedule if required.
- Give your schedule some name, and you are done.
Change an existing Offline Files Sync schedule
- Open Sync Center and click on the link View sync partnerships.
- On the right, select the Offline Files sync partnership.
- Select the Offline Files item and click on the button Schedule on the toolbar.
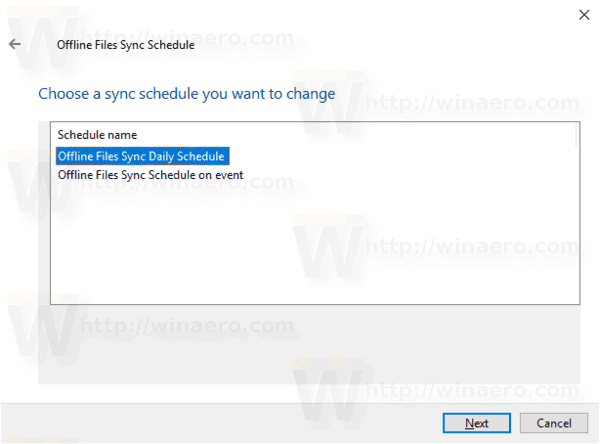
- In the next dialog, select View or edit existing sync schedule.
- Select a sync schedule you would like to change and click on the Next button.
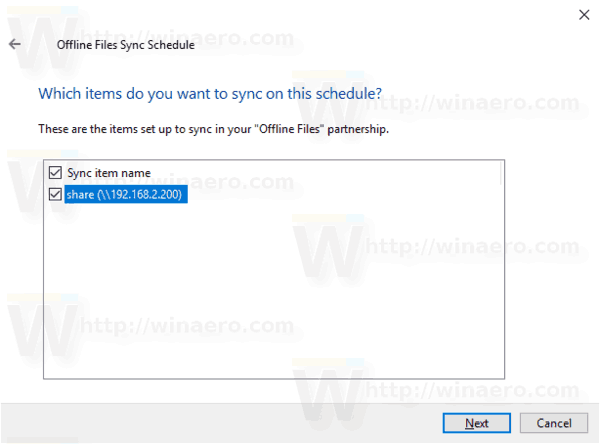
- Change the items for your current sync schedule if required.
- Make changes you want to your current (At a scheduled time or When an event occurs) schedule, then click Next.
- On the next page, click on the Save schedule to apply the changes you made.
You are done.
Finally, you can delete any custom schedule you have created for your Offline Files.
Delete a sync schedule for Offline Files
- Open Sync Center and click on the link View sync partnerships.
- On the right, select the Offline Files sync partnership.
- Select the Offline Files item and click on the button Schedule on the toolbar.
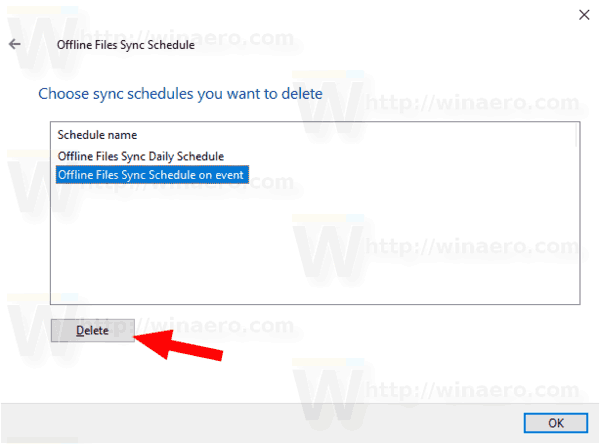
- In the next dialog, select Delete an existing sync schedule.

- On the next page, select a sync schedule you want to delete, and click on the Delete button.
- Click OK to close the dialog when finished.
That's it.
Related articles:
- Enable Offline Files in Windows 10
- Enable Always Offline Mode for Files in Windows 10
- Create Offline Files Folder Shortcut in Windows 10
Support us
Winaero greatly relies on your support. You can help the site keep bringing you interesting and useful content and software by using these options:
