The HomeGroup feature is a simplified solution from Microsoft to provide file sharing ability between all computers in your home network. With HomeGroup, you will be able to share photos, music and videos files, various office documents and even printers. Also, you can allow other family members to change files that you have shared. In this article, we'll see how to change your HomeGroup password in Windows 10.![]()
Before proceeding, ensure your network location type is set to Private (Home). Otherwise, discovery and access will be limited and the HomeGroup icon won't be visible on the Desktop. You won't be able to browse the Windows network from other PCs and their shares. Please see the following articles:
- Change network location type (Public or Private) in Windows 10
- Change network location type with PowerShell in Windows 10
- Add Network Location Type Context Menu in Windows 10
Note: Once you set your network location type as Private, Windows 10 automatically shows the HomeGroup icon in the navigation pane of File Explorer.
Advertisеment
To change the HomeGroup password in Windows 10, do the following.
- It is recommended that you turn on all the computers joined to your HomeGroup before proceeding.
- Open File Explorer.
- Click in the Homegroup icon on the left.
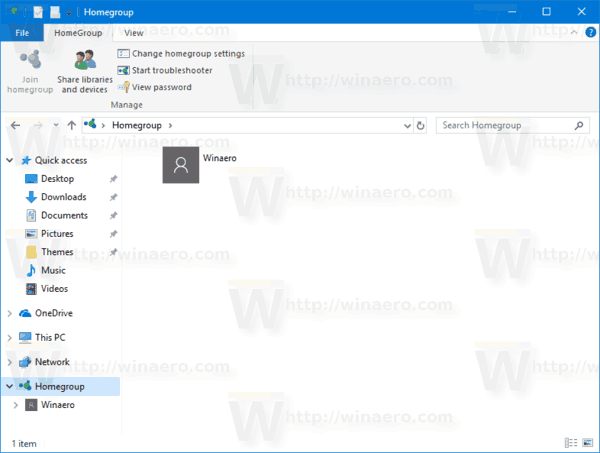
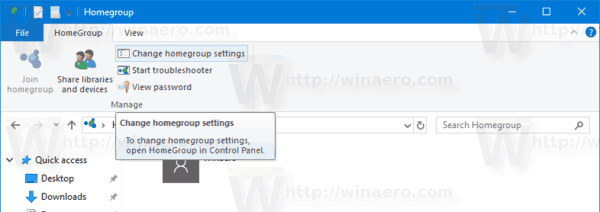
- In the Ribbon, go to the HomeGroup tab and click on the button "Change homegroup settings".
- The classic Control Panel will open. Tip: You can open it directly by visiting the Control Panel\Network and Internet\HomeGroup page.
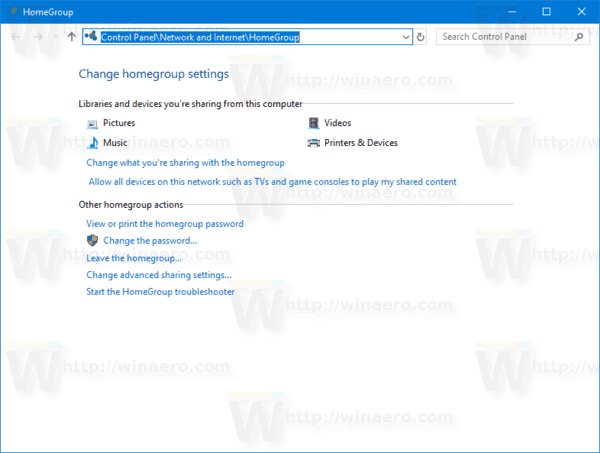
- Click on the Change the password button. The following wizard will appear:
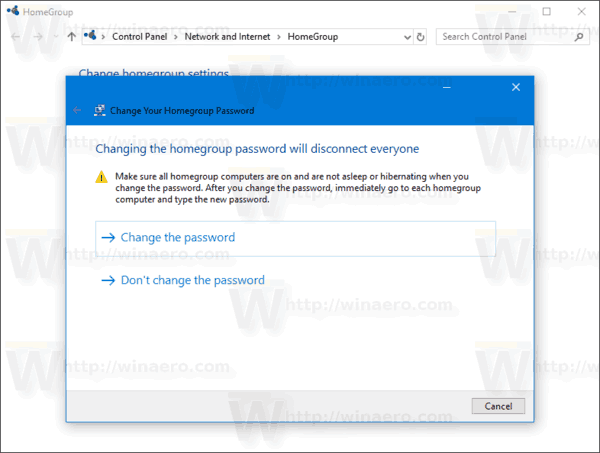
- Click on Change the password. On the next page, you can specify your own password or generate a new password automatically.
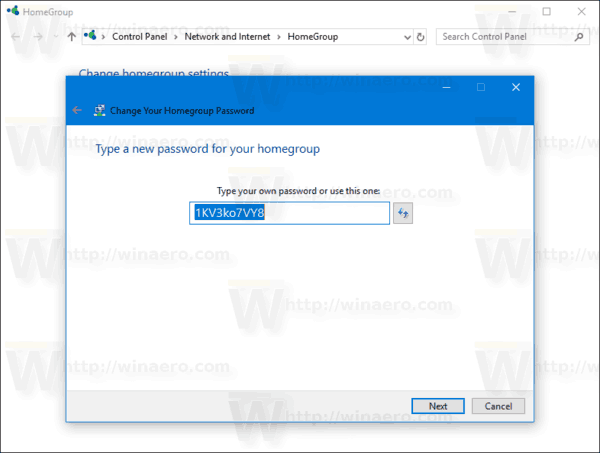
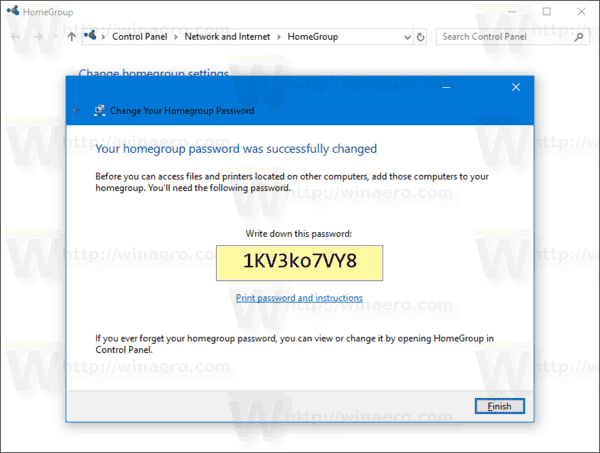
- Click Next to apply the password. Now you can write down it and close the wizard window.
That's it.
Support us
Winaero greatly relies on your support. You can help the site keep bringing you interesting and useful content and software by using these options:
