Screen savers were created to save very old CRT displays from being damaged by issues like screen burn-in. These days, they are mostly used to personalize the PC or improve its security with additional password protection. In this article, well see how to set your photos as a screen saver in Windows 10.
Advertisеment
In Windows 10, many familiar things are changed once again. The classic Control Panel is going to be replaced with the Settings app and many settings are going to be reduced and eliminated. Many users who installed Windows 10 for the first time are getting confused by the new location of some settings in Windows 10. Windows 10 users are often asking me how to access screen saver options in Windows 10. For reference, see the following article:
How To Access Screen Saver Options in Windows 10
In this article, we will use Settings to access screen savers.
To set photos as a screen saver in Windows 10, do the following.
- Open Settings.
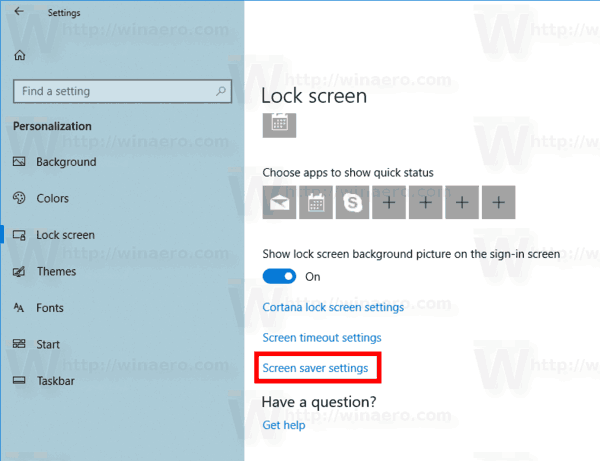
- Go to Personalization - Lock Screen.
- On the right, click on the link Screen saver settings.
- In the drop down list under Screen saver, select Photos.
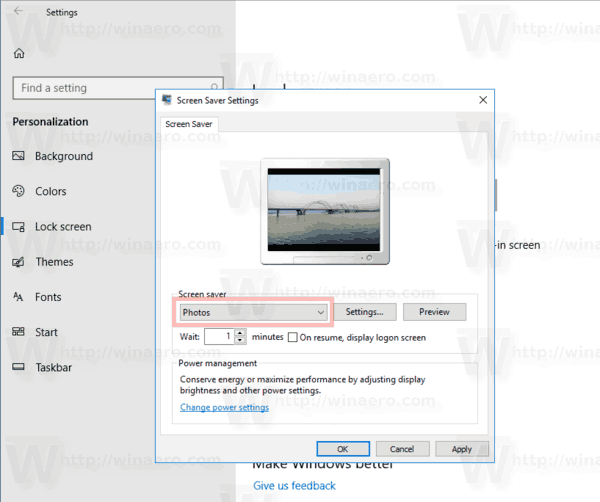
You are done.
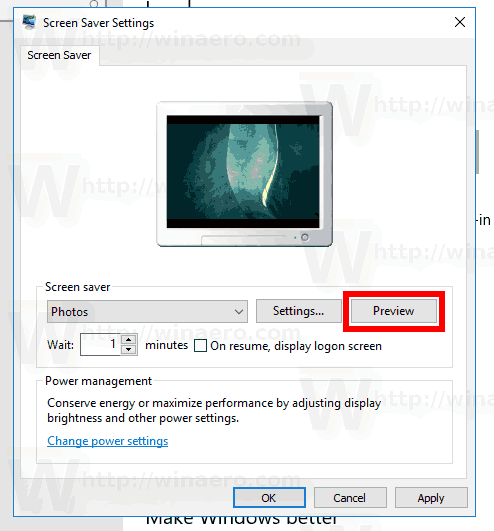
By default, the Photos screensaver is set to load your images from the This PC \ Pictures folder. If you have some images there, you can click on the Preview button in the Screen Saver options dialog and see it in action.
It is possible to customize the screen saver slide show speed and the folder which the screen saver will use as your photos collection. Here is how.
Customize Photos screen saver options
- Open the Screen Saver Settings dialog.
- Click on the Settings button.
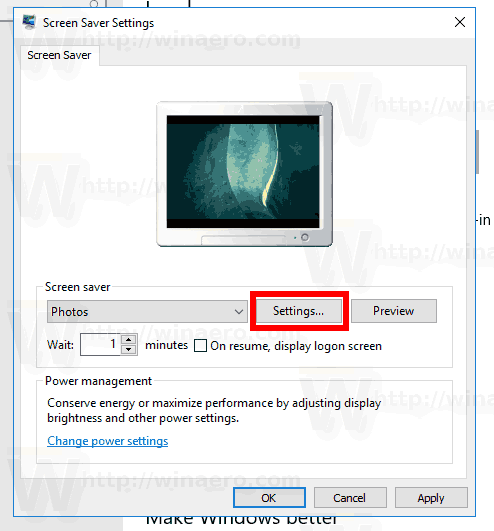
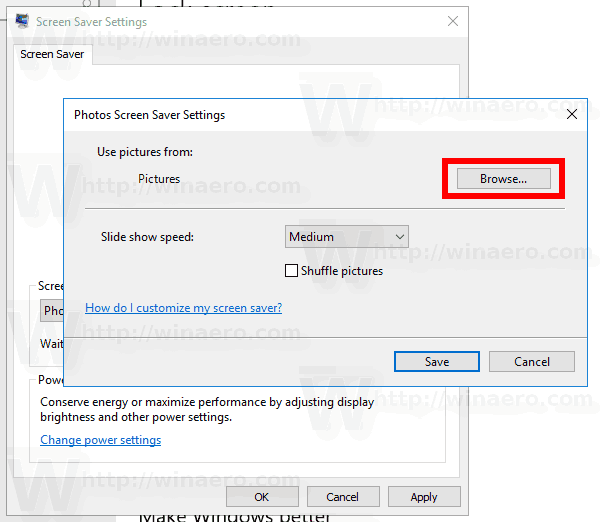
- Under Use pictures from:, click on the Browse button. Select the desired folder which stores your images using the folder browser dialog.
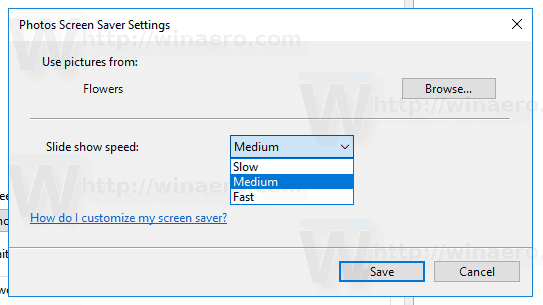
- You can change the slide show speed using the drop down list. The default value is Medium, but you can change it to Fast or Slow.
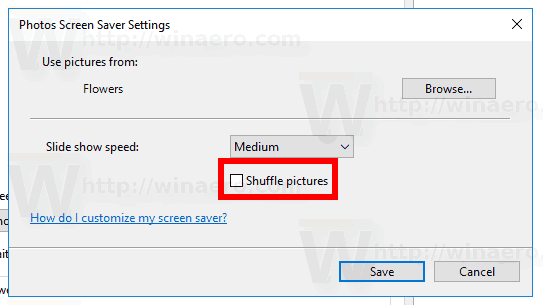
- The last option allows shuffling images for the slide show.
Related articles:
- Create Screen Saver Options Shortcut in Windows 10
- Change Screen Saver Password Grace Period in Windows 10
- Customize screen savers in Windows 10 using secret hidden options
That's it.
Support us
Winaero greatly relies on your support. You can help the site keep bringing you interesting and useful content and software by using these options:

Lock screen kinda made screen savers pointless for me… especially the photos screen saver, seeing how it’s exactly the same thing.
New OLED displays just like an old CRT are prone to screen burning.
So using screen savers on those should be helpfull.
Please post more articles about Linux because i’m moving to Linux on 2022
Ok, I will do
2022? :D
A soft of.
thank you
You’re most welcome.
Has the option to fade pictures in and out gone away? Is there any other way to do this, as now the pictures just change abruptly from one to the next? Looking for a smoother transition… thanks.
Sometimes I see a photo and I want to find it, but it is very hard because I have so many photos. I wish there was a shortcut to find the currently displayed image. It is nice that you can use the arrow keys to scroll back and forth without leaving the screen saver. The best solution I can think of is to do a screen-grab of the photo you want to find, and then use some image-matching utility to scan your photos directory to find it.