Windows 10 assigns an available drive letter to a new drive connected to the computer. The operating system goes through the alphabet from A to Z to find the first available letter to assign it to various drives. It is possible to remove a drive letter assigned by the OS.
Advertisеment
Historically, Windows reserves the drive letters A and B for floppy drives. Modern Windows versions assign the letter C to the system partition on which Windows is installed. Even in a dual-boot configuration, Windows 10 displays its own system partition as C:.
![]()
Removing a drive letter can be very useful for a number of situations. For example, you can quickly hide the drive from all apps. While Windows offers a Group Policy tweak to hide a drive, it will affect the File Explorer app only. Alternative file manager apps like FAR, Total Commander, etc will show the drive regardless of the options mentioned in the article:
How To Hide a Drive in Windows 10 File Explorer
However, if you remove a drive letter, the drive will become hidden from all apps installed on your computer. You can use this trick to quickly hide the presence of a drive or to prevent other apps from writing to a drive or partition and modifying the data stored there.
In Windows 10, there are a number of methods you can use to remove drive letters. This can be done with Disk Management, diskpart, and PowerShell. Let's review these methods.
To remove a drive letter in Windows 10, do the following.
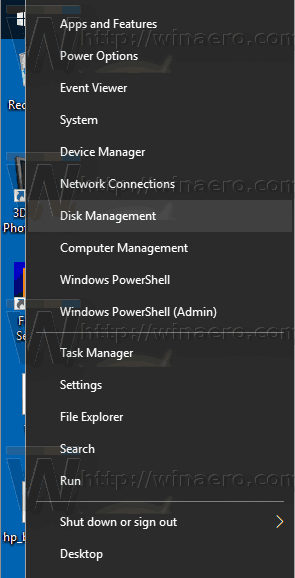
- Press the Win + X keys together.
- In the menu, select Disk Management.
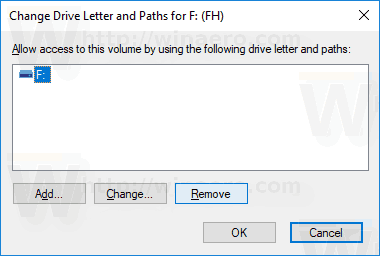
- In Disk Management, right-click on the partition whose drive letter you would like to change. Select Change Drive Letter and Paths in the context menu.

- In the next dialog, click on the Remove... button.
- Confirm the operation.
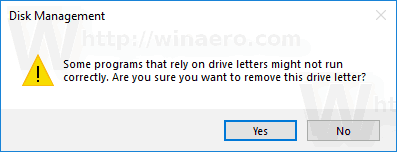
You are done. The drive will disappear in File Explorer. The removed letter can now be assigned to another drive.
Before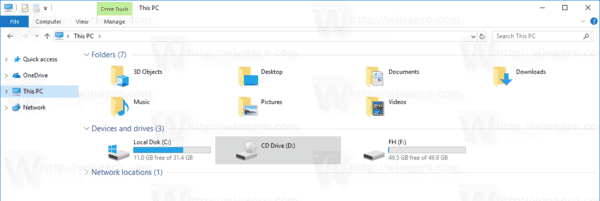
After
Change the drive letter in the command prompt
- Open an elevated command prompt.
- Type
diskpart. - Type
list volumeto see all drives and their partitions.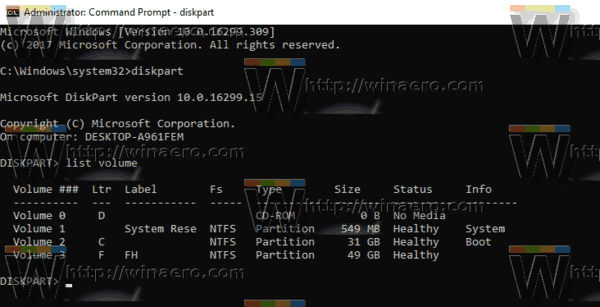
- Look at the ### column in the output. You need to use its value with the command
select volume NUMBER. Substitute the NUMBER portion with the actual partition number for which you want to change the drive letter.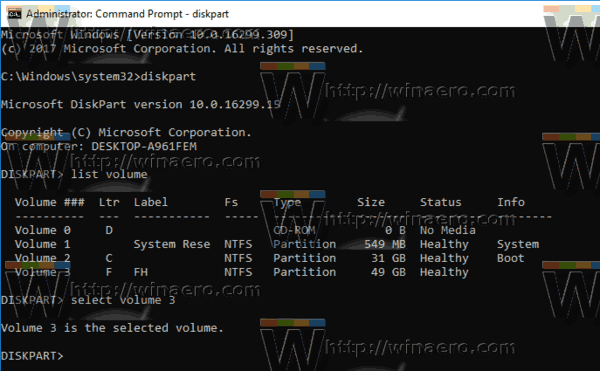
- Type the command
remove letter=Xto remove the drive letter. Substitute the X portion with the appropriate letter.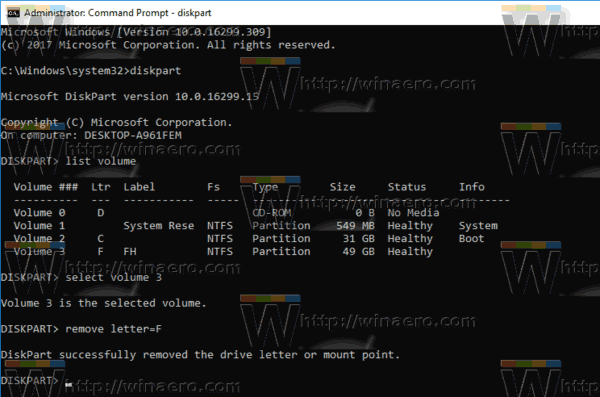
You are done. You can close the Diskpart window.
Change the drive letter in PowerShell
- Open an elevated PowerShell instance.
- Type
Get-Diskto see the list of your drives.
- Type
Get-Partitionto see the list of your partitions.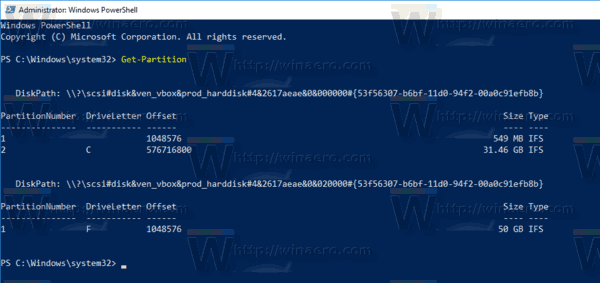
- Note the disk number and the drive letter you want to remove and type the next command:
Get-Disk YOUR_DISK_NUMBER|Get-Partition
Ensure that the disk under the disk number contains the partition for which you want to remove the letter. In my case, I type
Get-Disk 1|Get-Partition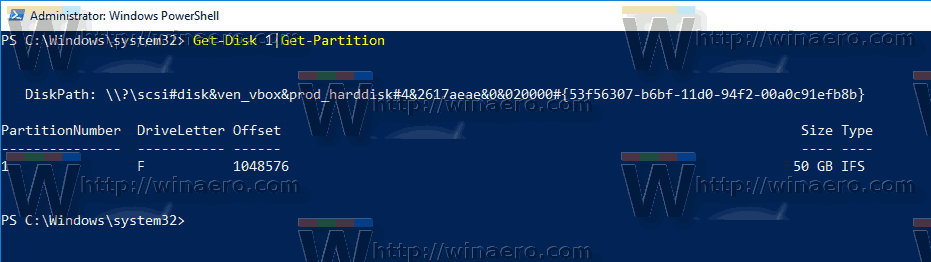
- Finally, type the following command:
Remove-PartitionAccessPath -DiskNumber YOUR_DISK_NUMBER -PartitionNumber YOUR_PARTITION_NUMBER -Accesspath CURRENT_DRIVE_LETTER:
This will remove the specified drive letter for the partition. In my case, the command looks as follows: Remove-PartitionAccessPath -DiskNumber 1 -PartitionNumber 1 -Accesspath F:.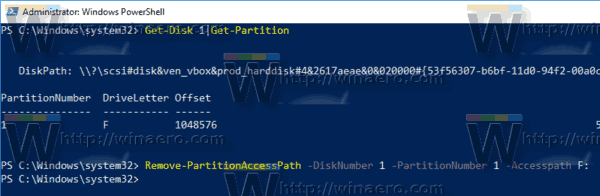 That's it!
Support us
Winaero greatly relies on your support. You can help the site keep bringing you interesting and useful content and software by using these options:

This topic seems to now be out-of-date. In step 3 in Disk Management, the only option available in the context menu is ‘Help’. There is no “Change Drive Letter …” option anymore.
It depends on your hardware and especially on the drive type you have installed.
Also, your user account might be missing administrative account privileges.
It works… kind of…
Yes, it removes the drive letter, until I reboot. Then the drive letter is back again.
Drive letter exists, but no partition assigned to it.
Windows…