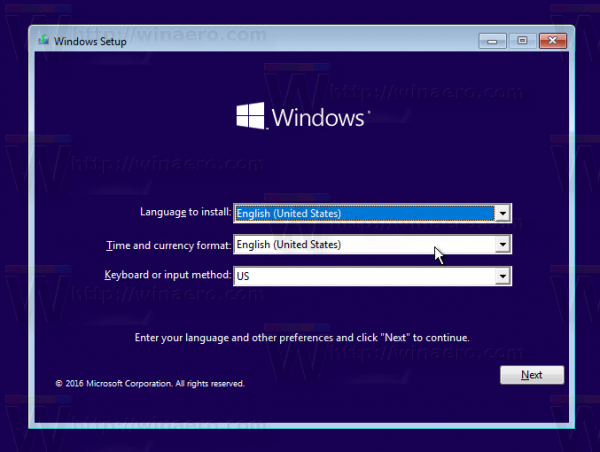
The days of burning operating system ISO images to a disc are long gone. Today most PCs can boot from USB so it's just easier to update and more convenient to install Windows from a USB flash drive. Another good reason to install this way is the installation speed, which is significantly faster than setup running from an optical drive. Many modern devices do not come with an optical drive. Here is a method you can use to create a bootable USB stick with Windows 10 using PowerShell and a regular Windows 10 ISO image.
Advertisеment
PowerShell allows you to create a bootable USB drive with Windows 10. However, the required cmdlets exist only in Windows editions which have an integrated GUI. This means you cannot use this trick on Windows Server Core edition.
Warning! You will need to erase all data from the USB flash drive that you use for this, so make a backup of the important data on it before you proceed.
First of all, you need a Windows 10 ISO. If required, refer to the following article:
Download Official Windows 10 ISO Images Directly Without Media Tool
There are a number of alternative methods you can use which are covered in the article Download Windows 10 Fall Creators Update Official ISO Images.
You don't need to extract the ISO's contents to the USB flash drive: Windows 10 has built-in support for ISO images. Simply double click the ISO to mount it. Windows 10 will create a virtual DVD drive inside the This PC folder. Note the letter of the drive.
To create Windows 10 bootable USB Stick With PowerShell, do the following.
- Open an elevated PowerShell.
- Type or copy-paste the following command:
$Results = Get-Disk | Where-Object BusType -eq USB | Out-GridView -Title 'Select USB Drive to Format' -OutputMode Single | Clear-Disk -RemoveData -RemoveOEM -Confirm:$false -PassThru | New-Partition -UseMaximumSize -IsActive -AssignDriveLetter | Format-Volume -FileSystem FAT32. This long command gets a list of all the disks attached to the computer, then shows only USB disks and asks which one to use to create a bootable drive. It will be formatted to FAT32. The drive letter will be stored in the $Results variable.

- Double-click your Windows 10 ISO image in File Explorer. Alternatively, the following code snippet can be used to mount the ISO image right in the PowerShell console:
$Volumes = (Get-Volume).Where({$_.DriveLetter}).DriveLetter
Mount-DiskImage -ImagePath C:\ISO\SW_DVD5_Win_Pro_Ent_Edu_N_10_1709_64BIT_English_MLF_X21-50143.ISO
$ISO = (Compare-Object -ReferenceObject $Volumes -DifferenceObject (Get-Volume).Where({$_.DriveLetter}).DriveLetter).InputObject
The $ISO variable will contain the mounted drive letter.

- Go to the BOOT folder on the mounted drive. You need to make your USB drive bootable and copy the contents of the ISO there. The corresponding commands are as follows:
Set-Location -Path "$($ISO):\boot"
bootsect.exe /nt60 "$($Results.DriveLetter):"
Copy-Item -Path "$($ISO):\*" -Destination "$($Results.DriveLetter):" -Recurse -Verbose

That's it. Now you can use this USB stick to boot and install Windows 10 on any computer that supports booting from USB.
All credits go to Mike F Robbins.
An alternative way without involving PowerShell is described in the following articles:
- How to install Windows 10 from a bootable USB stick
- How to create a bootable UEFI USB drive with Windows 10 Setup
Support us
Winaero greatly relies on your support. You can help the site keep bringing you interesting and useful content and software by using these options:


Compare this to Bash scripting (where all of this is a simple GUI-less one liner) and here’s yet another reason why people that do such things love GNU/Linux.
You are reading my mind.
I would really like to see this one liner.
sudo dd bs=4M if= of=/dev/
Something like this worked last I checked, yet today I’m on win 10 and getting bootable USB without installing suspicious tools is next to impossible.
I really don’t like Powershell, as powerful as it is, if its near impossible to learn (for me) it’s useless.
install.wim from Windows10 is to big for copy to FAT32.
Dism /Split-Image /ImageFile: /FileSize:4000 could help
Thank you very much for this valuable tip!
instead of FAT32, use exFAT :)
And shout out to Mike F Robbins and Sergey Tkachenko