In this article, we will see how to add a useful Power Options context menu to Desktop. It will allow accessing various power options quickly and adjusting your current power plan settings. It is faster than changing them in Settings or using the classic Control Panel.
Advertisеment
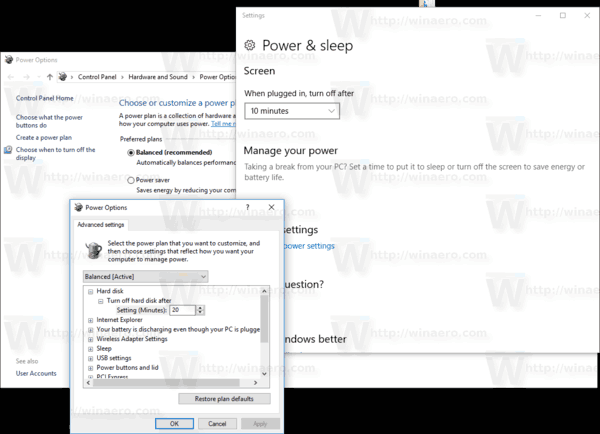
The Power Options context menu will contain the following items:
- Power options.
- Power and sleep.
- Edit current power plan.
- Advanced power options.
- Choose what the power buttons do.
All these options are available in Settings and Control Panel, but you will be able to access them much faster using the commands from the context menu.
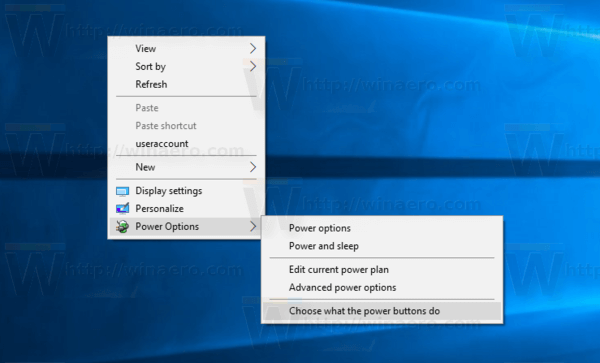
By default, Windows 10 come with three power plans: High Performance, Balanced, and Power Saver. These plans are designed to quickly let you switch a group of hardware and system power settings (like display, sleep, etc). Your PC can have additional power plans defined by its vendor. These power settings affect how long your battery lasts and how much power your PC consumes. It is possible to customize these power plan settings but it requires too many clicks to get there. To save your time, let's add a special Power Options context menu.
To add the Power Options Context Menu in Windows 10, do the following.
- Run Notepad. Copy and paste the Registry tweak's contents below into a new text file.
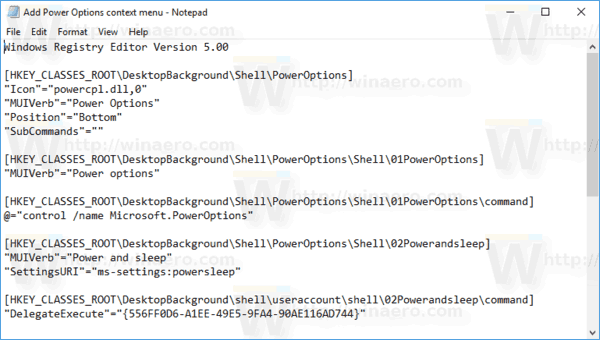
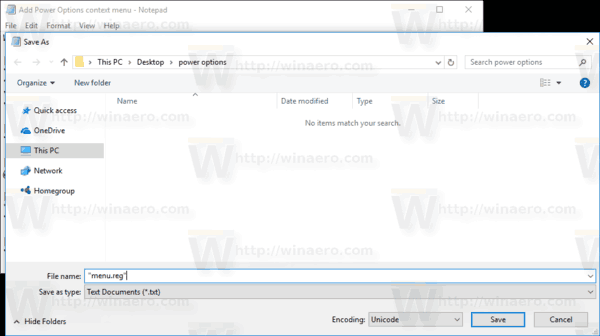
Windows Registry Editor Version 5.00 [HKEY_CLASSES_ROOT\DesktopBackground\Shell\PowerOptions] "Icon"="powercpl.dll,0" "MUIVerb"="Power Options" "Position"="Bottom" "SubCommands"="" [HKEY_CLASSES_ROOT\DesktopBackground\Shell\PowerOptions\Shell\01PowerOptions] "MUIVerb"="Power options" [HKEY_CLASSES_ROOT\DesktopBackground\Shell\PowerOptions\Shell\01PowerOptions\command] @="control /name Microsoft.PowerOptions" [HKEY_CLASSES_ROOT\DesktopBackground\Shell\PowerOptions\Shell\02Powerandsleep] "MUIVerb"="Power and sleep" "SettingsURI"="ms-settings:powersleep" [HKEY_CLASSES_ROOT\DesktopBackground\shell\PowerOptions\Shell\02Powerandsleep\command] "DelegateExecute"="{556FF0D6-A1EE-49E5-9FA4-90AE116AD744}" [HKEY_CLASSES_ROOT\DesktopBackground\Shell\PowerOptions\Shell\03Editcurrentplan] "MUIVerb"="Edit current power plan" "CommandFlags"=dword:00000020 [HKEY_CLASSES_ROOT\DesktopBackground\Shell\PowerOptions\Shell\03Editcurrentplan\command] @="control /name Microsoft.PowerOptions /page pagePlanSettings" [HKEY_CLASSES_ROOT\DesktopBackground\Shell\PowerOptions\Shell\04advpoweroptions] "MUIVerb"="Advanced power options" [HKEY_CLASSES_ROOT\DesktopBackground\Shell\PowerOptions\Shell\04advpoweroptions\command] @="control powercfg.cpl,,3" [HKEY_CLASSES_ROOT\DesktopBackground\Shell\PowerOptions\Shell\05powerbuttons] "MUIVerb"="Choose what the power buttons do" "CommandFlags"=dword:00000020 [HKEY_CLASSES_ROOT\DesktopBackground\Shell\PowerOptions\Shell\05powerbuttons\command] @="control /name Microsoft.PowerOptions /page pageGlobalSettings" - In Notepad, press Ctrl + S or execute the File - Save item in the menu. This will open the Save dialog. There, type or copy-paste the following name "menu.reg" including quotes. Double quotes are important to ensure that the file will get the "*.reg" extension and not *.reg.txt. You can save the file to any desired location, for example, you can put it in your Desktop folder.
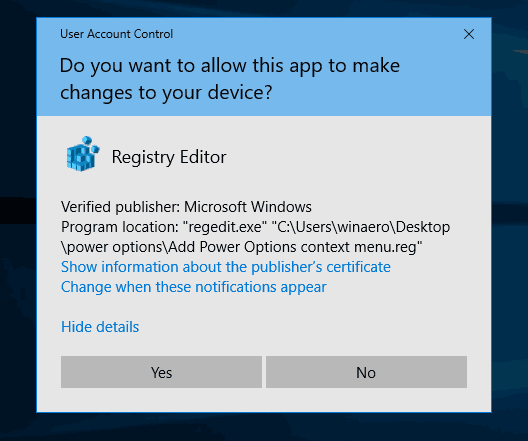
- Now, double-click the file menu.reg that you created. Confirm the UAC prompt and click Yes to merge it into the Registry.
The context menu command will get added to your Desktop instantly. See the following screenshots:

To save your time, you can use Winaero Tweaker. Enable the option under Context Menu\Power options as shown below.
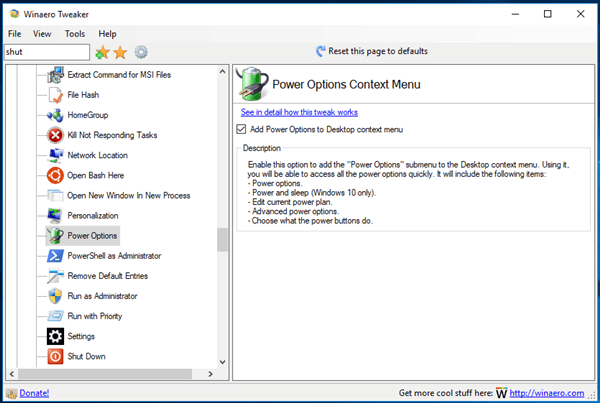
You can download Winaero Tweaker from here:
Also, I made ready-to-use Registry files. You can download them here:
The undo file is included, so you can avoid manual Registry editing completely.
Note: The menu reviewed in this article can be used along with the Switch Power Plan context menu.
That's it.
Support us
Winaero greatly relies on your support. You can help the site keep bringing you interesting and useful content and software by using these options:
