You can enable the Preview pane in File Explorer in Windows 10 to show the contents of the selected file. The Preview Pane is a special area which can display a thumbnail preview of the selected file without having to open it with the associated app. There are several ways to enable it, which will be reviewed in this article.
Advertisеment
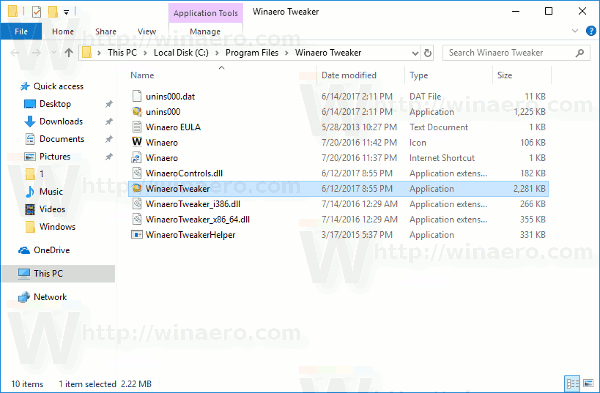
The Preview pane shows the contents of certain files selected in File Explorer. For images, it is a thumbnail preview. For documents, it shows some lines from the beginning of the file.
See the following screenshot:

Note: If you have disabled thumbnail previews in File Explorer, the Preview pane won't show them. In Windows 10, if you enable the Preview pane, it will replace the Details pane automatically.
The Preview pane is not visible out-of-the-box. Windows 10 offers you a number of ways to enable it.
To enable the Preview pane in Windows 10, you can do the following.
- Open File Explorer.
- Press Alt + P keys together to toggle the visibility of the Preview pane. This will enable it quickly when it is disabled.
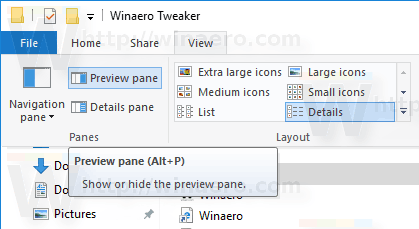
- Alternatively, you can enable the Details pane using the Ribbon user interface of File Explorer. Go to the View tab. In the "Panes" group, click on the "Preview pane" button to enable or disable the Preview pane.
 You can also right click the Preview pane button on the Ribbon and select "Add to Quick Access Toolbar". Tip: See how to backup your Quick Access toolbar.
If you need to enable the preview pane with a Registry tweak, this is also possible. You need to import the following Registry tweak:
Windows Registry Editor Version 5.00

[HKEY_CURRENT_USER\SOFTWARE\Microsoft\Windows\CurrentVersion\Explorer\Modules\GlobalSettings\DetailsContainer]
"DetailsContainer"=hex:02,00,00,00,01,00,00,00

[HKEY_CURRENT_USER\Software\Microsoft\Windows\CurrentVersion\Explorer\Modules\GlobalSettings\Sizer]
"DetailsContainerSizer"=hex:15,01,00,00,01,00,00,00,00,00,00,00,6d,02,00,00
Copy-paste the text above into a new Notepad document and save it as a *.REG file. Then double-click the file you created to apply the change.
The undo tweak is as follows:
Windows Registry Editor Version 5.00

[HKEY_CURRENT_USER\SOFTWARE\Microsoft\Windows\CurrentVersion\Explorer\Modules\GlobalSettings\DetailsContainer]
"DetailsContainer"=hex:02,00,00,00,02,00,00,00
To save your time, you can download these ready-to-use Registry files.
Finally, you can add a special context menu command to quickly toggle the Preview pane. See the following article:
Add Preview Pane Context Menu in Windows 10.
Support us
Winaero greatly relies on your support. You can help the site keep bringing you interesting and useful content and software by using these options:

That is handy! I seldom want the preview but the shortcut makes it easy for occasional use
Thanks