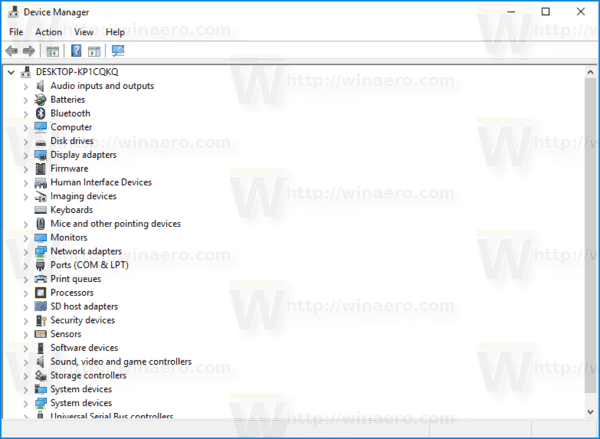
Device Manager is a special tool in Windows that allows managing drivers and parameters for the installed hardware. It shows detailed information about each installed device. Here are different methods you can use to open the app.
Advertisеment
Device manager can show hidden devices. This is helpful when you are testing the installation of a new PnP device. Device Manager provides detailed information in the Properties dialog for each device. Right-click the name of the device, and then click Properties. The General, Driver, Details, and Events tabs contain information that can be useful when you debug errors or installing a new device.
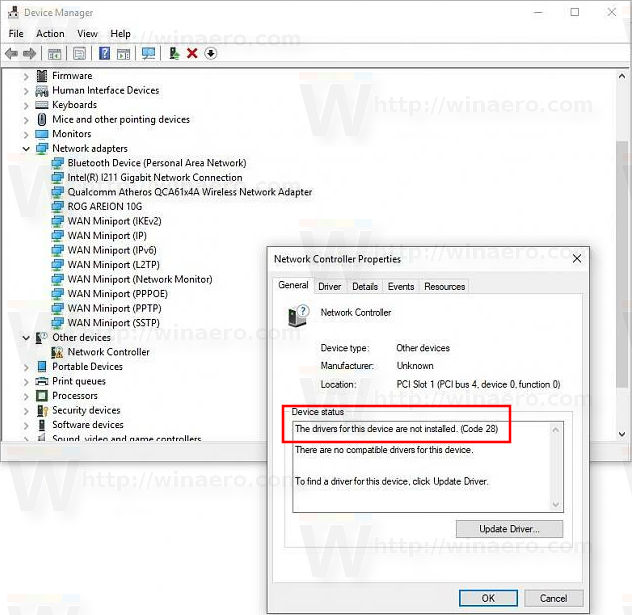
In Windows 10, Microsoft offers the new Settings app instead of the classic Control Panel which is now deprecated. In every release, Windows 10 is getting more and more classic options converted to a modern page in the Settings app. At some point, Microsoft might remove the classic Control Panel completely.
As of this writing, the classic Control Panel still comes with a number of options and tools which are not available in Settings. Due to the changes, some users are running into issues when they can't find applets at the place where they used to be. Here are the methods you can use to open Device Manager in Windows 10.
To Open Device Manager in Windows 10,
- Press Win + X keys on the keyboard. This will open the context menu of the Start button.
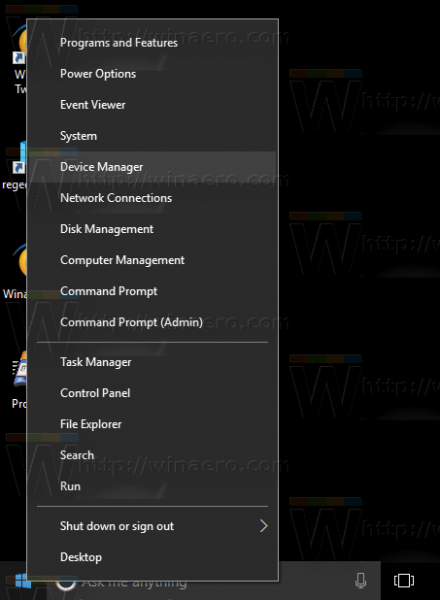
- Alternatively, you can right-click the Start button to open the same menu.
- Click on the Device Manager item.
Open Device Manager from Search
- Click somewhere in the search box on the taskbar.
- Alternatively, press Win + S on the keyboard to open the search pane.
- Start typing
device managerin the search box.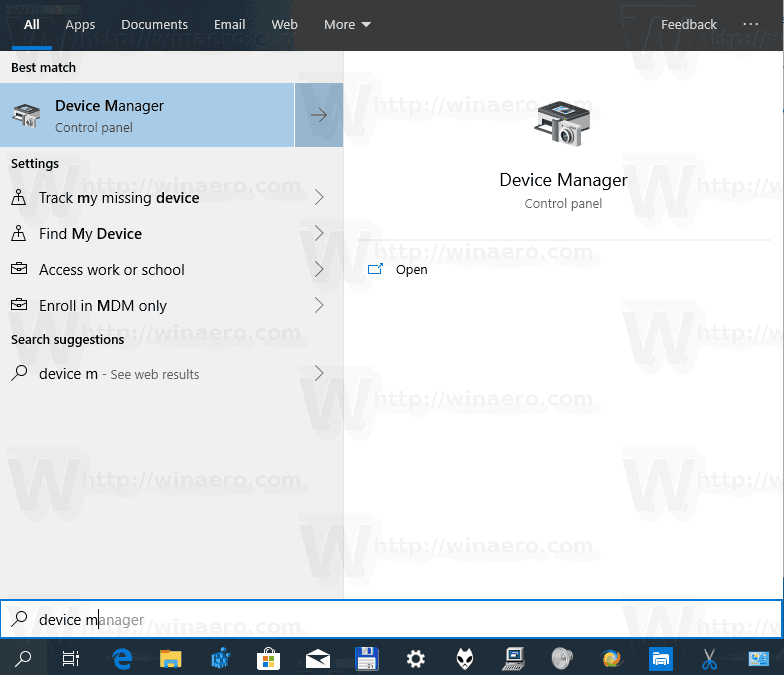
- Click on the Device Manager item in the search result.
Open Device Manager from Control Panel
- Open the classic Control Panel app.
- Go to
Control Panel\Hardware and Sound. - Click on the Device Manager link under the Devices and Printers icon.

Open Device Manager from System Properties
- Open File Explorer.
- Right-click the This PC item and select Properties from the context menu.
- In the System window, click on the Device Manager link on the left.
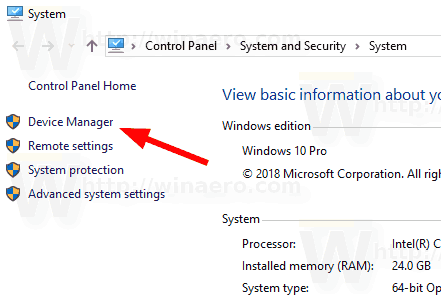
Tip: You can open the System properties dialog faster by pressing the Win+Pause/Break shortcut keys together on the keyboard.
Open Device Manager from Run Dialog
- Press Win + R to open the Run dialog.
- Type
devmgmt.mscinto the Run box. - This will open Device Manager directly.
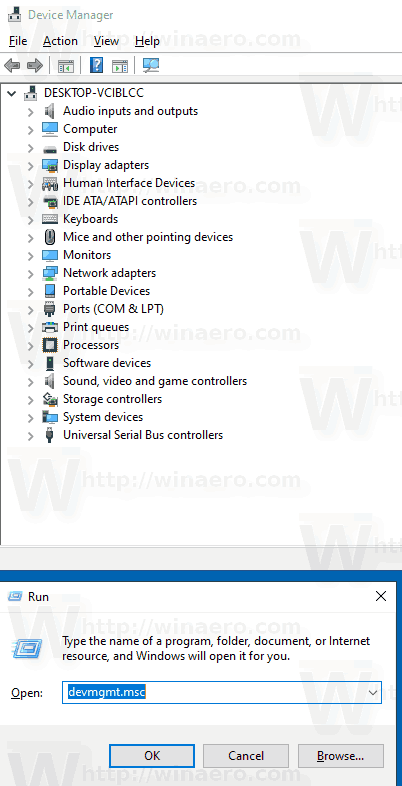
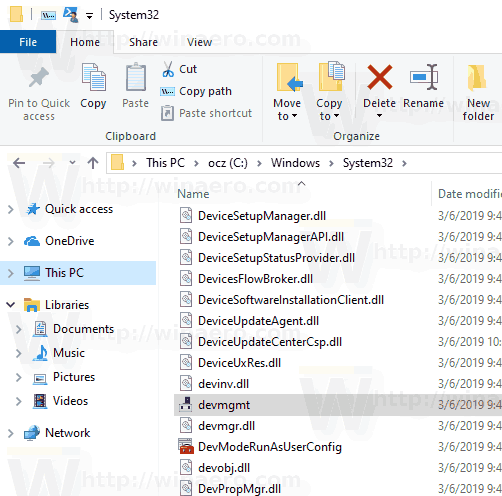
Note: You can type the command above in the Command Prompt, PowerShell, or directly in the File Explorer's address bar. The devmgmt.msc file is stored under the following location:
C:\Windows\System32\devmgmt.msc
That's it.
Support us
Winaero greatly relies on your support. You can help the site keep bringing you interesting and useful content and software by using these options:

One more way: Manually open MMC (microsoft management console) using Win+R – mmc.exe and than click File – Add/Remove Snapin. Then select Device Manager under Available Snapins and click Add>. Then click OK.
Another way is from command prompt with or without elevated privileges:
devmgmt.msc
or
mmc.exe devmgmt.msc
The simplest way for me is Winkey+X then M.
I find using the access keys across the whole platform easiest on a laptop or when not using a mouse, to show these in all menus go to Settings>Ease of Access>Keyboard>Change How Keyboard Shortcuts Work and set “Underline access keys when available” to ON.