If you have multiple displays or an external projector, you might find the built-in feature of Windows 10 to change the active display and the sharing mode of your current desktop useful. The feature called Project allows the user to have only the primary screen enabled, duplicate it on a second display, extend it across all displays, or use the second screen only. You can create a shortcut to activate any of these 4 settings. Let's see how it can be done.
Advertisеment
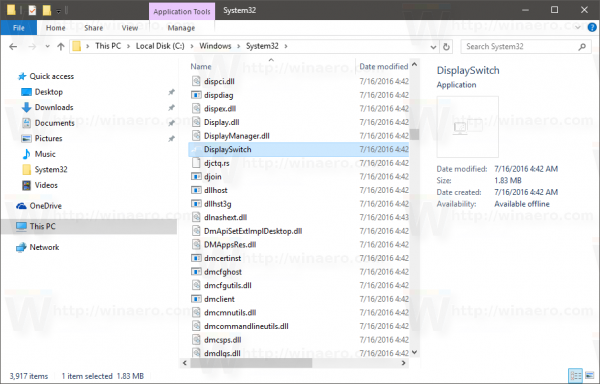
The built-in Windows utility, DisplaySwitch.exe, allows you to specify which display to use and how to use it. The application is located in the folder C:\Windows\System32.

It is possible to use it to control the Project feature via the command line, so you can create a shortcut to any of available modes.
Tip: You can try these options from the Run dialog. Open it with the Win + R shortcut and type the command specified below in the Run box.
DisplaySwitch.exe /internal
The /internal argument is used to switch your PC to use the primary display only.
DisplaySwitch.exe /external
Use this command to switch to the external display only.
DisplaySwitch.exe /clone
Duplicates the primary display.
DisplaySwitch.exe /extend
Expands your Desktop to the secondary display.
To create the Switch Display shortcut in Windows 10, do the following.
- Right click your Desktop and select New - Shortcut from the context menu:

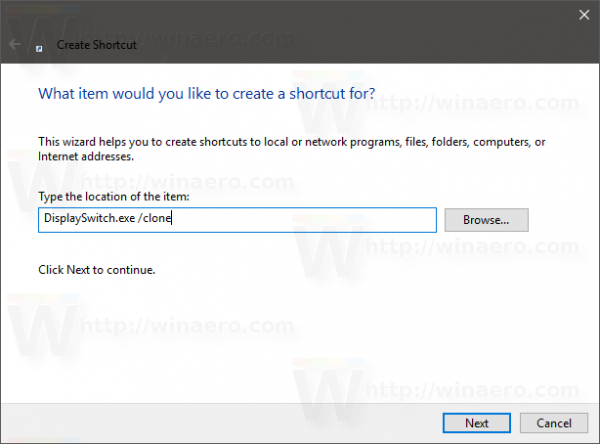
- In the location of the item box, type or copy-paste the desired command for the mode that you want to use for multiple displays:

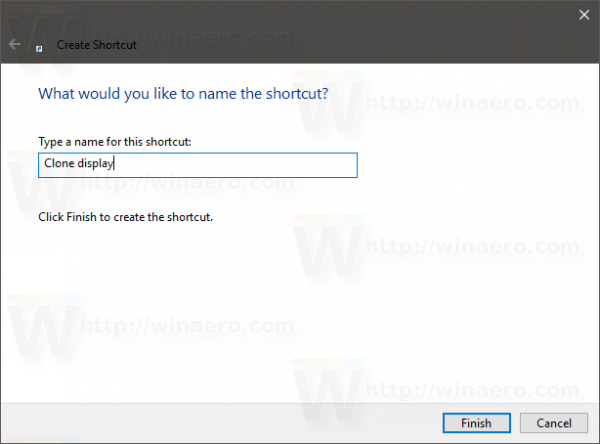
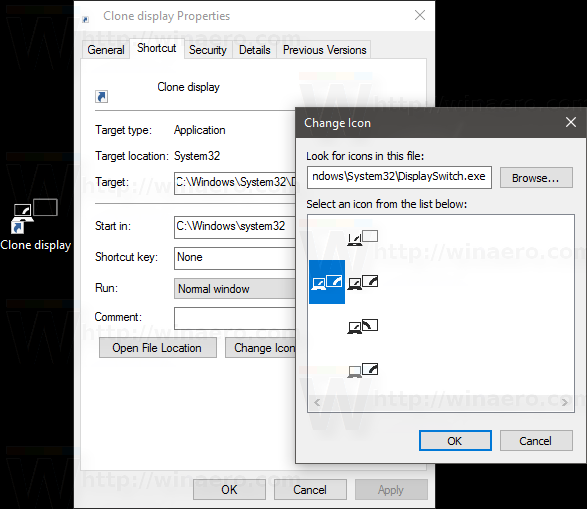
- Name your shortcut as you want and set the desired icon:


Besides the DisplaySwitch app, there are a number of other methods to switch between your displays in Windows 10. Please refer to the article Configure multiple displays in Windows 10 to learn about them.
That's it.
Support us
Winaero greatly relies on your support. You can help the site keep bringing you interesting and useful content and software by using these options:
