Starting with Windows 10 build 17661, currently referred to as "Redstone 5", Microsoft implemented a new option - screen snipping. A new Screen Snip feature has been added to Windows 10 to quickly snip and share a screenshot. You can create a Desktop shortcut to open it directly.
Advertisеment
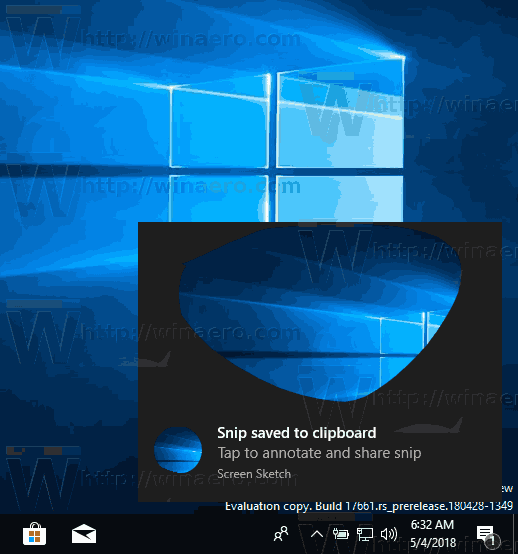
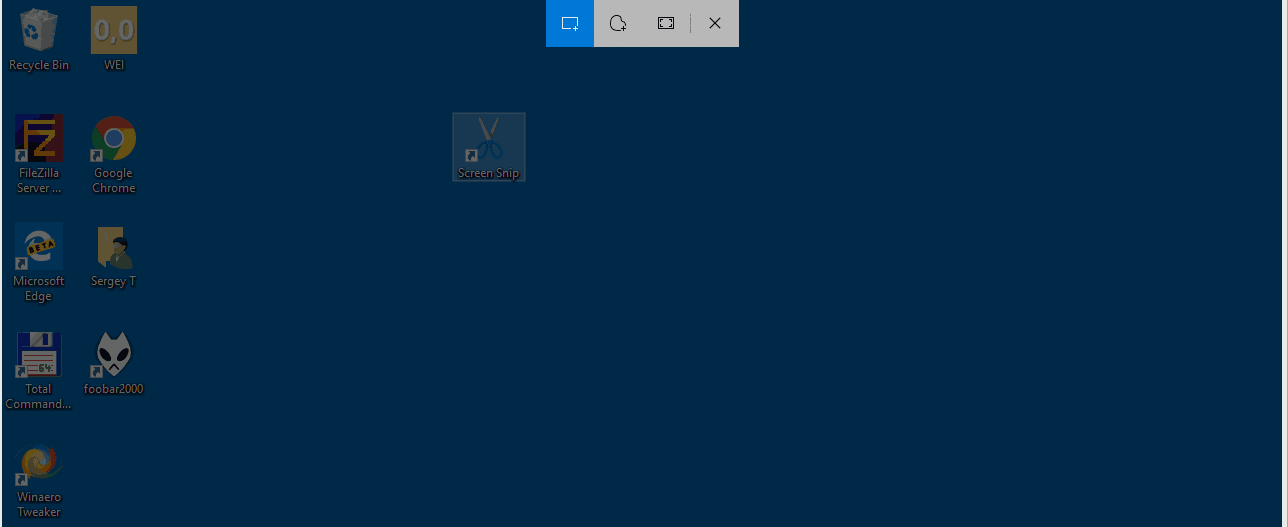
Using the new Screen Snip tool, you can capture a rectangle, snip a freeform area, or take a full screen capture, and copy it directly to the clipboard. Immediately after taking a snip you’ll now get a notification that will take you and your snip to the Screen Sketch app where you can annotate and share away. In the current implementation, other traditional tools available in the Snipping Tool (Delay, Window snip, and ink color, etc) are missing.
The following article covers various methods you can use to launch the Screen Snip tool:
Take a Screenshot with Screen Snip in Windows 10
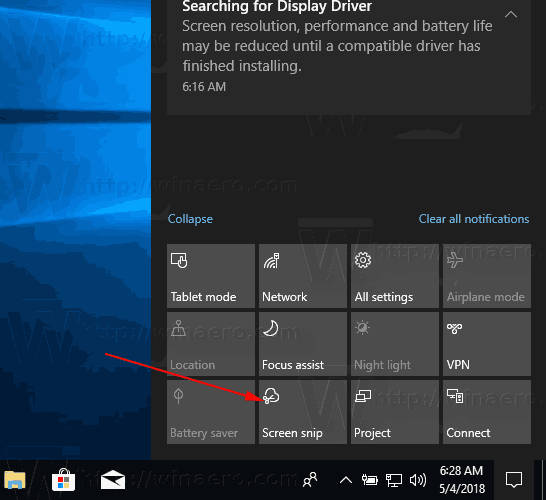
In short, you can Press the Win + Shift + S keys or use a special quick action button in the Action Center pane.
For convenience, you may want to create a special Screen Snip desktop shortcut. Here's how it can be done.
To create the Screen Snip shortcut in Windows 10, do the following.
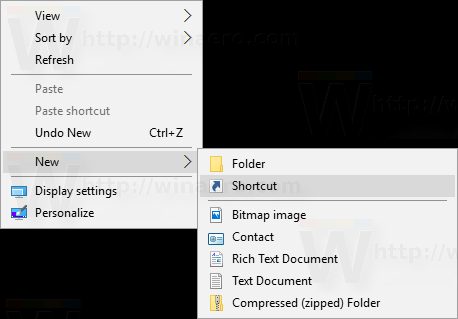
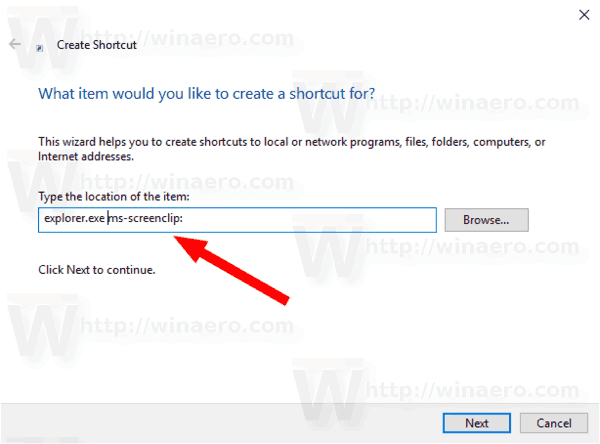
- Right click the empty space on your Desktop. Select New - Shortcut from the context menu (see the screenshot).
- In the shortcut target box, type or copy-paste the following:
explorer.exe ms-screenclip:
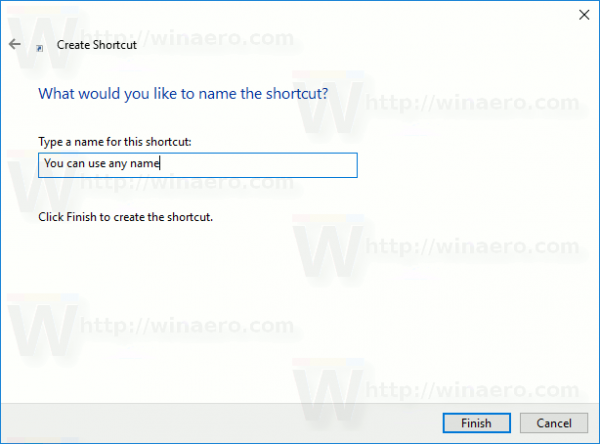
- Use the line "Screen Snip" without quotes as the name of the shortcut. Actually, you can use any name you want. Click on the Finish button when done.
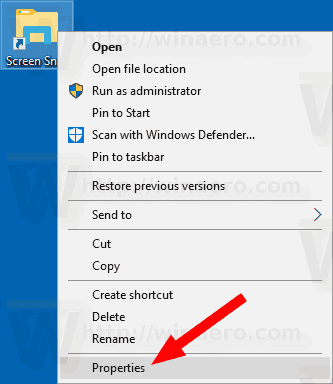
- Now, right click the shortcut you created and select Properties.
- On the Shortcut tab, you can specify a new icon if you wish. You can use the icon from the c:\windows\system32\shell32.dll file.
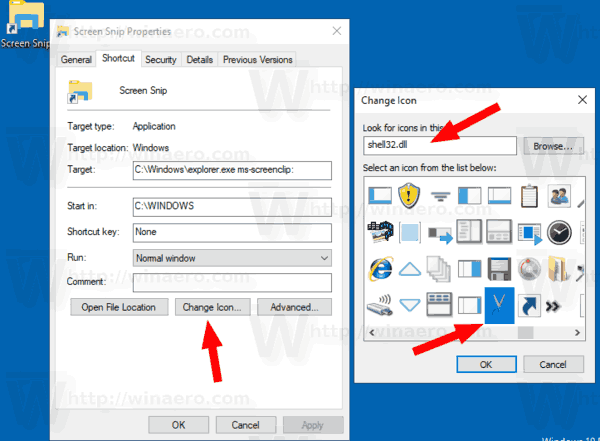
- Click OK to apply the icon, then click OK to close the shortcut properties dialog window.
Now, you can move this shortcut to any convenient location, pin it to taskbar or to Start, add to All apps or add to Quick Launch (see how to enable Quick Launch). You can also assign a global hotkey to your shortcut.
The command we used is a special ms-settings command. Almost every Settings page and other GUI parts in Windows 10 have their own URI, which stands for Uniform Resource Identifier. This allows you to open any Settings page or feature directly with a special ms-settings command. For reference, see
ms-settings Commands in Windows 10
To save your time, you can use Winaero Tweaker. It comes with the following option:

Using it, you can create the shortcut quickly.
That's it.
Support us
Winaero greatly relies on your support. You can help the site keep bringing you interesting and useful content and software by using these options:

Hello,
OK, but how do you add the Screen Snip icon and shortcut in the Action Center panel ?
It is there out of the box in Insider Preview builds.
Oh no!! I use that snip delay and ink colors a lot!! Is there any way to retain the old version instead of this new version (which seems to be more convoluted & requiring more steps)??
The recent Snip version has got the delay feature.
Thanks, Sergey!
But is there a way to save the old version? You have offered so much advice on retaining the utilities we prefer and the new snip seems more cumbersome — and I am not at all thrilled with “being taken to the Screen Sketch app”. I am not fond of all the geegaws.
As of this writing, the classic app is still in Windows 10. I will package the classic app too.
Thank you!!
And how can i change the directory for the files? I deleted the permissions for notifications.