If you use the System Restore function in Windows 10 occasionally to revert your operating system to the last known stable point when it was working correctly, you might be interested in creating a new restore point automatically at startup. In this article, we will see how it can be done.
Advertisеment
System Restore isn't a new feature of Windows 10. This technology was introduced in 2000 with Windows Millenium Edition. It allows you to roll back the installed operating system to the previous state. System Restore creates restore points which keep a complete state of Registry settings, drivers and various system files. The user can roll back the operating system to one of the restore points if Windows 10 becomes unstable or unbootable.
Ensure that your user account has administrative privileges.
Now, enable System Restore if it is disabled.
Before proceeding, you need to increase the system restore point frequency. This can be done with a simple Registry tweak which is described here:
Increase System Restore Point Frequency in Windows 10
Now, follow the instructions below.
To create system restore point at startup automatically in Windows 10, do the following.
- Open Administrative tools and click on the Task Scheduler icon.
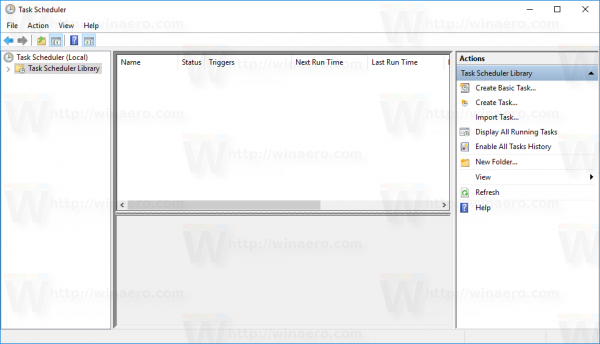
- In the left pane, click the item "Task Scheduler Library":
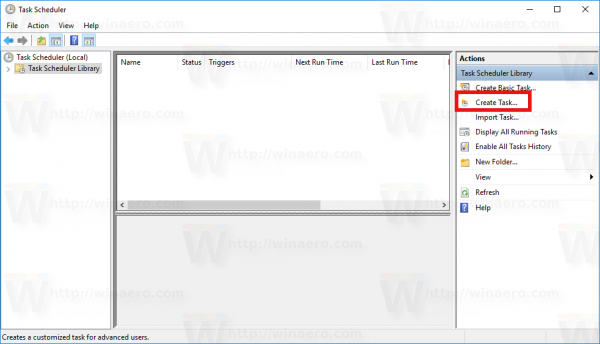
- In the right pane, click on the link "Create task":
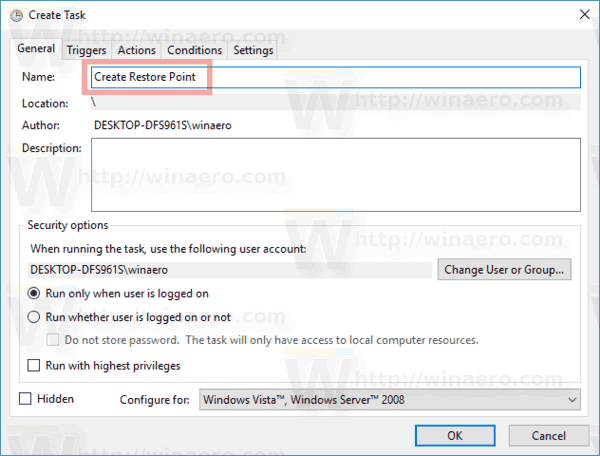
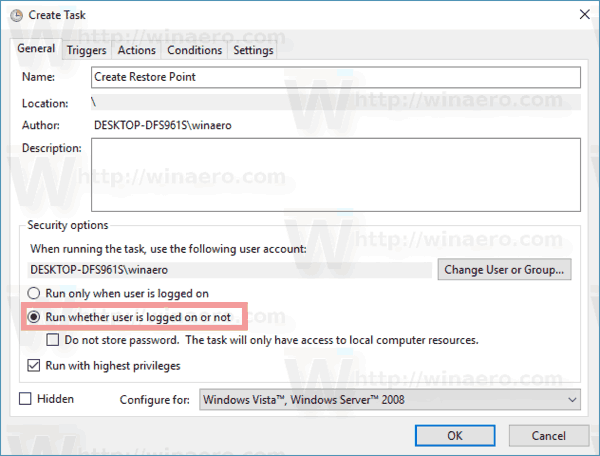
- A new window titled "Create Task" will be opened. On the "General" tab, specify the name of the task. Pick an easily recognizable name like "Create Restore Point".
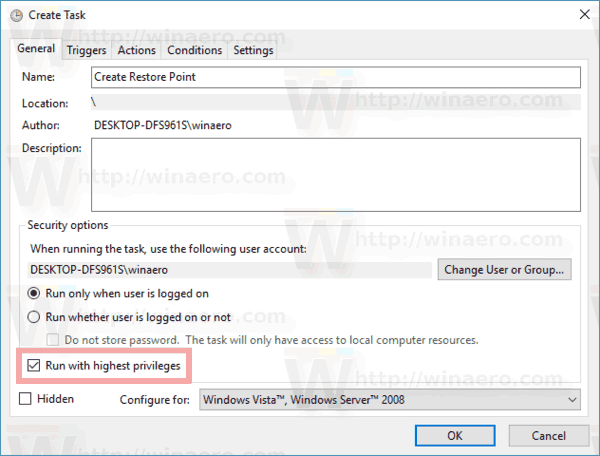
- Tick the checkbox named "Run with highest privileges".
- Enable the option "Run whether user is logged on or not".
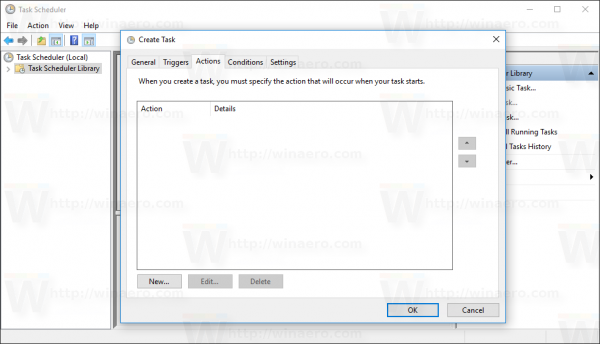
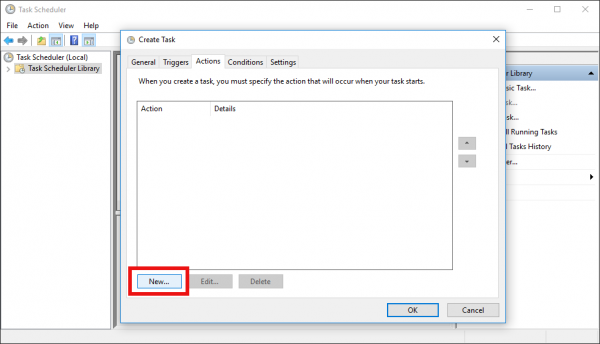
- Switch to the "Actions" tab. There, click the "New..." button:
- The "New Action" window will be opened. There, you need to specify the following data.
Action: Start a program
Program/script: powershell.exe
Add arguments(optional): -ExecutionPolicy Bypass -Command "Checkpoint-Computer -Description \"Restore Point (Automatic)\" -RestorePointType \"MODIFY_SETTINGS\""
Tip: To learn more about this PowerShell command, see the following article: Create A Restore Point in Windows 10 with PowerShell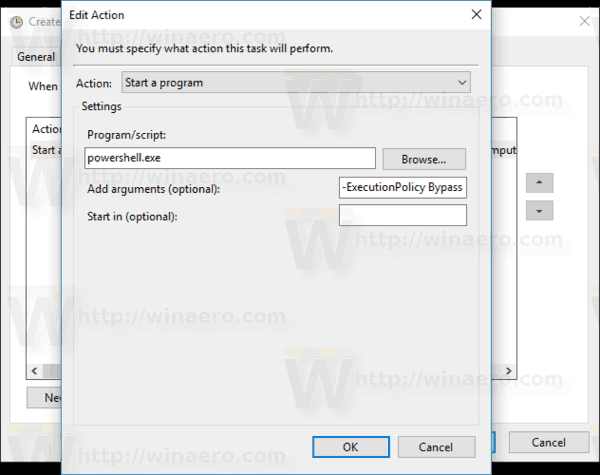
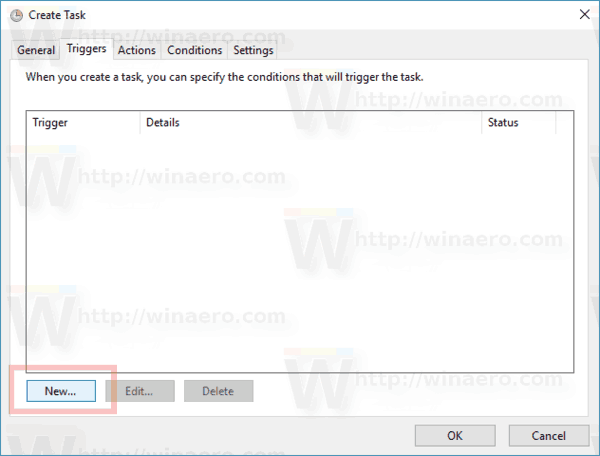
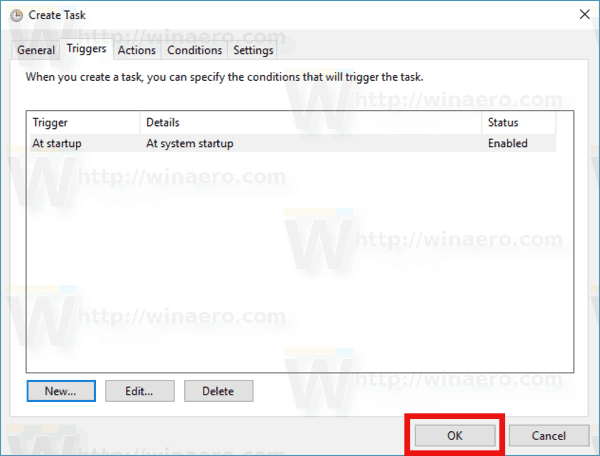
- Go to the Triggers tab in your task. There, click on the New button.
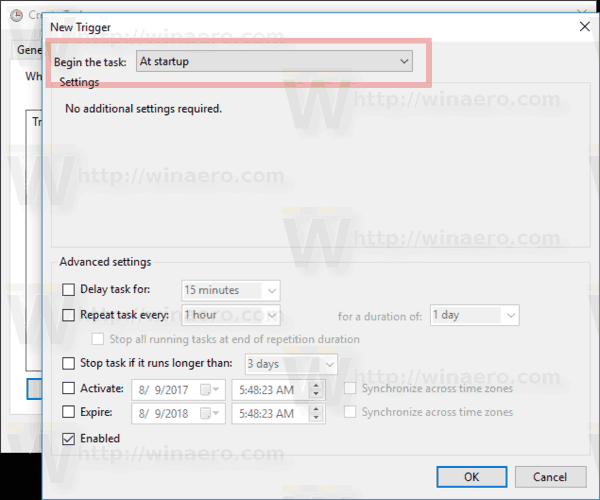
- Under Begin the task, select "At startup" in the drop down list and click the OK button.
- Switch to the "Conditions" tab:
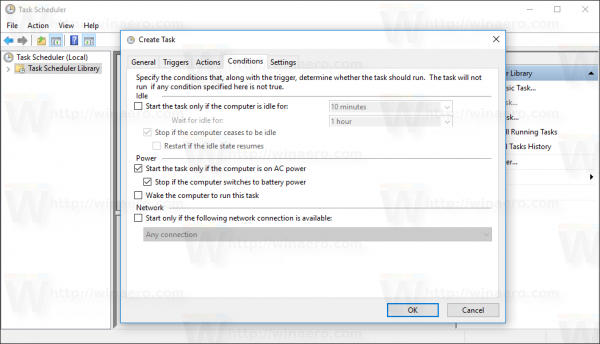
Untick these options:
- Stop if the computer switches to battery power
- Start the task only if the computer is on AC power
See the following screenshot: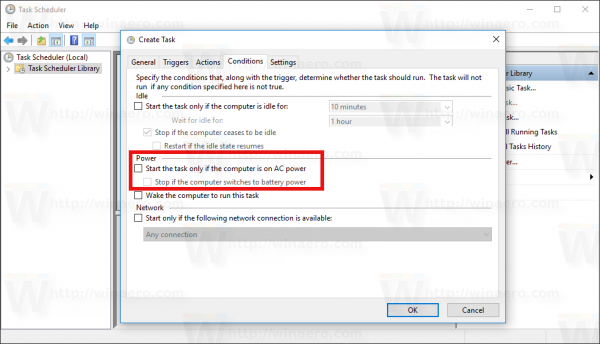
- Click OK to create your task and type your password when prompted.
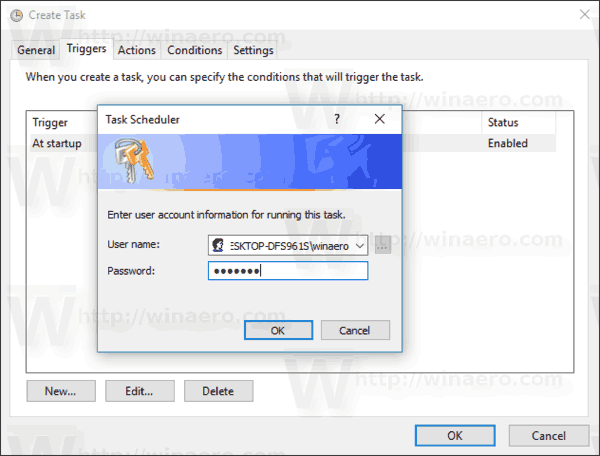
Note: Your user account should be password protected. By default, unprotected user accounts cannot be used with scheduled tasks.
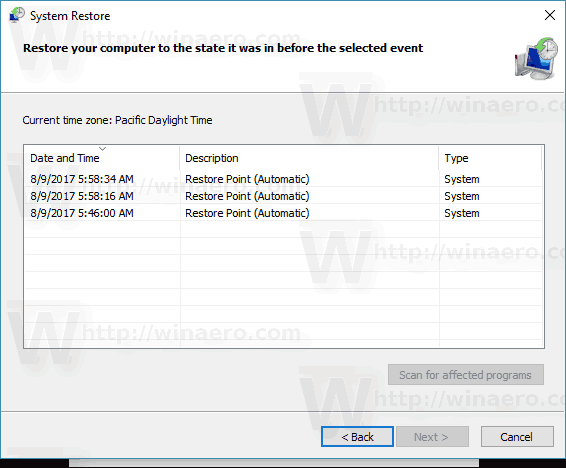
Now, every time you start Windows 10, it will create a new restore point automatically. You can use it later to restore your PC.
That's it.
Support us
Winaero greatly relies on your support. You can help the site keep bringing you interesting and useful content and software by using these options:

hi
I’ve followed all the steps
why I am not create a new restore point automatically every time I start Windows 8.1
Check out the command output. What it shows?
I got one restore point and did not change after each restart .