Screen resolution refers to the clarity of the text and images displayed on your screen. At higher resolutions, such as 1920 x 1080 pixels, items appear sharper. They also appear smaller so more items can fit on the screen. At lower resolutions, such as 800 x 600 pixels, fewer items fit on the screen, but they appear larger. It is measured horizontally and vertically in pixels. In this article, we will review three methods which you can use to change the screen resolution in Windows 10 including the GUI, and from the command line.
Advertisеment
The supported resolutions vary with each monitor and video card combination. Old CRT monitors generally have a display resolution of 800 × 600 or 1024 × 768 pixels and also support a set of different resolutions with a satisfactory screen refresh rate. Modern LCD monitors and laptop screens often support higher resolutions, such as 4K and 8K. They work best at a specific resolution which is called 'the native resolution'. In Windows 10, it is marked as "(Recommended)" in Display Properties.
In Windows 10, you can change the screen resolution individually for each display connected to your PC. However, please keep in mind that you need a screen resolution of at least 1024x768 to access the Microsoft Store and run Store apps. Also, changing the screen resolution will affect all users registered in the OS. It is a global option.
In previous versions of Windows you could use the classic Control Panel. The Display option could be used to change parameters for connected monitors. This has changed with recent Windows 10 versions. The Display options were moved to the modern Settings app.
To Change Display Resolution in Windows 10,
- Open the Settings app.
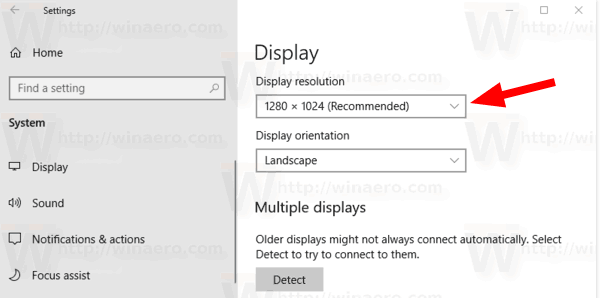
- Go to System -> Display.
- On the right, go to the Display section.
- If you have multiple monitors connected to the computer, select the required display.
- In the Resolution drop down list, select the desired screen resolution you want to set for the selected display.
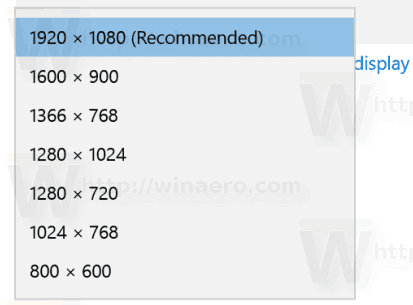
- If the selected screen resolution works as expected, select Keep changes in the next dialog. You will have 15 seconds before it automatically reverts back to the previous screen resolution.

You are done.
Here is an alternative method that allows choosing the desired screen resolution from the list of display modes.
Change Display Resolution with Display Mode
- Open the Settings app.
- Go to System -> Display.
- On the right, click on the Advanced display settings link.
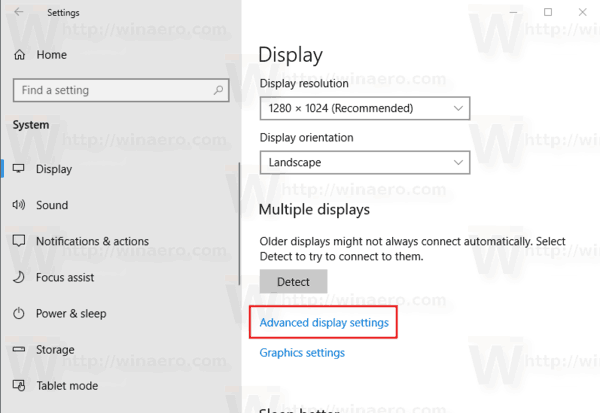
- On the next page, click the link Display adapter properties.
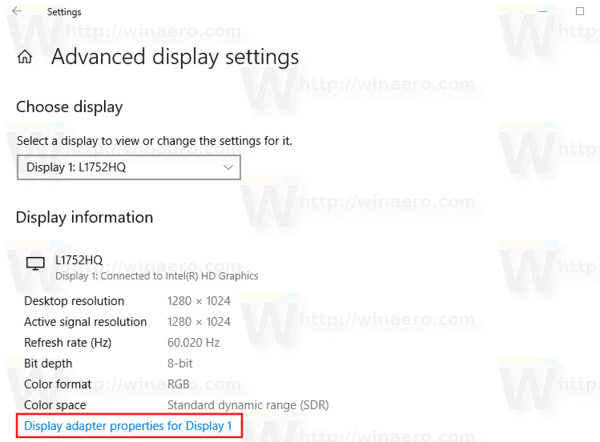
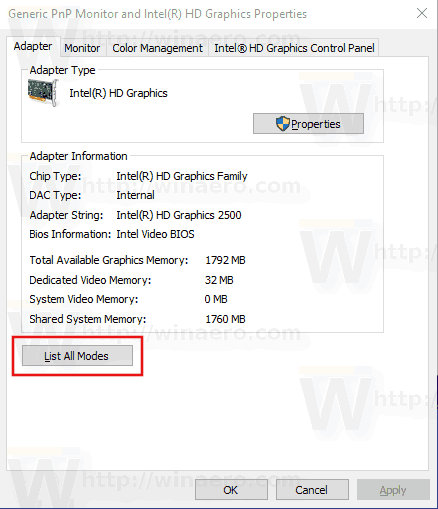
- On the Adapter tab, click on the button List All Modes.
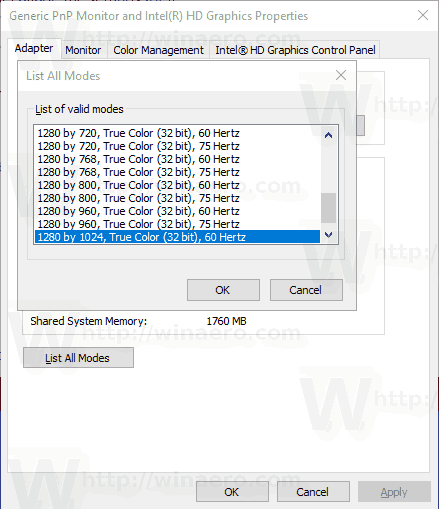
- Select a display resolution and display mode, and click OK.
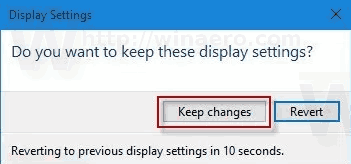
- If the selected display mode works as expected, select Keep changes in the next dialog. You will have 15 seconds before it automatically reverts back to the previous screen resolution.
You are done.
Tip: Starting with May 2019 Update, Windows 10 comes with support for the variable refresh rate feature. The appropriate options can be found in Settings. See the following post: Windows 10 Version 1903 Supports Variable Refresh Rate.
Also, it is possible to change the screen resolution from the command line. Windows 10 doesn't include built-in tools for this task, so we have to use QRes - a tiny open source app.
QRes is a small application that allows changing the screen resolution and display mode with command line arguments. It can change color depth, screen resolution, and the refresh rate. The core application qres.exe is a small (32 kB) executable file.
Change Display Refresh Rate in Windows 10 from Command Prompt
- Download Qres from HERE.
- Extract the archive contents to a convenient folder, e.g. c:\apps\qres.
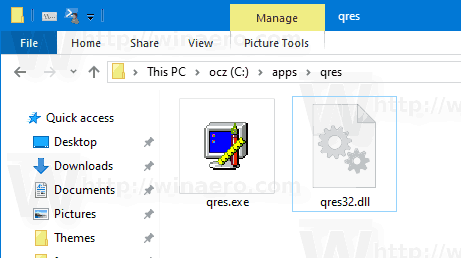
- Unblock the files.
- Open a new command prompt in the destination folder.
- Type a command like this
qres x=800 y=600 f=75. This will set the800 x 600resolution and the75Hzrefresh rate. 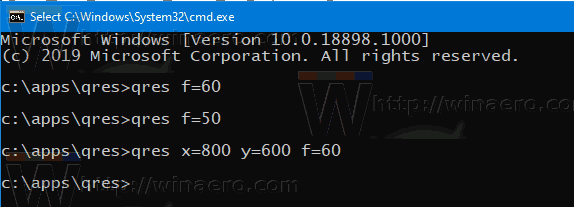
- Replace x and y with desired values, e.g.
1920forxand1080fory,
So, with QRes you can create a shortcut to change your screen resolution and/or its refresh rate, or use it in a batch file for various automation scenarios.
That's it.
Support us
Winaero greatly relies on your support. You can help the site keep bringing you interesting and useful content and software by using these options:

Good alternatives! Thanks Sergey!
What would be great, is to be able to SAVE all the existing open windows’ screen sizes, so when you change back to Hi Res, you won’t have to resize back up. It is likely the most irritating part of reducing resolution, when Windows decides that it must reduce each screen size. But, when returning to normally Hi Res, it leaves the user to resize each one individually. It shouldn’t, and doesn’t need to work like this!
How do I select on which monitor (1, 2, …) to change the resolution?
You can’t, this program was made in 1997…