Windows 10 comes with the ability to tune up your monitor's color profile and brightness accurately. There is a special wizard which allows you to calibrate your display. If you would like to improve the appearance of the monitor's picture and ensure that colors are displayed accurately, here is how to use the wizard.
Advertisеment
To calibrate your display, you need to launch the Display Color Calibration wizard. To launch it, you can use the Settings app as follows.
How to Calibrate Display Colors in Windows 10
- Open Settings.
- Go to System - Display.
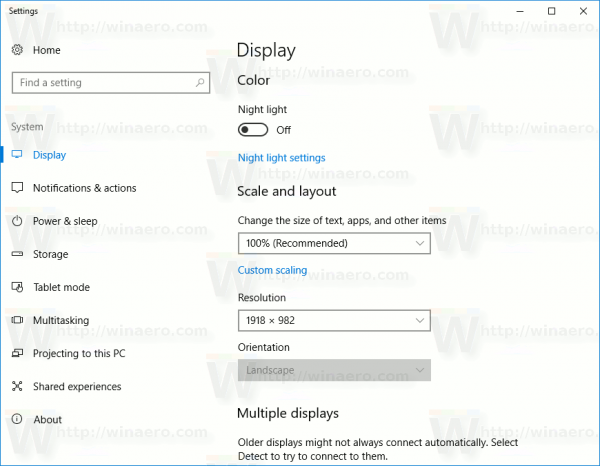
- Scroll down to the link "Display adapter properties".
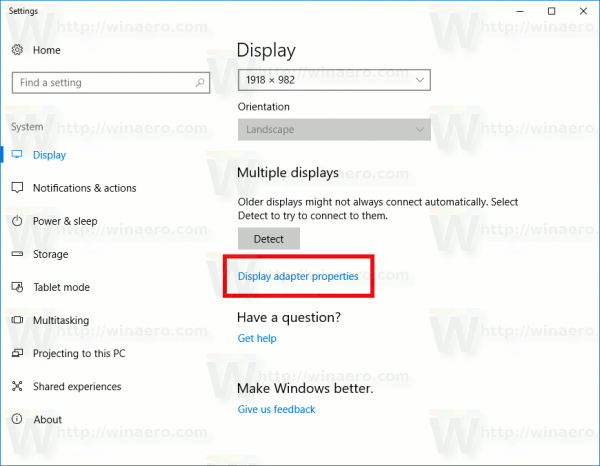
- In the next dialog, go to the Color Management tab.
- There, click the button "Color Management". See the screenshot.

- In Color management, go to the Advanced tab.
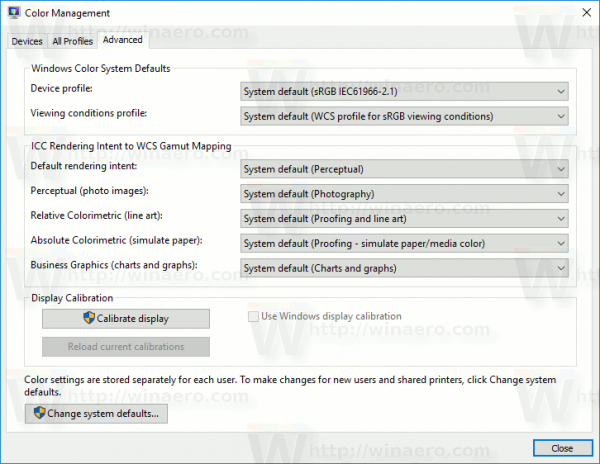
- Click the button "Calibrate display".
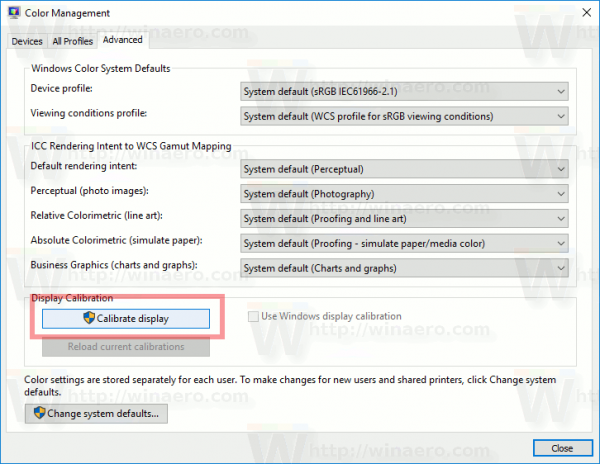
The Display Color Calibration wizard can be started directly with the "dccw" command. Press Win + R shortcut keys on the keyboard and type dccw in the Run box.

You can also create a Display Calibration shortcut in Windows 10.
Here is how the wizard looks:
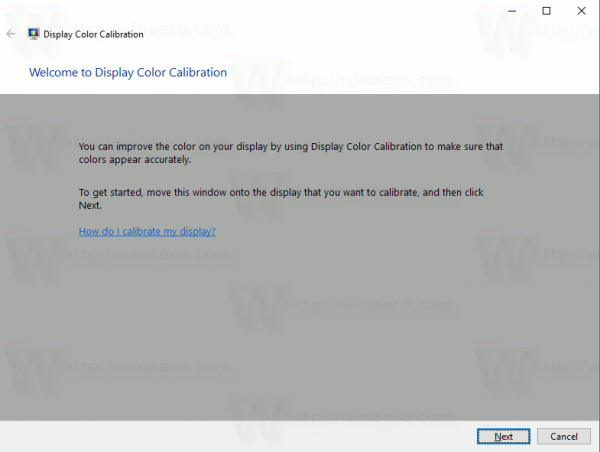
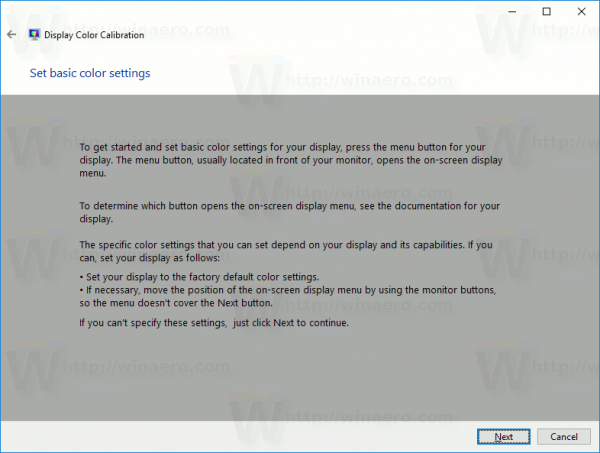
Reset your display to factory defaults (if this function is supported) and then click on Next to proceed.
Review the gamma samples, and click on the Next button to configure the gamma options on the next page.
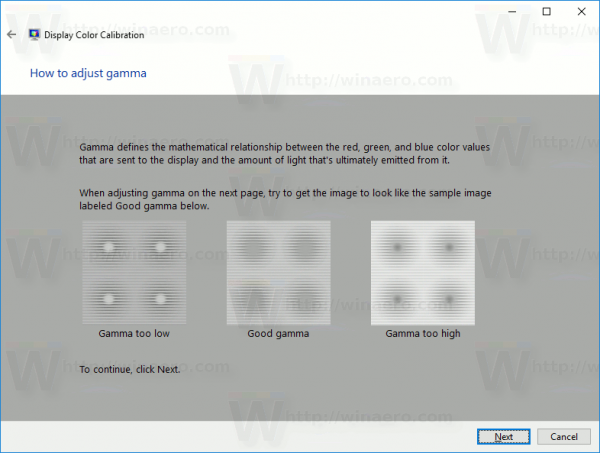
Here is how the gamma settings page looks like:
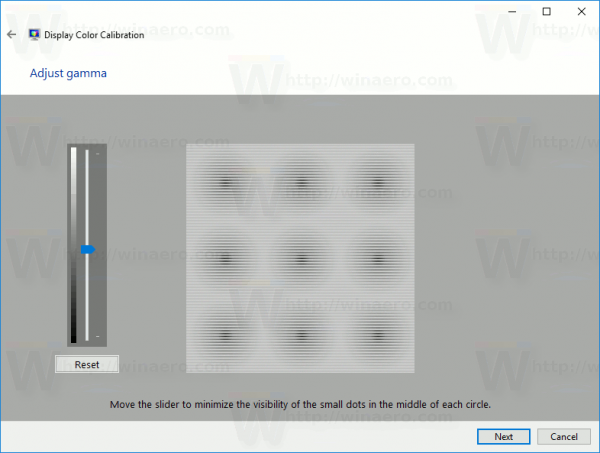
Use the slider control to adjust gamma. You need to minimize the visibility of the small dots in the middle of each circle.
Once done, click on Next again.
The next page will allow you to perform brightness and contrast adjustment. You can skip them if adjustment is not required, otherwise look at the brightness examples and change the brightness level using the provided picture sample.
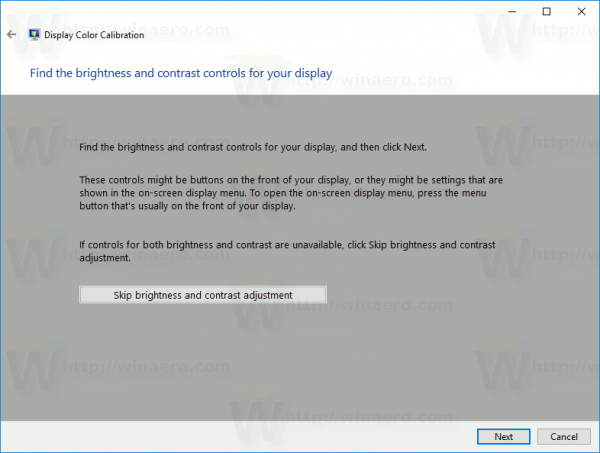
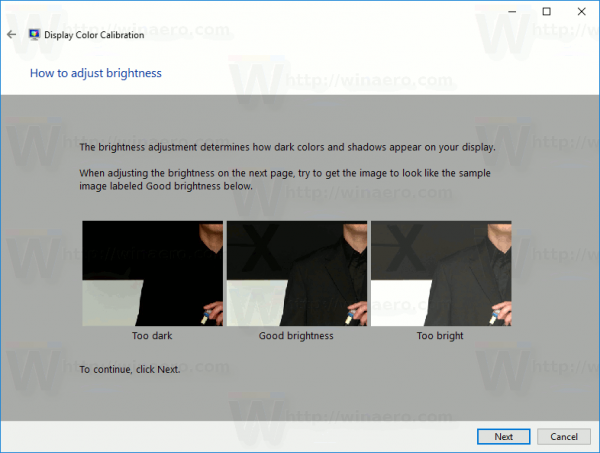
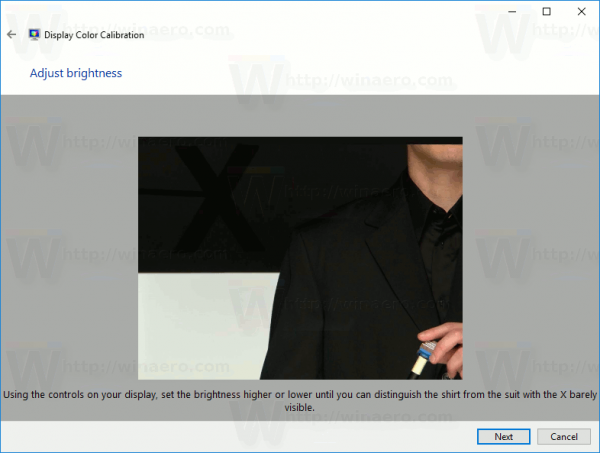
Repeat the same for contrast. Set the contrast as high as possible without losing the ability to see wrinkles and buttons on the shirt.


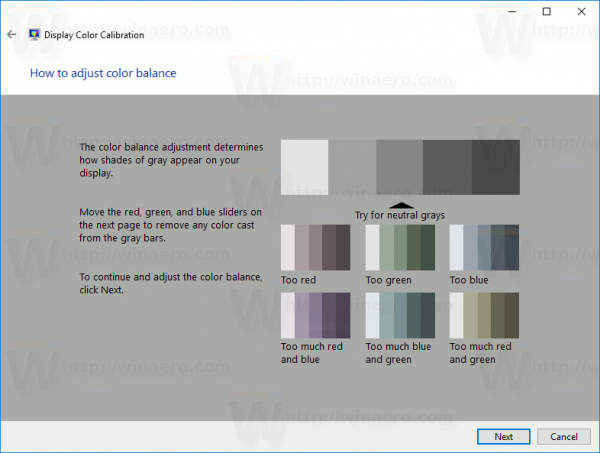
Now, configure the color balance. Look at the examples and move the red, green, and blue sliders to remove any color cast from the gray bars.
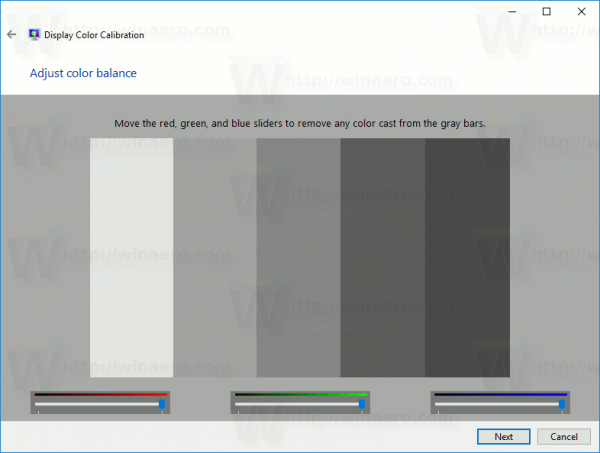
Finally, you can accept the changes you have made using the Finish button, or restore the previous options using the Cancel button. At the final stage, the Display Color Calibration wizard allows you change your ClearType font settings to ensure that text appears correctly. Tick the appropriate option to launch it.

That's it.
Support us
Winaero greatly relies on your support. You can help the site keep bringing you interesting and useful content and software by using these options:

I still don’t understand why they have hidden this option like this in RS2 instead of let it directly in display settings like older versions of Windows (7 to RS1). Another move to hide more and more things in this “os”…..
The Photo Apps wasn’t even color managed, so I guess color management is seen as something irrelevant to Microsoft, while they try to pursue the Creatives market that uses Macs…
A good idea if you don’t want to use a calibration tool is to buy a monitor that is factory calibrated for sRGB. Then you will have colors that looks like the default Windows installation expects.
The worse thing to do is buy a wide-gamut screen without knowing enough about color management. Then, you browser might show oversaturated colors and turn your web experience into watching cartoons. Each browser manages colors differently and for example, Firefox needs a change in parameter to activate the automatic conversion of colors in non tagged images (most images) to a wide-gamut screen and prevent switches in colors, but it also has a performance hit. Just sticking with sRGB is probably the best for most people.
Didn’t work.
Microsoft, once again, has cost me so many hours of trying to get everything they touch to work properly!