In this article, we will see how to allow or deny a user or group from logging in via the Remote Desktop in Windows 10. This can be configured with a couple of options in Local Security Policy. They have priority above the settings you specify for the Remote Desktop.
Advertisеment
Рere are some details about how RDP works. While any edition of Windows 10 can act as Remote Desktop Client, to host a remote session, you need to be running Windows 10 Pro or Enterprise. You can connect to a Windows 10 Remote Desktop host from another PC running Windows 10, or from an earlier Windows version like Windows 7 or Windows 8, or Linux. Windows 10 comes with both client and server software out-of-the-box, so you don't need any extra software installed. On other operating systems you may need to install some client app for RDP, e.g. xfreerdp on Linux.
Normally, you can add or remove Remote Desktop users in Windows 10 using the GUI options in System Properties. Additionally, you can force allow or force deny specific user accounts or groups from using RDP. Here's how it can be done.
If you are running Windows 10 Pro, Enterprise, or Education edition, you can use the Local Security Policy app to enable the UAC prompt for the built-in Administrators. All editions of Windows 10 can use a Registry tweak mentioned below.
To Allow Users or Groups to Logon with Remote Desktop in Windows 10,
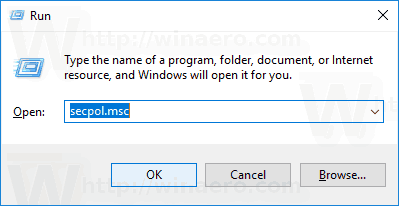
- Press Win + R keys together on your keyboard and type:
secpol.msc
Press Enter.
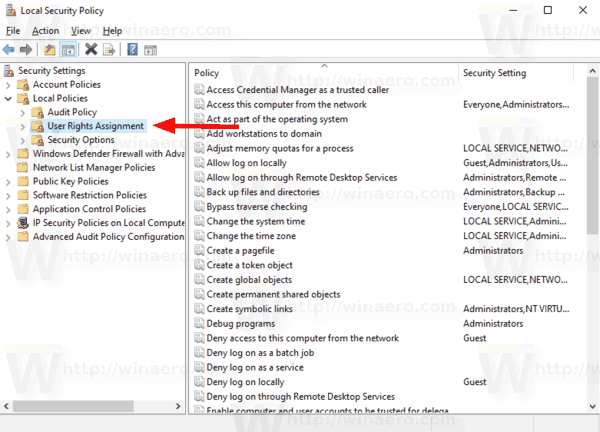
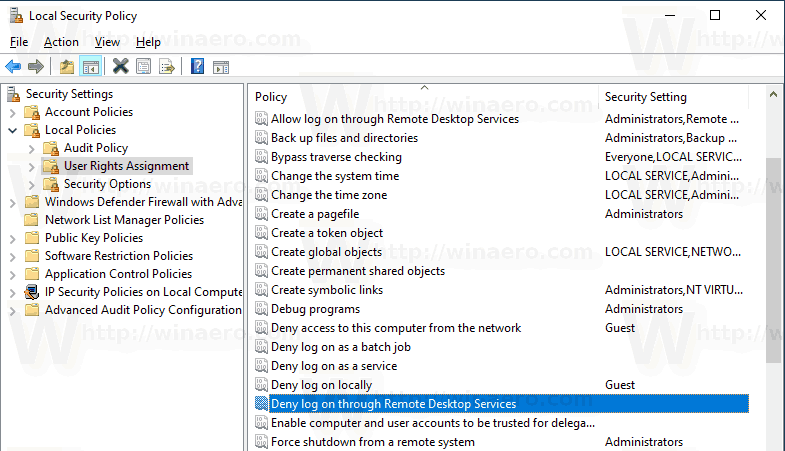
- Local Security Policy will open. Go to User Local Policies -> User Rights Assignment.
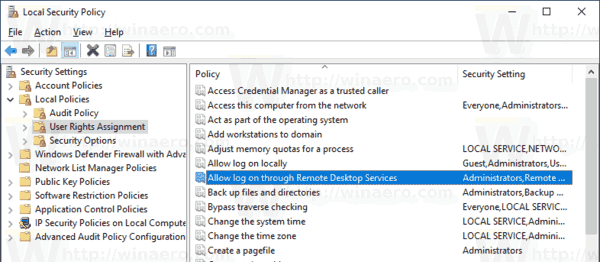
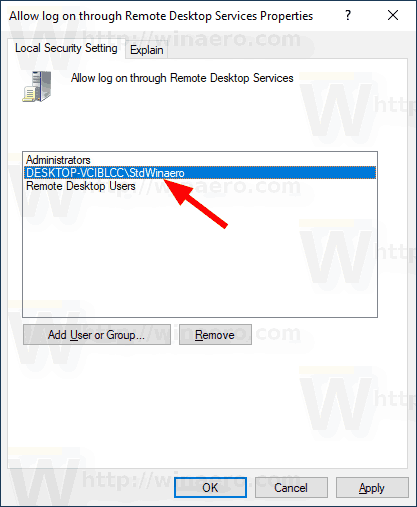
- On the right, double-click the option Allow log on through Remote Desktop Services.
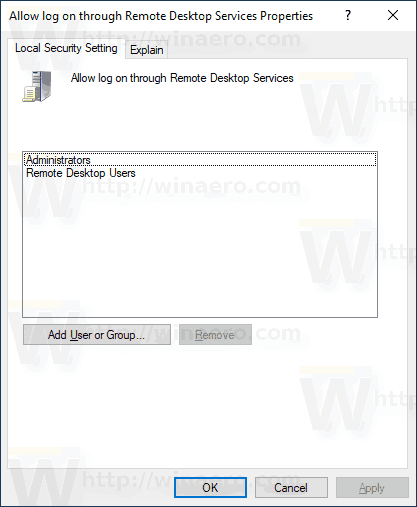
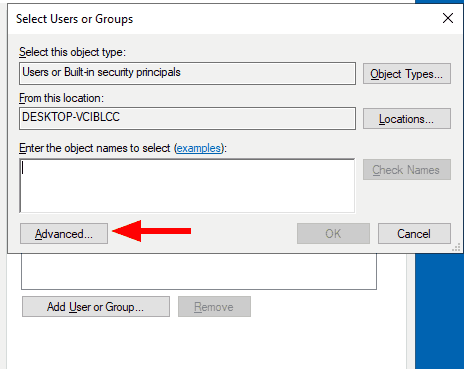
- In the next dialog, click Add User or Group.
- Click on the Advanced button.
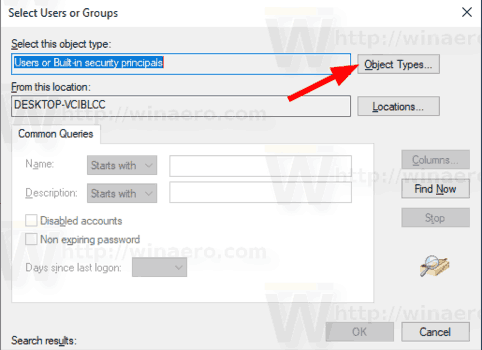
- Now, click on the Object Types button.
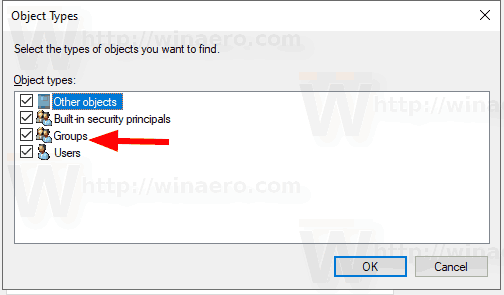
- Ensure that you have the Users and Groups items checked and click on the OK button.
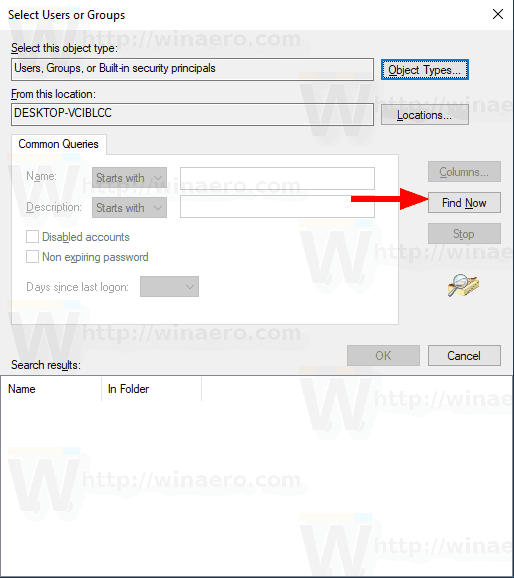
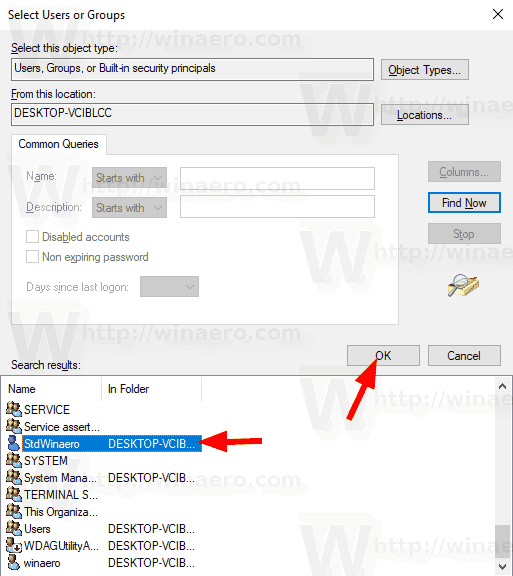
- Click on the Find now button.
- From the list, select the user account or group to allow log on through RDP for it. You can select more than one entry at once by holding the Shift or Ctrl keys and clicking on the items the list.
- Click on the OK button to add the selected items to the Object names box.
- Click on the OK button to add the selected items to the policy list.
You are done.
To undo the change, remove the user account from the list in the Allow log on through Remote Desktop Services policy.
If your Windows edition doesn't include the secpol.msc tool, you can use the ntrights.exe tool from Windows 2003 Resource Kit. Many resource kit tools released for previous Windows versions will run successfully on Windows 10. ntrights.exe is one of them.
The ntrights tool
The ntrights tool allows you to edit user account privileges from the command prompt. It is a console tool with the following syntax.
- Grant a right:
ntrights +r Right -u UserOrGroup [-m \\Computer] [-e Entry] - Revoke a right:
ntrights -r Right -u UserOrGroup [-m \\Computer] [-e Entry]
The tool supports plenty of privileges which can be assigned to or revoked from a user account or group. Privileges are case sensitive. To learn more about the supported privileges, type ntrights /?.
To add ntrights.exe to Windows 10, read this post: What is the ntrights app and how you can use it. You can place the ntrights.exe file to the C:\Windows\System32 folder to quickly call it.
Allow users or groups to log on remotely via RDP with ntrights
- Open an elevated command prompt.
- Type the following command to grant the right to log on remotely with RDP to a user or group:
ntrights -u SomeUserName +r SeRemoteInteractiveLogonRight
Substitute the SomeUserName portion with the actual user name or group name.
- To undo the change, execute
ntrights -u SomeUserName -r SeRemoteInteractiveLogonRight
You are done.
To Deny Users or Groups to Logon with Remote Desktop in Windows 10,
- Press Win + R keys together on your keyboard and type:
secpol.msc
Press Enter.
- Local Security Policy will open. Go to User Local Policies -> User Rights Assignment.
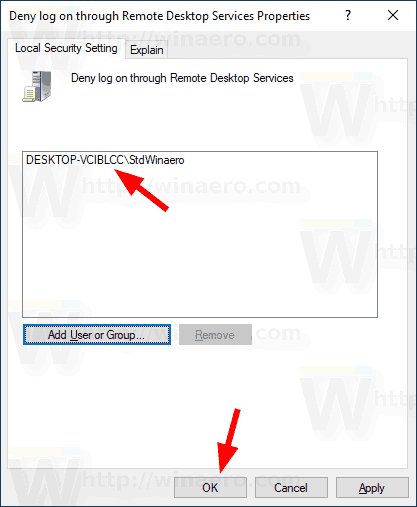
- On the right, double-click the option Deny log on through Remote Desktop Services.
- In the next dialog, click Add User or Group.

- Click on the Advanced button.
- Now, click on the Object Types button.
- Ensure that you have the Users and Groups items checked and click on the OK button.
- Click on the Find now button.
- From the list, select the user account or group to deny log on through RDP for it. You can select more than one entry at once by holding the Shift or Ctrl keys and clicking on the items the list.
- Click on the OK button to add the selected items to the Object names box.
- Click on the OK button to add the selected items to the policy list.
You are done.
To undo the change, remove the user account from the list in the Deny log on through Remote Desktop Services policy.
Deny users or groups from using RDP with ntrights
- Open an elevated command prompt.
- Type the following command to prevent the user from logging on remotely with RDP:
ntrights -u SomeUserName +r SeDenyRemoteInteractiveLogonRight
Substitute the SomeUserName portion with the actual user name or group name.
- To undo the change, execute
ntrights -u SomeUserName -r SeDenyRemoteInteractiveLogonRight
You are done.
Support us
Winaero greatly relies on your support. You can help the site keep bringing you interesting and useful content and software by using these options:
