How to add the Troubleshooters Toolbar to the taskbar in Windows 10
Instead or in addition to the Troubleshooters context menu, you can also have a toolbar in the taskbar that allows directly launching individual Windows troubleshooters in Windows 10. It is very useful for those times when you are figuring out what's wrong with the OS.
Advertisеment
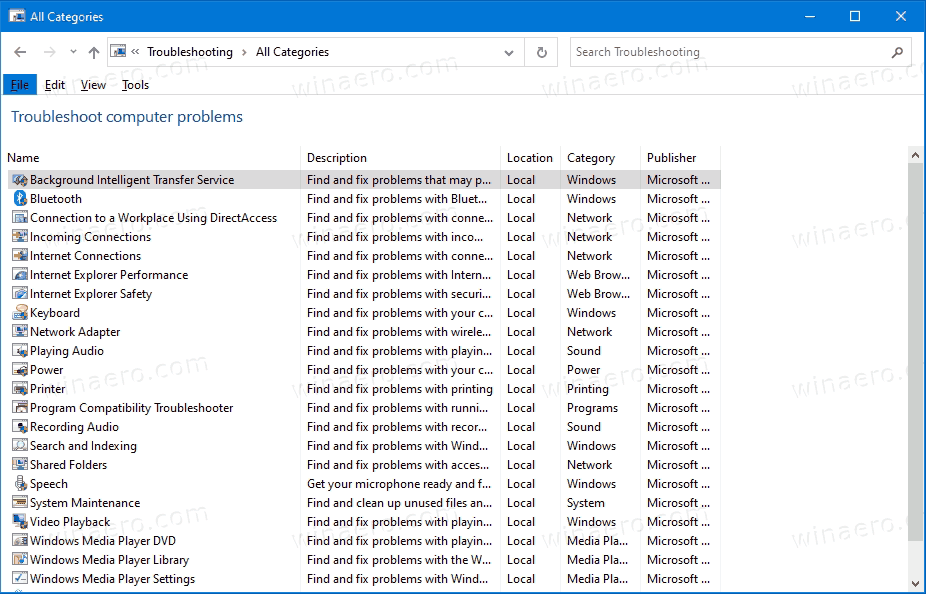
To fix various problems with the OS, Windows 10 comes with a number of built-in troubleshooters. Sometimes they are really useful and can resolve the issue quickly. The classic Control Panel contains all troubleshooters in a single view. That's what we will use as our toolbar content in this post.
Also, Microsoft has added all the available troubleshooters to the Settings app starting in Windows 10 build 15019. The link from the classic Control Panel also opens the new Settings page. To run a troubleshooter in Windows 10, you can that page, by following the path
Settings \ Update & security \ Troubleshoot.
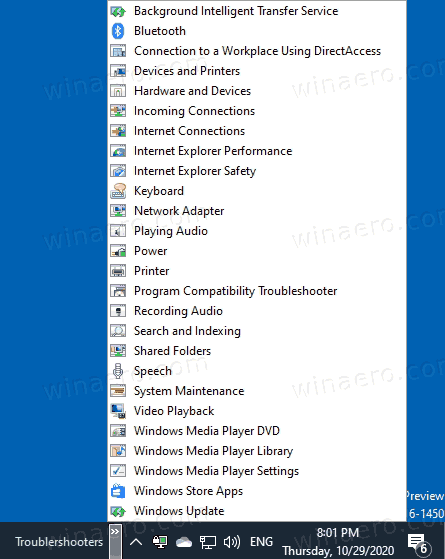
Windows 10 includes a lot of troubleshooting tools. Those include
- Internet connections
- Playing Audio
- Printer
- Windows Update
- Blue Screen
- Bluetooth
- Hardware and Devices
- HomeGroup
- Incoming Connections
- Keyboard
- Network Adapter
- Power
- Program Compatibility Troubleshooter
- Recording Audio
- Search and Indexing
- Shared Folders
- Speech
- Video Playback
- Windows Store Apps
- ...and more.
This post will show you how to add the Troubleshooters toolbar to the taskbar in Windows 10.
To Add Troubleshooters Toolbar to Taskbar in Windows 10
- Download the following ZIP archive: Download Troubleshooters-toolbar-folder.zip
- Save the Troubleshooters-toolbar-folder.zip file to any folder.
- Unblock the downloaded file.
- Now, open the downloaded ZIP file and copy the Troubleshooters folder to some location where you will store it. I will place it to
c:\data\winaero\Troubleshooters.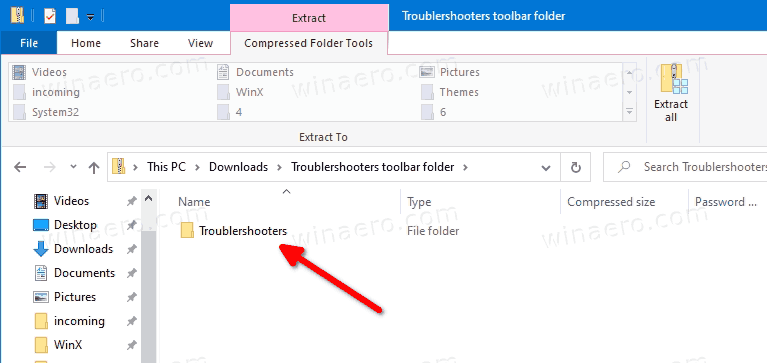
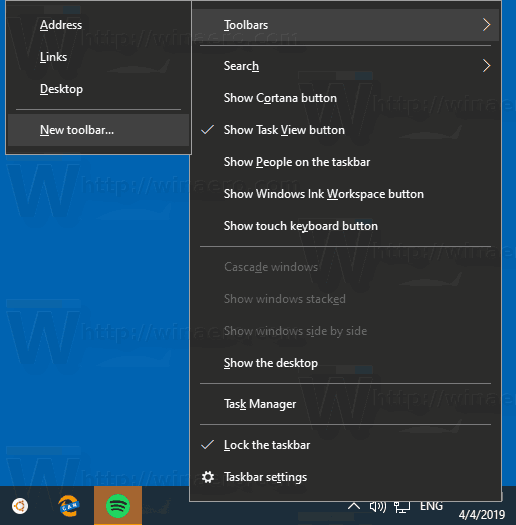
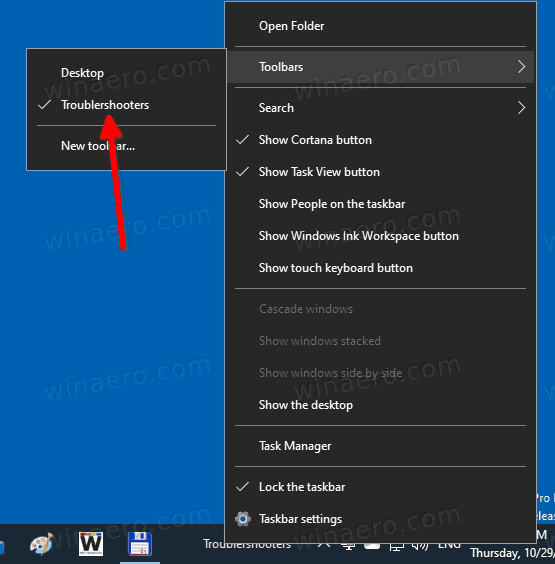
- Now, right click on the taskbar and select Toolbar > New toolbar... from the context menu.
- Browse for your Troubleshooters folder and click on the Select folder button in the folder browser dialog.
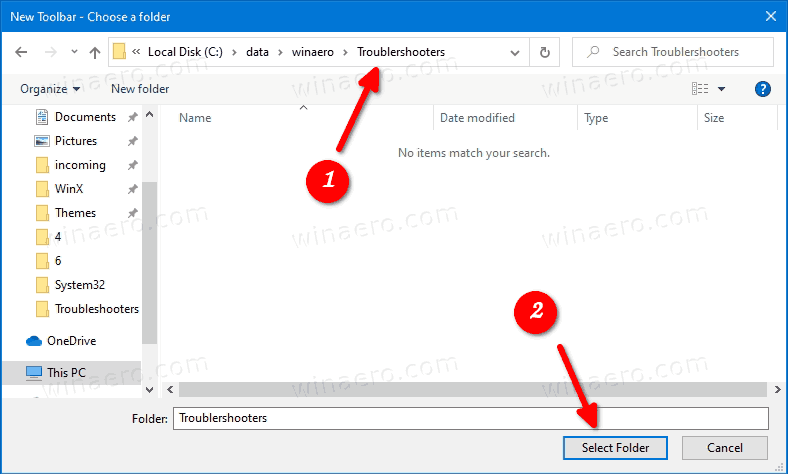
- A new toolbar will be created, giving you fast access to all the troubleshooters in Windows 10.
- You can further customize the toolbar by right-clicking on it and changing its options.
You are done.
Note: Instead of creating the toolbar, you can pin the Troubleshooters folder to the taskbar or Start menu.
Finally, to remove the toolbar, right-click on the taskbar and deselect (uncheck) the Troubleshooters toolbar.
How it works
The shortcut you have downloaded are all executing the msdt.exe built-in tool. It invokes a troubleshooting pack at the command line or as part of an automated script, and enables additional options without user input.
The command syntax is as follows.
msdt -id <TroublershooterID>
Here, you need to replace the <TroublershooterID> portion with the actual troubleshooter, e.g.
msdt.exe -id SearchDiagnostic
The above line will open the search and indexing troubleshooter.
You will find the package names here.
That's it!
Support us
Winaero greatly relies on your support. You can help the site keep bringing you interesting and useful content and software by using these options:
