How to Add Troubleshooters Context Menu in Windows 10
To fix various problems with the OS, Windows 10 comes with a number of built-in troubleshooters. Sometimes they are really useful and can resolve the issue quickly. If you often use them, you can add them to the Desktop context menu. Having them accessible with one click is very convenient for those times when you are figuring out what's wrong with the OS.
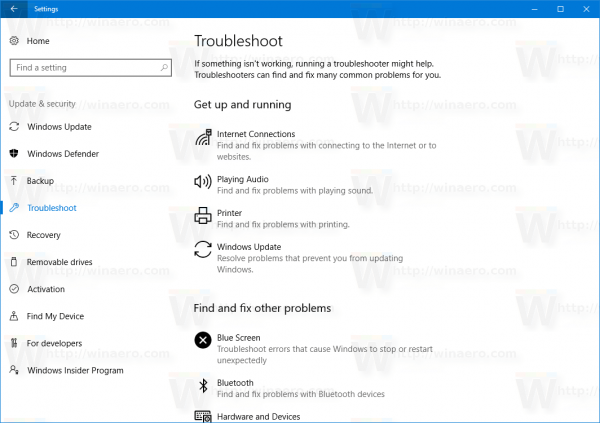
Microsoft has added all the available troubleshooters to the Settings app starting in Windows 10 build 15019. The link from the classic Control Panel also opens the new Settings page. To run a troubleshooter in Windows 10, you can that page, by following the path
Settings \ Update & security \ Troubleshoot. It includes the following troubleshooters:
Advertisеment
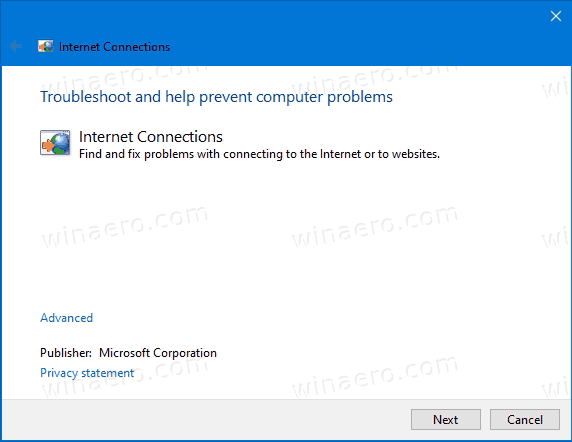
- Internet connections
- Playing Audio
- Printer
- Windows Update
- Blue Screen
- Bluetooth
- Hardware and Devices
- HomeGroup
- Incoming Connections
- Keyboard
- Network Adapter
- Power
- Program Compatibility Troubleshooter
- Recording Audio
- Search and Indexing
- Shared Folders
- Speech
- Video Playback
- Windows Store Apps
This post will show you how to add or remove Troubleshooters to the desktop context menu in Windows 10.
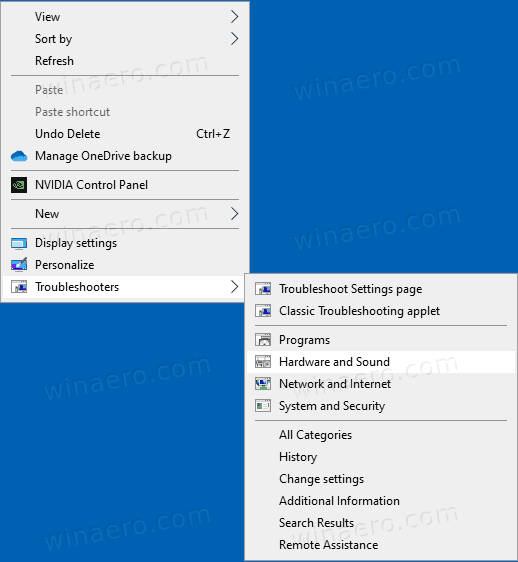
To Add Troubleshooters Context Menu in Windows 10,
- Download the following ZIP archive: Download ZIP archive.
- Extract its contents to any folder. You can place the files directly to the Desktop.
- Unblock the files.
- Double-click on the
Add Troubleshooters To Desktop Context Menu.regfile to merge it.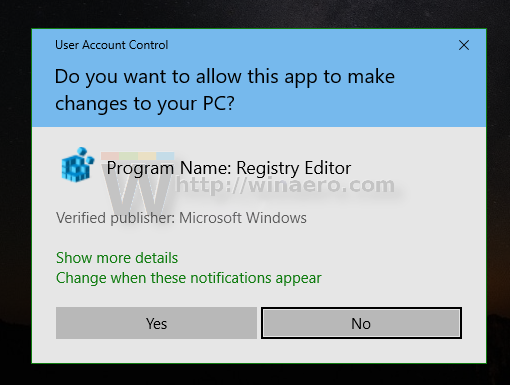
- To remove the entry from the context menu, use the provided file
Remove Troubleshooters From Desktop Context Menu.reg.
You are done! Now you can launch any troubleshooter much faster.
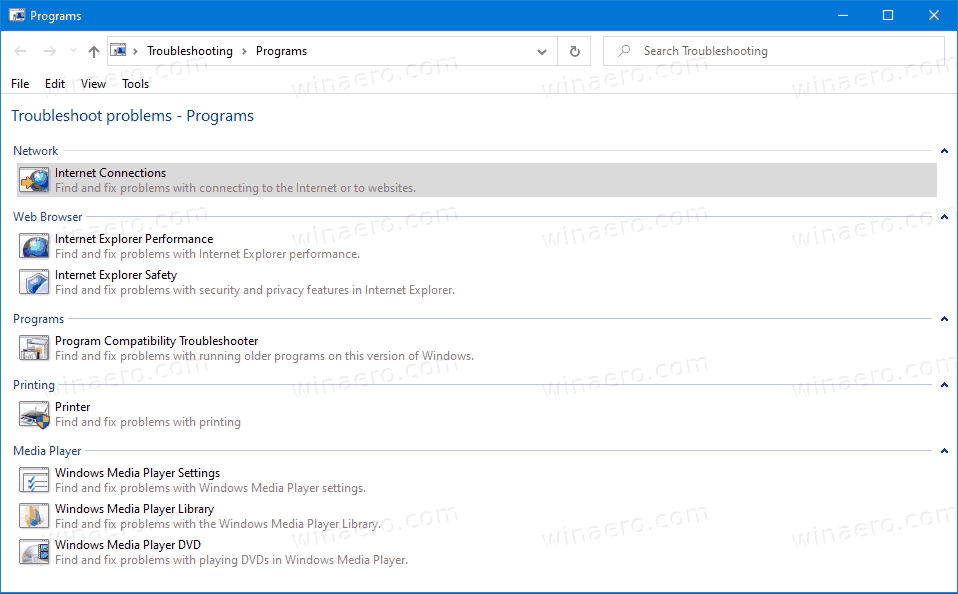
Note: There is also a special "Shift" Registry file. You can use it instead of the regular "Add..." one, so the Troubleshooters menu will appear only when you press and hold the SHIFT key on the keyboard.
How it works
The above Registry files add a new entry under the key HKEY_CLASSES_ROOT\DesktopBackground\Shell. This ensures that it is available to all users of the current Windows 10 instance.
Its subkeys call the classic Troubleshooting applet of the Control Panel in Windows 10. The call is done via a shell:: command we have earlier reviewed. The ActiveX is {C58C4893-3BE0-4B45-ABB5-A63E4B8C8651}. It also allows calling individual troubleshooters by specifying the desired page in the shell command.
Also, there is an entry that opens the Troubleshoot page in Settings. This is done by using the following ms-settings command: ms-settings:troubleshoot.
Here's how the commands look.
Commands for opening individual troubleshooters
| Troubleshooter | Command |
|---|---|
| Classic Troubleshooting applet | shell:::{C58C4893-3BE0-4B45-ABB5-A63E4B8C8651} |
| Troubleshoot Settings page | ms-settings:troubleshoot |
| Programs | shell:::{C58C4893-3BE0-4B45-ABB5-A63E4B8C8651}\\applications |
| Hardware and Sound | shell:::{C58C4893-3BE0-4B45-ABB5-A63E4B8C8651}\\devices |
| Network and Internet | shell:::{C58C4893-3BE0-4B45-ABB5-A63E4B8C8651}\\network |
| System and Security | shell:::{C58C4893-3BE0-4B45-ABB5-A63E4B8C8651}\\system |
| All Categories | shell:::{C58C4893-3BE0-4B45-ABB5-A63E4B8C8651}\\listAllPage |
| History | shell:::{C58C4893-3BE0-4B45-ABB5-A63E4B8C8651}\\historyPage |
| Change settings | shell:::{C58C4893-3BE0-4B45-ABB5-A63E4B8C8651}\\settingPage |
| Additional Information | shell:::{C58C4893-3BE0-4B45-ABB5-A63E4B8C8651}\\resultPage |
| Search Results | shell:::{C58C4893-3BE0-4B45-ABB5-A63E4B8C8651}\\searchPage |
| Remote Assistance | shell:::{C58C4893-3BE0-4B45-ABB5-A63E4B8C8651}\\raPage |
Support us
Winaero greatly relies on your support. You can help the site keep bringing you interesting and useful content and software by using these options:
