In our previous article we have reviewed a couple of commands that you can use to lock the unlocked drive in Windows 10, instead of restarting the OS. As you may remember, Windows 10 doesn't include a GUI option for that operation. Well, let's add it!
Advertisеment
Windows 10 allows enabling BitLocker for removable and fixed drives (drive partitions and internal storage devices). It supports protection with a smart card or password. You can also make the drive to automatically unlock when you sign in to your user account.
BitLocker was first introduced in Windows Vista and still exists in Windows 10. It was implemented exclusively for Windows and has no official support in alternative operating systems. BitLocker can utilize your PC's Trusted Platform Module (TPM) to store its encryption key secrets. In modern versions of Windows such as Windows 8.1 and Windows 10, BitLocker supports hardware-accelerated encryption if certain requirements are met (the drive has to support it, Secure Boot must be on and many other requirements). Without hardware encryption, BitLocker switches to software-based encryption so there is a dip in your drive's performance. BitLocker in Windows 10 supports a number of encryption methods, and supports changing a cipher strength.
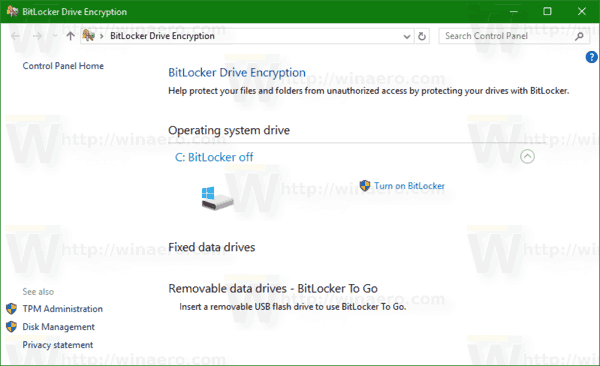
Note: In Windows 10, BitLocker Drive Encryption is only available in the Pro, Enterprise, and Education editions. BitLocker can encrypt the system drive (the drive Windows is installed on), and internal hard drives. The BitLocker To Go feature allows protecting files stored on a removable drives, such as a USB flash drive. The user can configure the encryption method for BitLocker.
We are going to add a new context menu entry for unlocked drives encrypted with BitLocker. The new command won't appear for locked drives, and for drives not encrypted with BitLocker. This is very useful, as it won't remain visible when not required!
To Add BitLocker Lock Drive Context Menu in Windows 10,
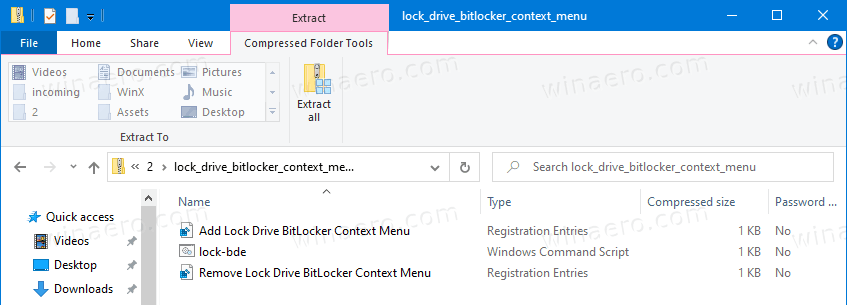
- Download the following Registry files (in a ZIP archive): Download Registry Files.
- Extract its contents to any folder. You can place the files directly to the Desktop.
- Unblock the files.
- Double click on the
Add Lock Drive BitLocker Context Menu.regfile to merge it. - Move the
lock-bde.cmdfile into the C:\Windows\ folder.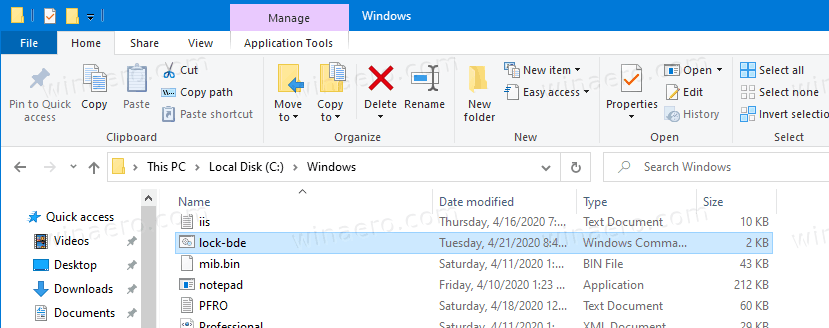
- Click on the 'Continue' when/if prompted to approve.
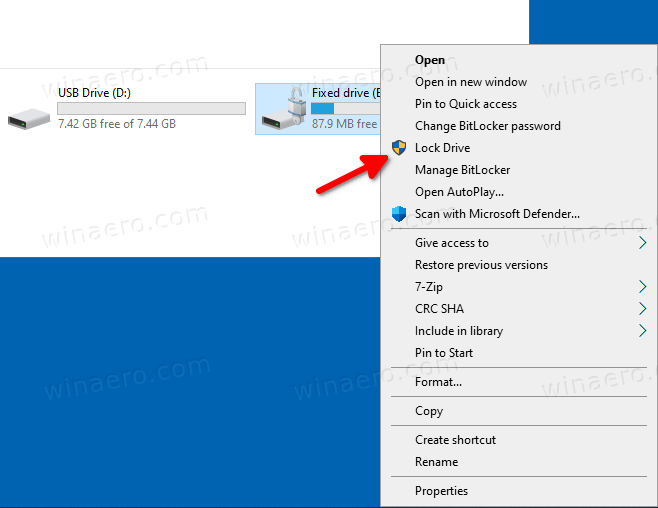
You are done! Now, right-click on the unlocked drive, and select 'Lock Drive' from the context menu. The drive will be locked with BitLocker.
How it works
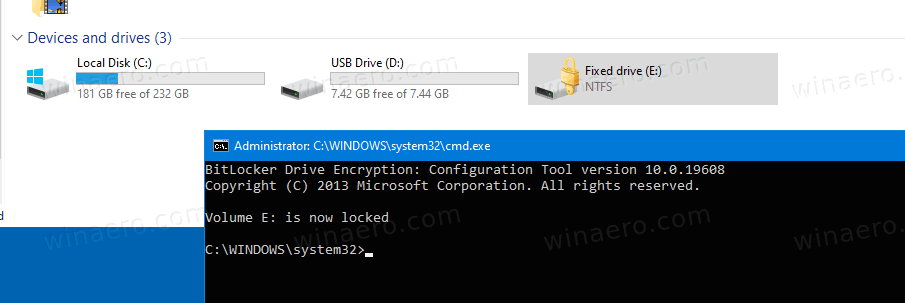
The batch file runs the manage-bde -lock <drive letter>: -ForceDismount command we have reviewed earlier. The context menu entry uses PowerShell to launch it as Administrator.
To Remove BitLocker Lock Drive Context Menu in Windows 10,
- Double-click on the file
Remove Lock Drive BitLocker Context Menu.regincluded in the ZIP archive above. - Delete the file
c:\Windows\lock-bde.cmd.
That's it!
Support us
Winaero greatly relies on your support. You can help the site keep bringing you interesting and useful content and software by using these options:
