

In Windows 10, due to the new Settings app, you need to perform many clicks before you can connect to a VPN server. In Windows 7 or 8.1, you could create a shortcut to your VPN connection and connect to it with just one click. But Windows 10 does not allow you this. Here is a workaround.
In Windows 7, you could quickly connect to VPN using the network flyout which appears from the system tray. VPN connections were listed in the Network pane and you could just double click them!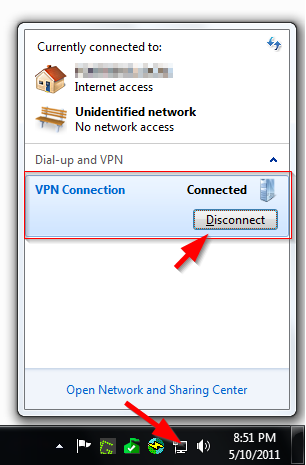
In Windows 8.1 too, you could click the Network icon in the tray, select the VPN connection and click Connect.
However, when you do the same in Windows 10, it shows a list of network connections inside the Settings app instead. Even in that list, when you click the connection's name, it shows an additional Settings page instead of a direct way to connect. Also, after connecting, you must close the Settings app. This is incredibly frustrating.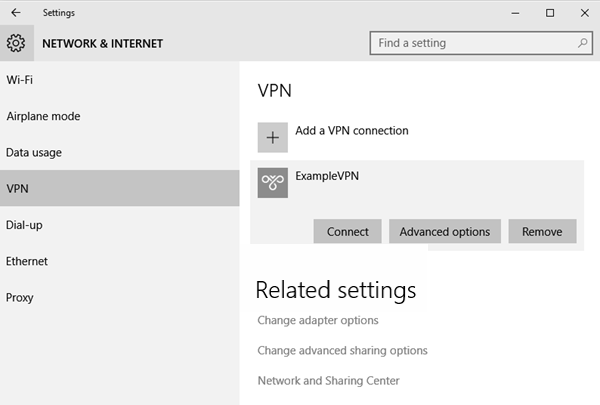
To save your time, you might want to create a shortcut to connect to a VPN directly. Here is how it can be done.
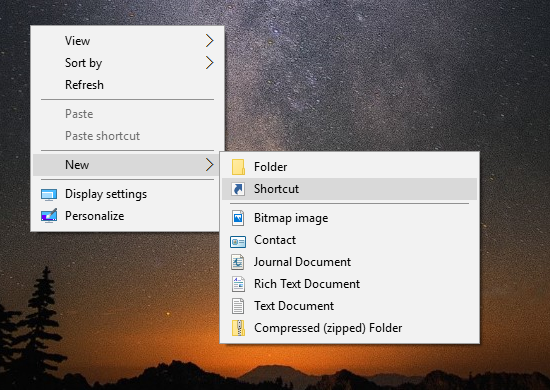
- Right click the Desktop and select New - Shortcut.
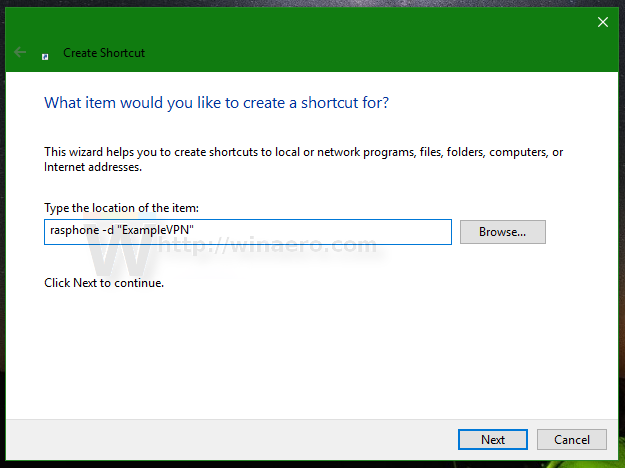
- In the shortcut target box, type or copy-paste the following command:
rasphone -d "VPN connection name"
See the following screenshot:

- Set the desired icon and name for your shortcut.
Once you do this, just click this shortcut to connect to a VPN directly. You can pin it anywhere you want.
That's it.
Support us
Winaero greatly relies on your support. You can help the site keep bringing you interesting and useful content and software by using these options:
nice one, rasdial also does the same thing :)
rasdial does not work for Microsoft Account users.
rasphone works.
Rasdail doesn’t let you ask for a password, so you will need save un-encrypted in the shortcut/bat file.
If you type
rasdial /?
You can see all the options.
rasdial “My VPN” “user.name” *
The final * forces a prompt for a password
How can i Disconnect VPN?
Just Remove -d switch
like this :
rasphone “VPN connection name”
rasphone -h “VPN connection name”
H- denotes for hang up. this quietly hangs up the connection. Without any Pop ups.
Try:
ipconfig|find/i “My VPN” && rasdial “My VPN” /disconnect || rasdial “My VPN” “user.name” *
The first time, it will connect – and ask for a password
Run it again, and it disconnects!
We cannot disconnect VPN using this shortcut.
Can someone help to figure out two separate commands to connect and to disconnect? Without seeing this popup dialog box?
We can create two taskbar icons or start pins to connect and to disconnect.
Anyone please?
rasdial “VPN connection name” /DISCONNECT
I have been looking for a way to revert the silly misdesign of Windows 10 back to Windows 7/8 style. And it IS possible! There is acutally a way to restore the better one-click behavior of the networks flyout. The procedure requires changing one Registry key however to do this you have to add yourself permissions to do this so the whole procedure is:
Open regedit (WIN+R and type regedit.exe)
Navigate to HKEY_LOCAL_MACHINE\Software\Microsoft\Windows\CurrentVersion\Control Panel\Settings\Network
Take ownership of the “Network” key/folder (right click, Permissions)
Select “Advanced” in the Permissions window
In the Advanced window, select “Change” where the owner field is (at the top of the window)
Type in your username and save your changes.
Close the advanced window
Now select “Administrators” in the security tab
Make sure “Full control” is selected, then apply changes
Now that’s done, double click “ReplaceVan”
Change it’s value to 2
Sure it is possible. I covered this trick some time ago: Change network icon click action in Windows 10
You can make this one-click VPN logon better by disabeling the Username/Password window.
Open %APPDATA%\Microsoft\Network\Connections\Pbk\rasphone.pbk in notepad.exe, make first a backup of it
Find [YOURVPNNAME]
Find PreviewUserPw=1 – Change it to PreviewUserPw=0
Save the file
You can now use rasphone -d “YOURVPNNAME” without a prompt, Windows wil use chached credentials.
This works in all Windows versions, including 8/8.1/10.
Thanks for this :) Works like a charm!
GREAT!!!!
I’m no power user – I Just wanted to say thank you!
you are welcome.
Hi all, I am new to this so sorry for dummy questions:
I defined Dial up Connection on my Windows PC 10, now I try to use rasphone to make connect but I don’t know what parameters I should give.
My Dial up connection name is: Dial-up Connection
I do:
rasphone -d Dial-up Connection and get help pop up instead of Connecting
Please help
This trick doesn’t work with Windows 10 and Azure Point to Site VPN. :( It throws a “Custom script to update your routing table failed” on the connection window. This has been confirmed by Microsoft on their “Troubleshooting: Azure point-to-site connection problems” page (sorry, it won’t let me post the link).
Wow. That was so easy. Thanks so much for this great, simple solution!
Create a shortcut with “ms-settings:network-vpn” without quotes.
It’s sad to see that this page comes at 1st in search but doesn’t has the correct answer till date.
But we need a shortcut for that
Hi thanks for the one-click shortcut, but I am unable to get it to work. When i click on to connect through the windows settings i get the windows Azura connect window which i can click on connect. and it will connect to the VPN. However, when i use the shortcut you post to connect to the VPN i get this error “Custom script (to update your routing table) failed (8007026f).” Can you tell me what I’m doing wrong?
C:\Windows\System32\rasphone.exe -d “connectiopn_name”
This command does not automatically connect. How to really connect with one click?