Windows 11 lets you enable or disable Wi-Fi using various methods and options. In this article, we will review most of them.
Advertisеment
Wi-Fi technology that allows you to organize is a wireless local area network (WLAN). It is defined by a standard that specifies radio frequencies and security protocols. Wi-Fi connects your devices into a single network and allows them to go to the Internet.
You might want to disable Wi-Fi in order to disconnect your PC from all wireless networks. It will also help you to save some battery power on laptops and tables. That's because Windows will turn off power to the Wi-Fi adapter. Here is how to only turn on or off your Wi-Fi connection in Windows 11.
Enable or Disable Wi-Fi in Windows 11
You can use Quick Settings, the Settings app, AirPlane mode, and a physical switch (were available) to turn Wi-Fi on or off. Also, you can disable or enable it by managing the wireless network adapter from the classic Control Panel or Device Manager, which can be helpful in a number of situations.
The fastest way to enable or disable Wi-Fi in Windows 11 is to use the Quick Settings menu.
Using Quick Settings
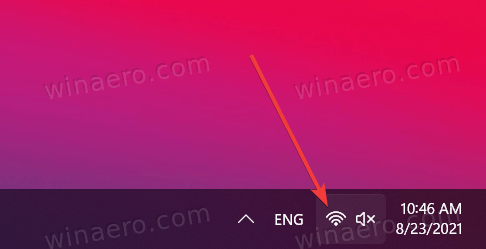
- Open Quick Settings using the Win + A shortcut or by clicking the Network, Battery, or Volume icons (all three are a single button).
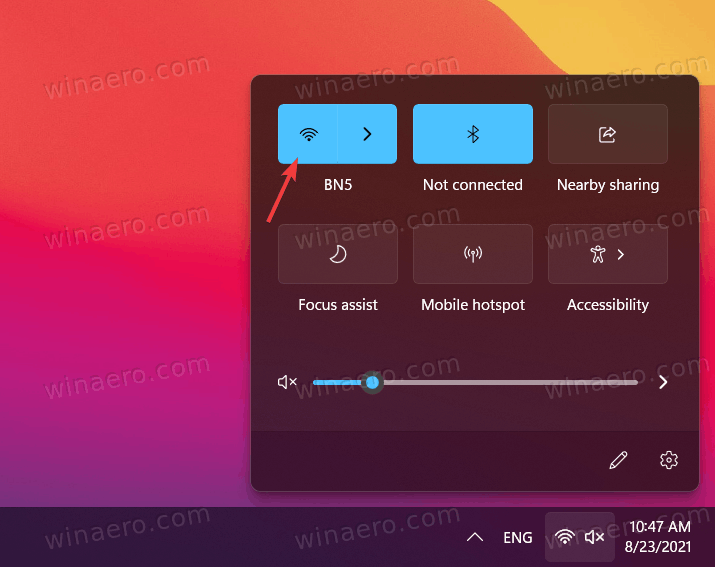
- In the Quick Settings flyout, click the button with the Wi-Fi icon. Clicking the icon will toggle enable Wi-Fi in Windows 11.
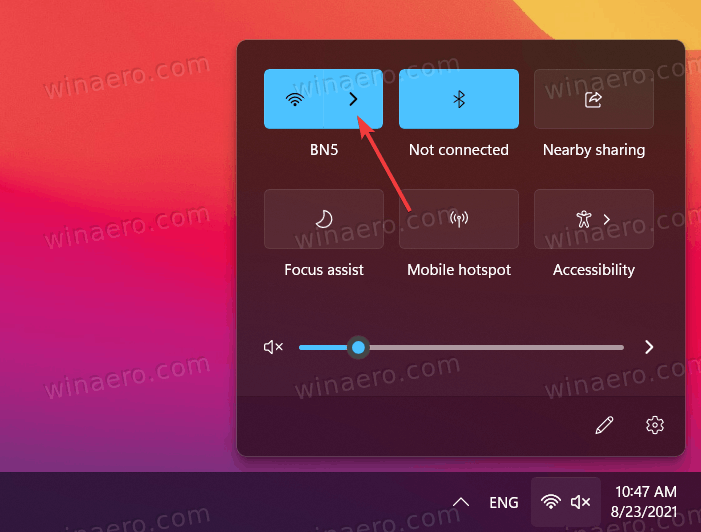
- To connect to one of the available Wi-Fi networks, click the arrow button next to the Wi-Fi icon.
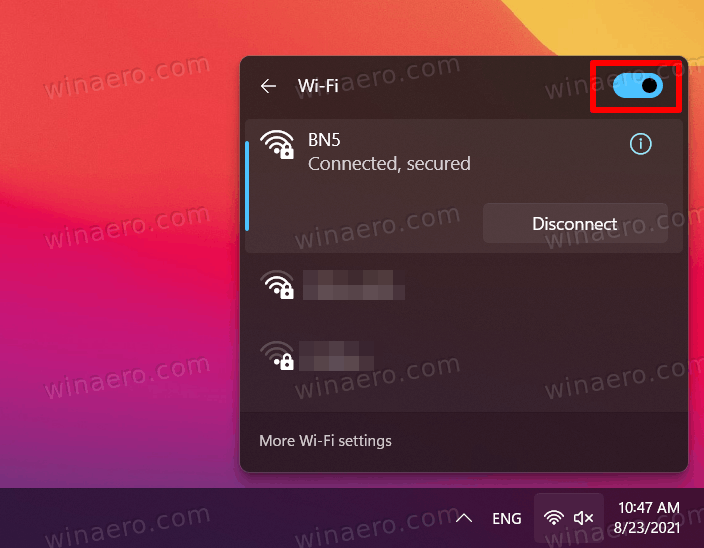
- On the next screen, select the network you need. You can also find a Wi-Fi on/off toggle above the list of the available networks. It enables or disables Wi-Fi in Windows 11 too.
- To disable Wi-Fi in Windows 11, open Quick Settings again and click the Wi-Fi icon.
You are done.
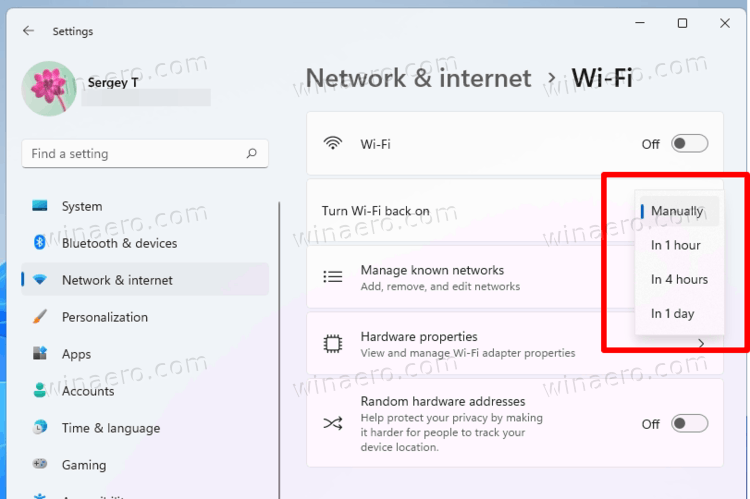
When you disable Wi-Fi in Windows 11 using the Quick Settings, you can set Windows to turn Wi-Fi back on after a specific time. It is a convenient feature when someone needs to turn off his wireless connection for a short period of time.
Wi-Fi is missing in the Quick Settings
If you cannot find the Wi-Fi button in Quick Settings, ensure you have installed the correct Wi-Fi drivers and enabled the adapter (sections below describe how to enable or disable network adapters in Windows 11).
If the Wi-Fi toggle is present in Windows Settings, but you cannot find it in the Quick Settings menu, you need to add it manually.
Add Wi-Fi button to quick settings, do the following.
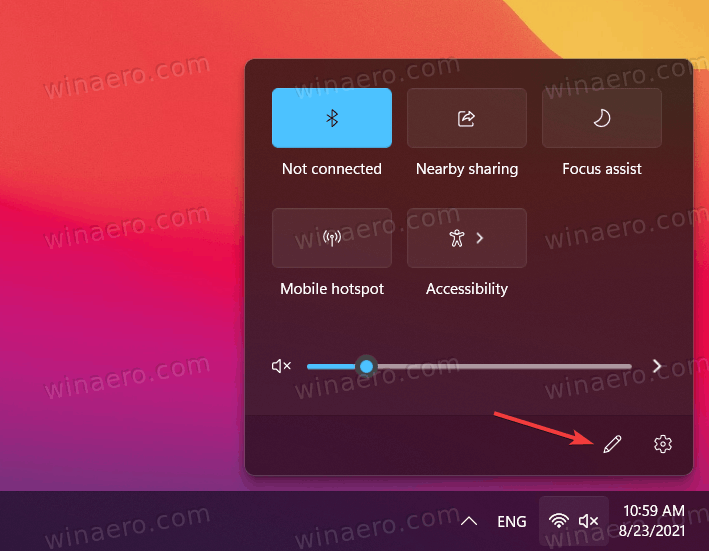
- Press Win + A, then click the Edit button with a pencil icon.
- Click the Add button with a plus mark.
- Now, select Wi-Fi from the list of available toggle options.
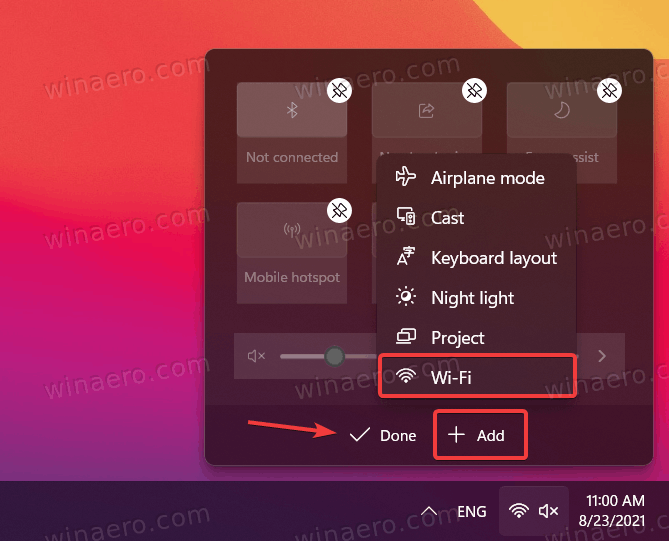
- Click Done to save changes.
Alternatively, you can use the Settings app to turn Wi-Fi on or off.
Enable or Disable Wi-Fi in Settings
- Press Win + I to open Settings.
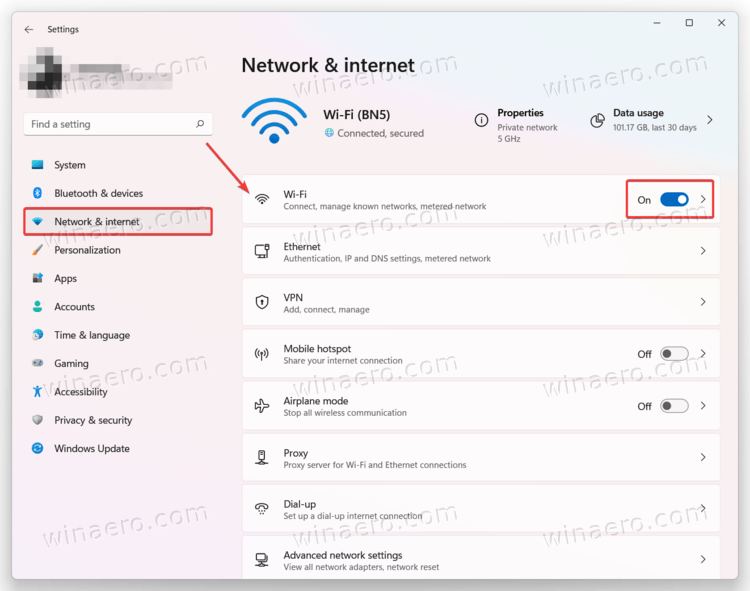
- Open the Network & Internet section.
- Find Wi-Fi and toggle it on or off.
- If you disabled Wi-Fi, you need to click on the Wi-Fi box to expand it open, and select when to turn Wi-Fi back on.
Done! You can now close Windows Settings if you have no other tasks for it.
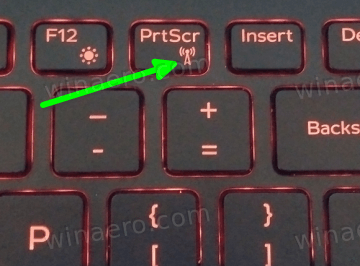
If your device comes with a physical hardware button to disable or enable Wi-Fi, you can use it as well.

Some Windows laptops and tables have a dedicated key on the keyboard (shown above). Often such a key requires you to combine it with the Fn key, as its function is shared with some other key like F3, Print Screen etc.
Finally, certain devices may have a physical switch to enable or disable Wi-Fi. See photo below.

Another way to disable Wi-Fi in Windows 11 is to turn off a network adapter. That's not what you will do everytime, but it can be of help as well. You can do that from three locations: Windows Settings, the classic Control Panel, and Device Manager.
Turn off Wi-Fi in Windows 11 by disabling a Network Adapter
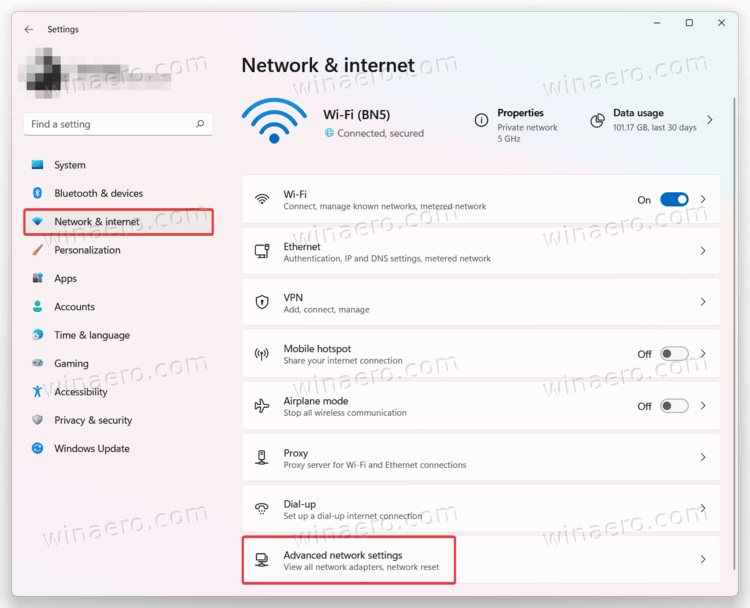
- To begin, open Windows Settings in Windows 11 by pressing Win + I or using any other method.
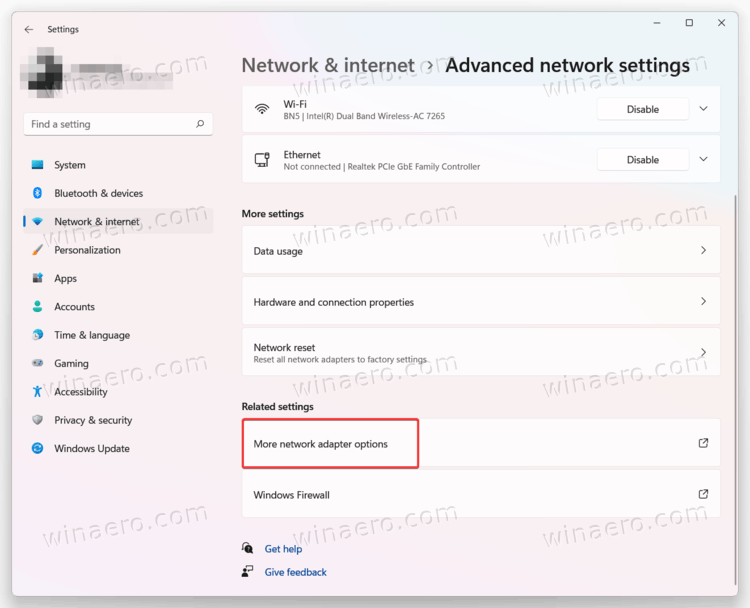
- Open the Network & Internet section, then click Advanced network settings.
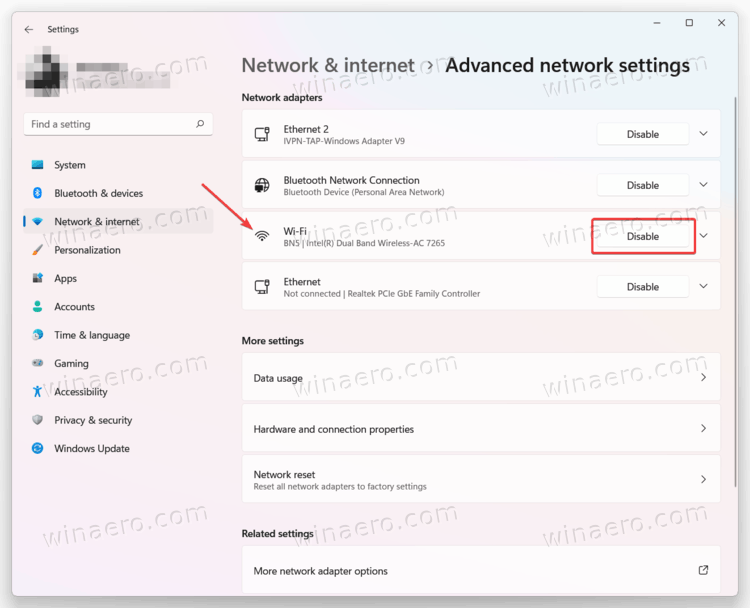
- In the Network adapters section, find Wi-Fi and click Disable. Windows 11 will shut down Wi-Fi and all active connections immediately. Important: Disabling wireless adapters in Windows 11 removes the Wi-Fi button from the Quick Settings menu and Windows Settings.
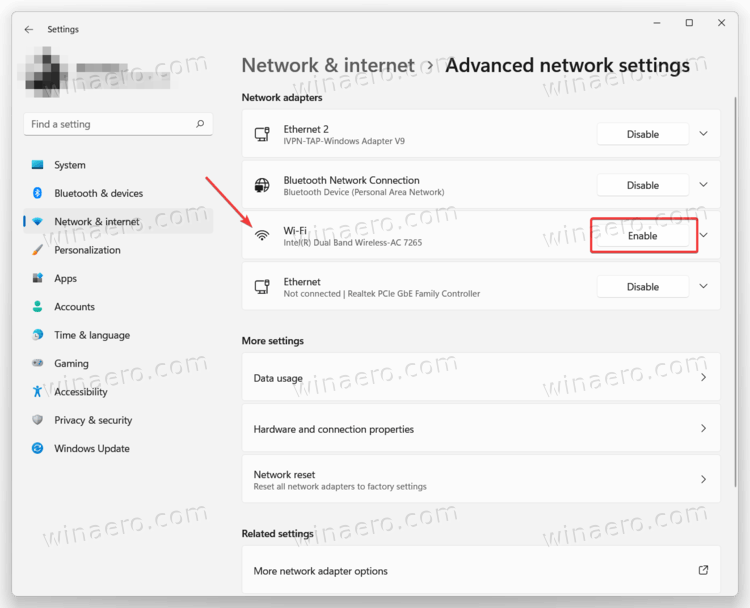
- To restore Wi-Fi in Windows 11, select the adapter you have just disabled and click on Enable.
Note: There is a bug where the "Disable" button does not change its state. You may need to click it again or re-select the adapter. Then Windows 11 will allow you to enable the adapter.
The good old classic Control Panel still allows you to manage Wi-Fi. Here's how to use it for that.
Turn Wi-Fi on or off in Windows 11 using Control Panel
- Press Win + R, then enter the
ncpa.cplcommand. - Alternatively, open Windows Settings > Network & Internet > Advanced network settings.
- Click the More network adapter options link.
- In the new window, find your wireless adapter and right-click it.
- Select Disable.
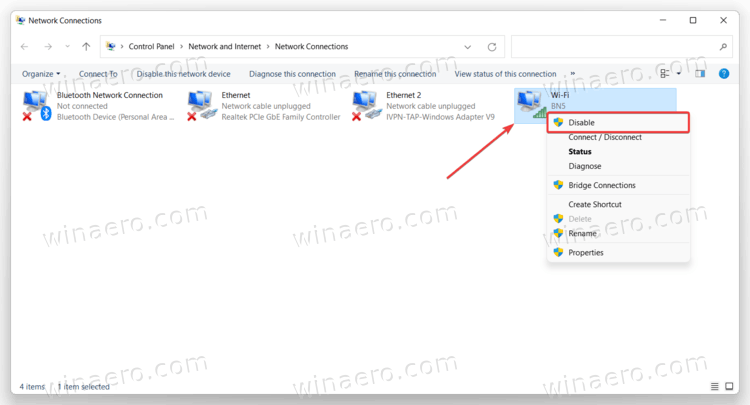
- To enable it, right-click the disabled adapter again and select Enable.
Finally, here's how to do the same with the Device Manager app. Actually, using Device Manager to turn off Wi-Fi in Windows 11 is similar to the previous section with Control Panel.
Disable Wi-Fi in Windows 11 using Device Manager
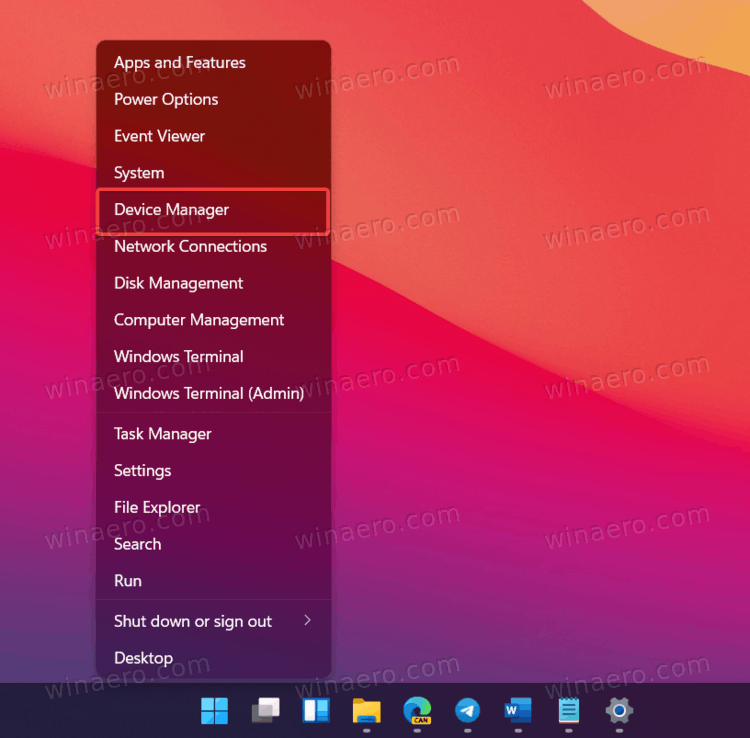
- Right-click the Start menu button and select Device Manager.
- In Device Manager, expand the Network Adapters section and find your Wi-Fi card.
- Right-click the adapter and select Disable Device. Again, disabling the adapter prevents you from turning on or off Wi-Fi in Windows 11 using the Settings app or Quick Settings.
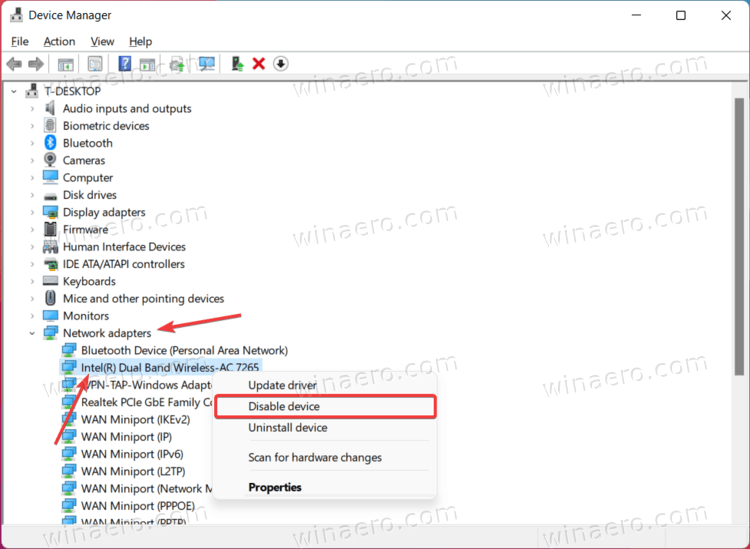
- To enable Wi-Fi using Device Manager, right-click your disabled wireless network adapter and select Enable.
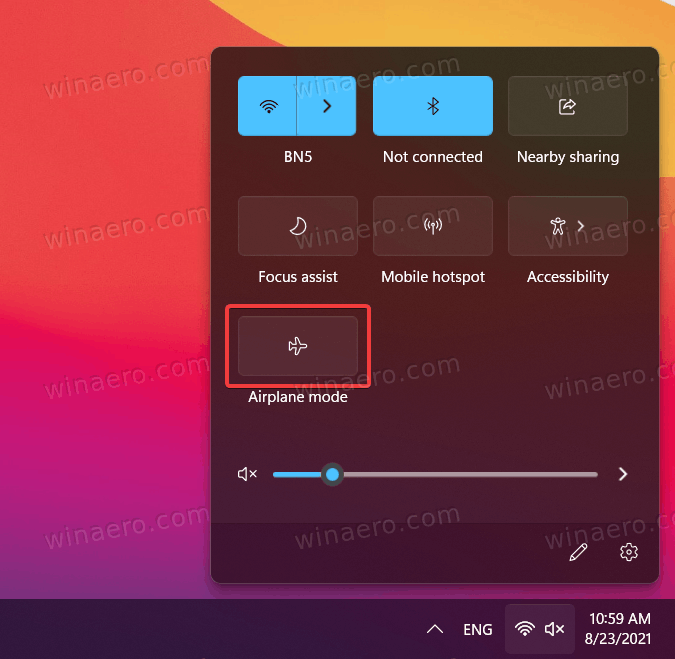
Turn off Wi-Fi in Windows 11 using Airplane Mode
Another way to disable Wi-Fi in Windows 11 is to switch your device to Airplane Mode. Open the Quick Settings menu using the Win + A shortcut and click the Airplane Mode button. Disabling Airplane Mode turns Wi-Fi back on.
You can learn more about Airplane Mode in Windows 11 in our dedicated article.
Those are all the methods to enable or disable Wi-Fi in Windows 11.
Support us
Winaero greatly relies on your support. You can help the site keep bringing you interesting and useful content and software by using these options:
If you like this article, please share it using the buttons below. It won't take a lot from you, but it will help us grow. Thanks for your support!
Advertisеment

Did not help
Upgraded to windows, there are NO wifi settings
Did not help wifi adapter not even showing in device manager