
A power plan in Windows is a set of hardware and system options that defines how your device uses and preserves power. There are three built-in power plans in the OS. Your PC can have additional power plans defined by its vendor. Also, you can create a custom power plan that will include your personal preferences. If you have power plans that you no longer need, you can delete them. Here is how it can be done.Windows 10 comes with a new UI again to change the operating system's power related options. The classic Control Panel is losing its features and probably will be replaced by the Settings app. The Settings app has already got many settings which were exclusively available in the Control Panel. For example, the battery notification area icon in the Windows 10 system tray was also replaced with a new Modern UI. However, the Settings app doesn't include the ability to delete a power plan as of this writing. You still need to use the classic Control Panel.
A custom power plan can be deleted by any user. However, only users signed in as an administrator are able delete any of the built-in power plans like High Performance, Power Saver and so on.
Tip: before deleting power plans, it is a good idea to export them to a file. Refer to the following article How to Export and Import a Power Plan in Windows 10.
To delete a power plan in Windows 10, do the following.
- Open Settings.
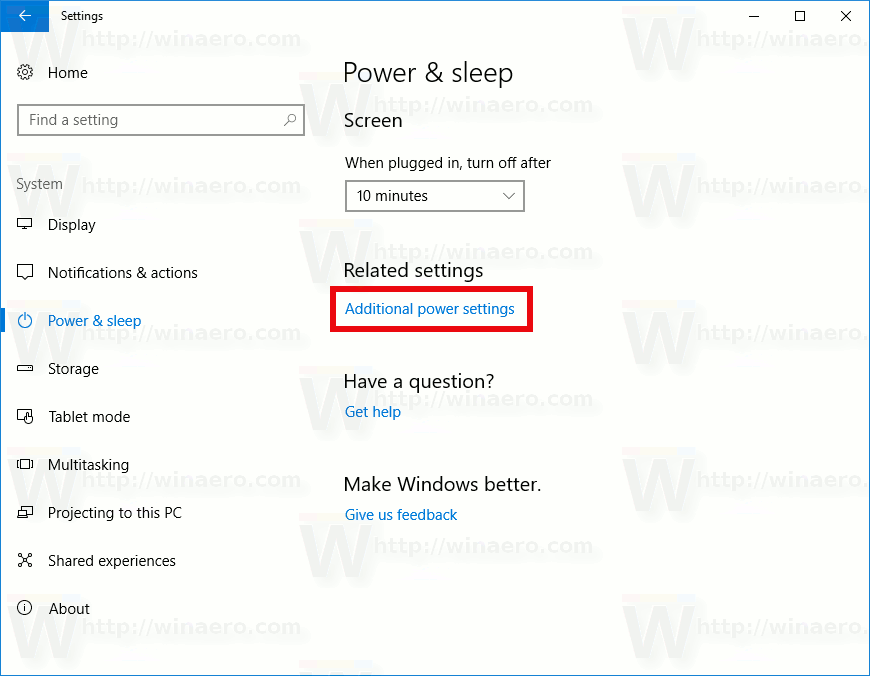
- Go to System - Power & sleep.
- Click on the link Advanced Power Settings.
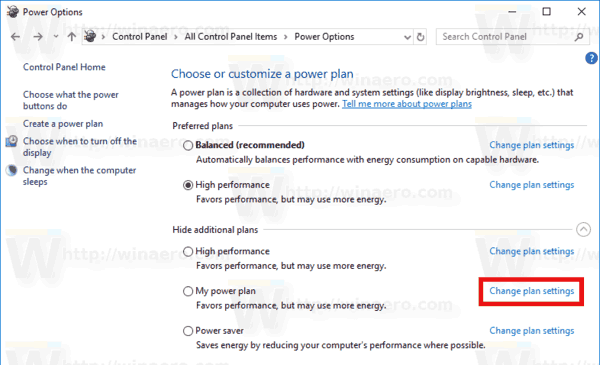
- In the next window, ensure that the power plan you want to delete is not your current (active) power scheme. If so, activate some other power plan.
- Click on the link Change plan settings next to the power plan's name.
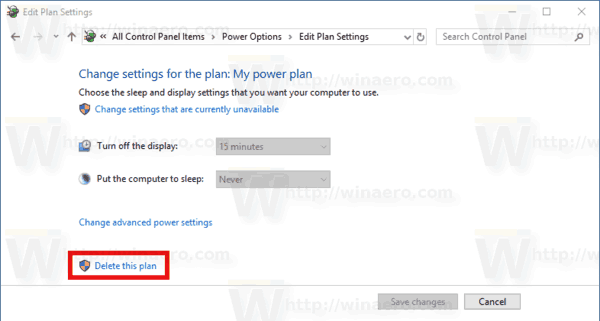
- On the next page, click on Delete this plan.
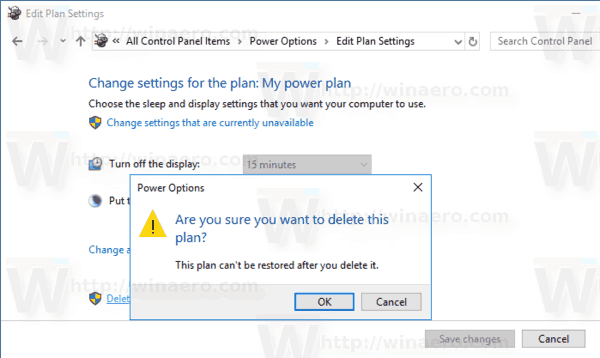
- Confirm the operation and you are done.


Tip: It is possible to use the console powercfg.exe tool instead of the GUI options. Let's review this method.
Delete a Power Plan in Windows 10 with powercfg.exe
There is a built-in tool in Windows 10, powercfg. This console utility can adjust many parameters related to power management. For example, powercfg can be used:
- To sleep Windows 10 from the command line
- To change the power plan from the command line or with a shortcut
- To disable or enable the Hibernate mode.
Powercfg can be used to delete a power plan. Here is how.
- Open an elevated command prompt.
- Type the following command:
powercfg.exe /L. This will list every power scheme in the OS with its own GUID. Note of the GUID of the power plan you want to delete. Note: An asterisk * to the right of the power plan's name indicates the current (active) power scheme.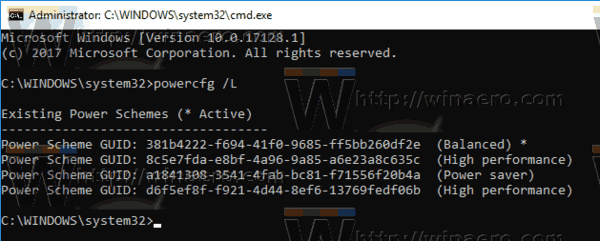
- Switch to another power plan if needed with the command
powercfg -setactive GUID. - Now, delete the desired power plan using the command:
powercfg -delete GUID. Substitute the GUID portion with the actual GUID value of the power plan you want to remove.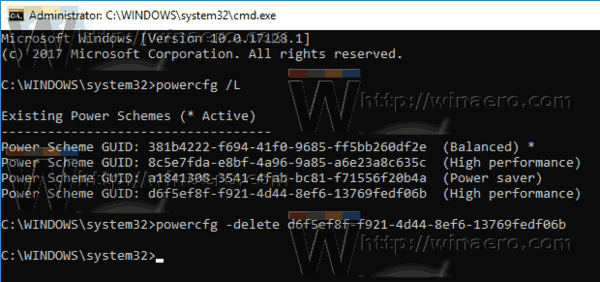


That's it!
Support us
Winaero greatly relies on your support. You can help the site keep bringing you interesting and useful content and software by using these options: