Windows 10 offers you different options to take a screenshot without using third party tools. Let's discover them to get the full benefits from the modern Windows version.
Advertisеment
Very often, when I ask users of my apps to take a screenshot in order to troubleshoot issues they are having, they get confused. Some of them do not know how they can take a screenshot which is why I decided to write this article.
Use the Win+Print Screen hotkey
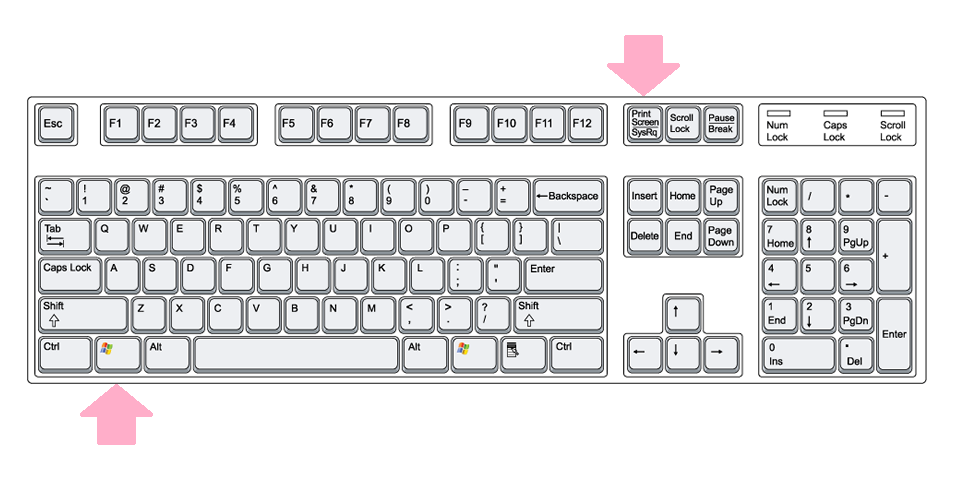
On your keyboard, press Win+Print Screen keys simultaneously. (Note: if you are using a laptop or tablet, it may have an Fn key and the Print Screen key text on your keyboard may be enclosed inside a box, with some other function assigned to the same key when Fn is not held down. It means you are supposed to hold down the Fn key to use the function enclosed in the box. So if Win+Print Screen does not work, then try Win+Fn+Print Screen).
Your screen will be dimmed for half a second, then it will return to the normal brightness. Now open the following folder:
This PC\Pictures\Screenshots
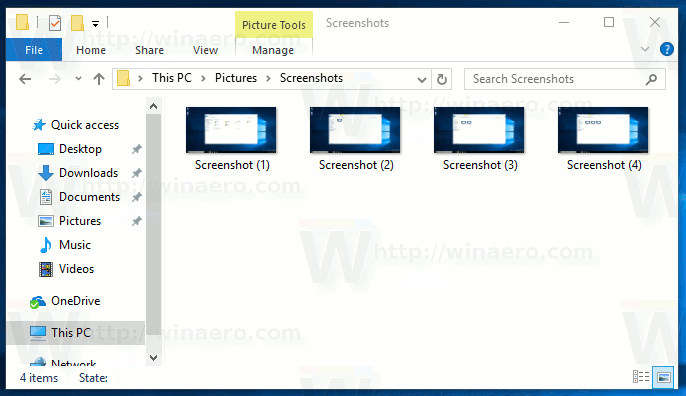
Windows will automatically save it to a file named Screenshot (<screenshot_number>).png. That screenshot_number is given automatically by Windows as it maintains a counter in the registry of how many screenshots you have taken using Win+Print Screen method. You can reset the screenshot counter in Windows 10.
Use only the PrtScn (Print Screen) key:
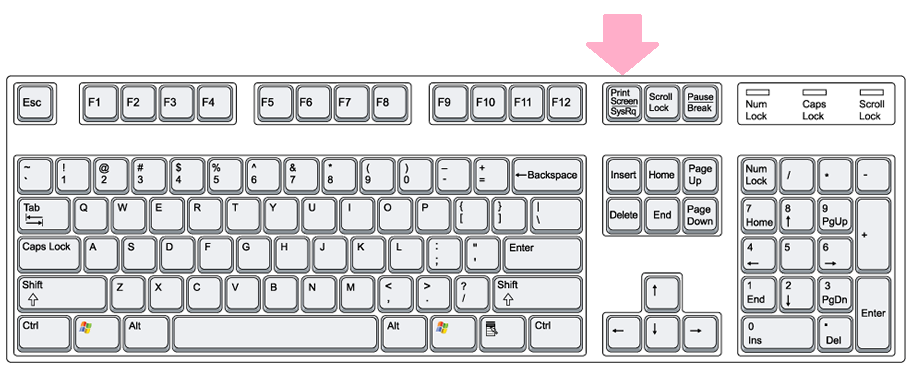
Press only the PrtScn (Print Screen) key on the keyboard. The contents of the screen will be captured to the clipboard.
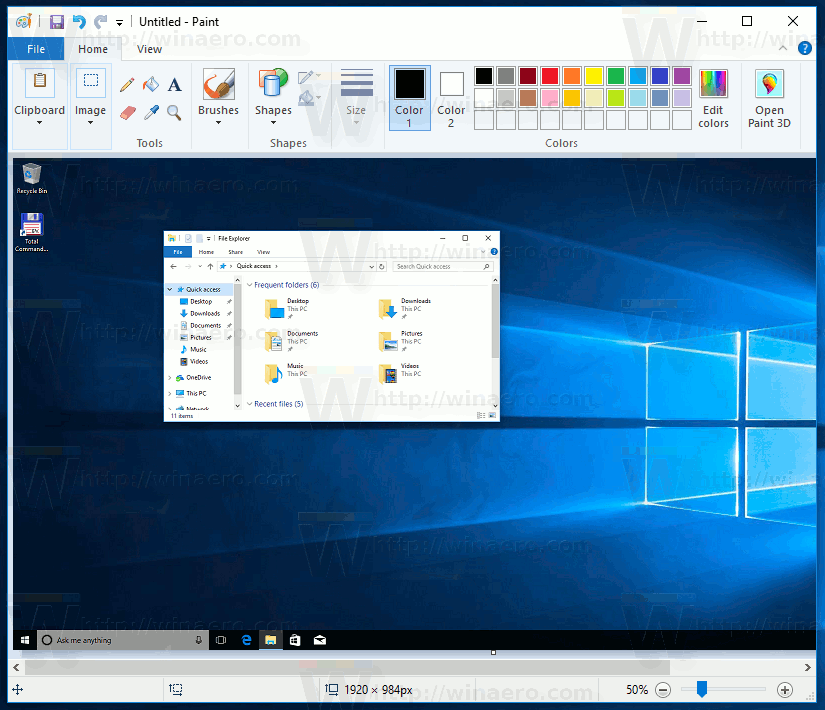
Open Paint and press Ctrl+V or click Paste on the Home tab of the Ribbon to insert your clipboard contents. You will then make any edits you want and save the screenshot to a file.
Tip: If you press Alt+Print Screen, only the active window in the foreground will be captured to the clipboard, not the whole screen. Also, as mentioned above, if your keyboard requires you to use Fn key in order to use Print Screen, use Fn+Print Screen or Fn+Alt+Print Screen if necessary.
 Bonus tip: see how to add a sound to the PrintScreen screenshot in Windows 10.
The Snipping Tool application
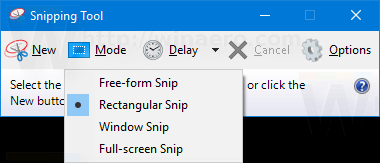
The Snipping Tool is a simple and useful application shipped with Windows by default. It was created specially for taking screenshots. It can create most types of screenshots - window, custom area or whole screen.
Starting with Windows 10 build 15002, you can capture a screen region to the clipboard. Windows 10 Creators Update comes with a new feature which allows you to take a screenshot of a selected part of the screen. This can be done with just a hotkey.
To take a screenshot of a screen region in Windows 10, press Win + Shift + S keys together on the keyboard. The mouse cursor will turn into a cross sign. Select the area you want to capture and its screenshot will be taken and stored in the clipboard.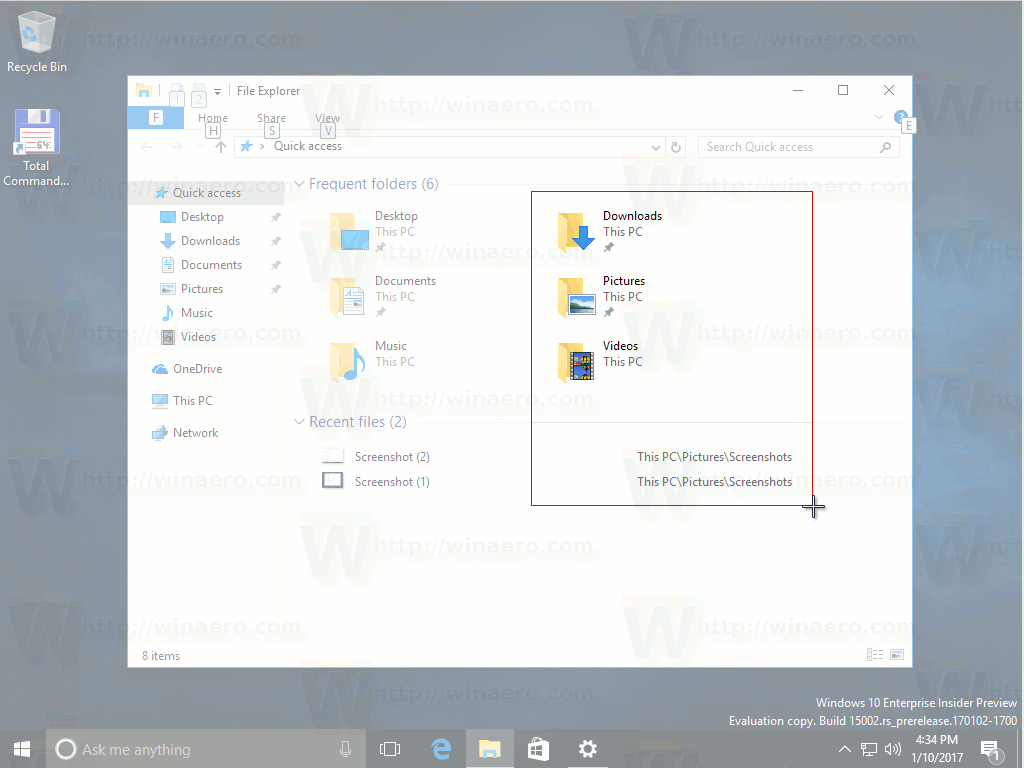 You can also create a shortcut to capture a screen region in Windows 10.
That's it!
Support us
Winaero greatly relies on your support. You can help the site keep bringing you interesting and useful content and software by using these options:
If you like this article, please share it using the buttons below. It won't take a lot from you, but it will help us grow. Thanks for your support!
Advertisеment

Hi,
I tried the [Win][Shift][S] key combination and got the same reaction as [Win][S] it selected the first icon on my screen that starts with “S” and cycles through those icons with repeated pressing.
I’m running Win 10 Pro build 14393.693
redwdc
P.S. Sorry about the last post I used greater/less than for brackets.
Well, the region screenshot is a new feature of Windows 10 Creators Update. This is mentioned in the article.
Check if you have OneNote. OneNote uses that same shortcut to do screen clipping.
very useful!