
In this article, we will see how to hide a font in Windows 10. A hidden font can be used by apps (e.g. by a text editor) to render the contents, but the user won't be able to select it and use in documents, since it will be not listed in the font dialog.
Windows 10 comes with TrueType fonts and OpenType fonts installed out-of-the-box. They either have TTF or OTF file extensions. They support scaling and look sharp on modern displays. OpenType is the more modern format, which can support any writing script, has advanced typographic "layout" features which prescribe positioning and replacement of rendered glyphs.
Starting with build 17083, Windows 10 features a special section in the Settings app. The new section, called simply "Fonts", can be found under Personalization.
You may be familiar with the classic Fonts Control Panel applet, which you could use to see the fonts that are currently installed, or to install or uninstall fonts. Instead of the classic applet, recent releases of Windows 10 offer the Fonts page in Settings, which is able to show off newer font capabilities, such as color fonts or variable fonts. A refresh of the Fonts UI to show off the newer capabilities was long overdue.
In Settings, a dedicated page for Fonts settings provides a short preview of each font family. The previews use a variety of interesting strings that are selected to match the primary languages that each font family is designed for, together with your own language settings. And if a font has multi-color capabilities built into it, then the preview will demonstrate this.
Unfortunately, the new Fonts page in Settings doesn't allow hiding fonts. This feature remains exclusive to the classic Control Panel.
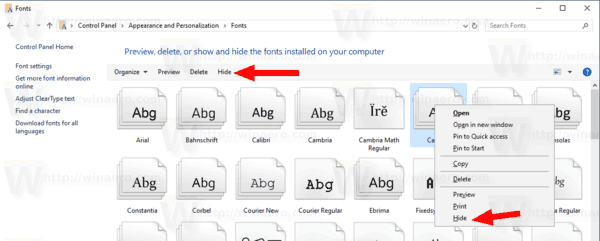
To hide a font in Windows 10, do the following.
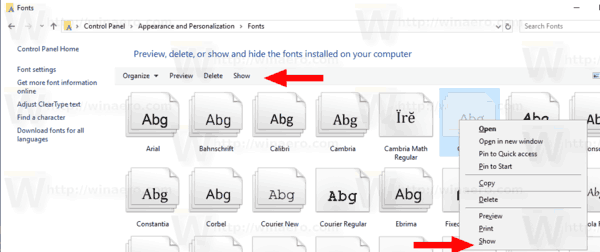
- Open the classic Control Panel app.
- Go to Control Panel\Appearance and Personalization\Fonts. The following folder will appear:

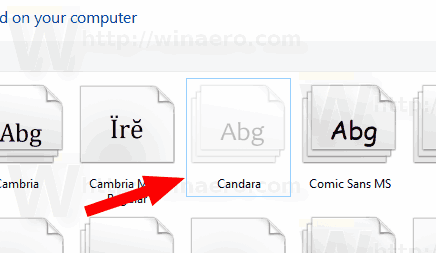
- Select one or several fonts you want to hide.
- Click on the Hide button on the toolbar. Alternatively, you can right-click on the selected fonts and select the Hide command from the context menu.

The font is now hidden.
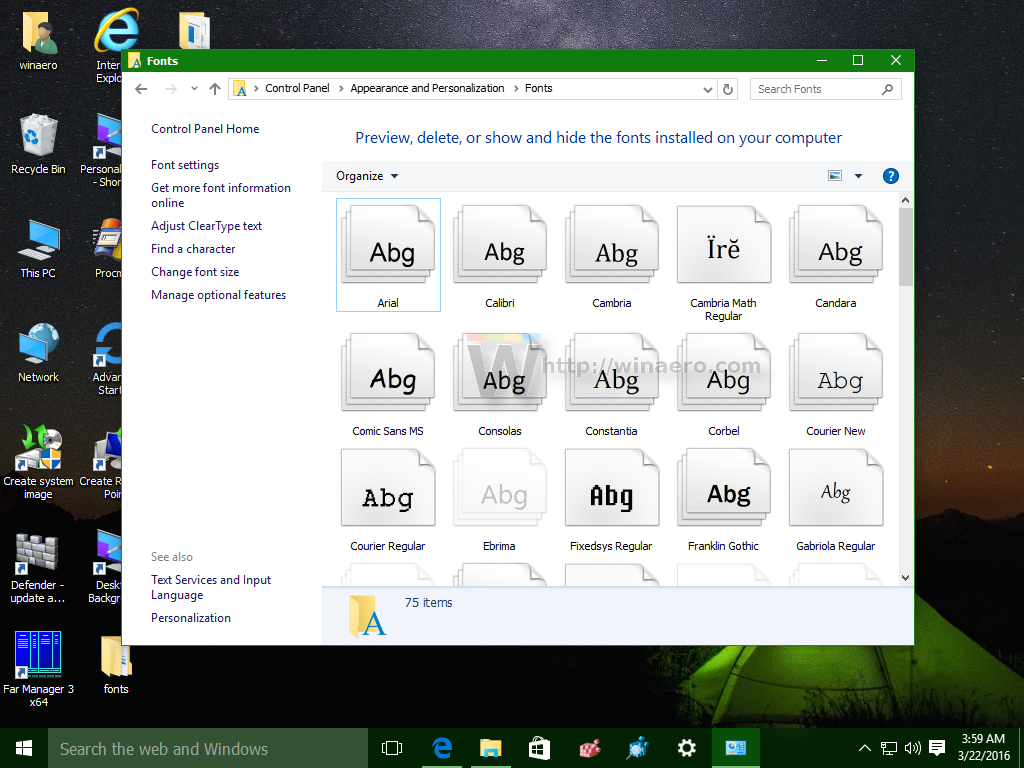
Before:

After:

The hidden fonts appear as semitransparent icons in the font list. To unhide a hidden font, select it in the list of fonts and select "Show".


Support us
Winaero greatly relies on your support. You can help the site keep bringing you interesting and useful content and software by using these options:
Your interface illustration seems to be out of date. I updated Windows 10 just 20 minutes ago, and mine looks quite different, though I followed your path to get to it. It no longer has a hide option, which may explain why selecting fonts in the Explore window and clicking on Hide does nothing. All hidden fonts are showing in all apps. And yes, I did try toggling Hide fonts based on language settings off and on with no results either way.
Sigh …
I have followed these instructions, and although the fonts show Hide instead of Show, they still show up in the dropdown lists in word, excel,. I did reboot after hiding. still show up in drop down.