
Having a camera and microphone allows using them with Skype and other VoIP applications. However, many people worry about apps, services, or some malware that can secretly use the microphone. You may want to disable it for privacy and security reasons, as it can get hacked and the hackers would be able to hear everything you say. Today, we will review the easy methods you can use to turn on or off the microphone in Windows 10.
Here are the three methods you can use, including Device Manager, Recording Devices, and the Registry editor app.
To disable the microphone in Windows 10, do the following.
- Press Win + X keys together on the keyboard and click Device Manager.
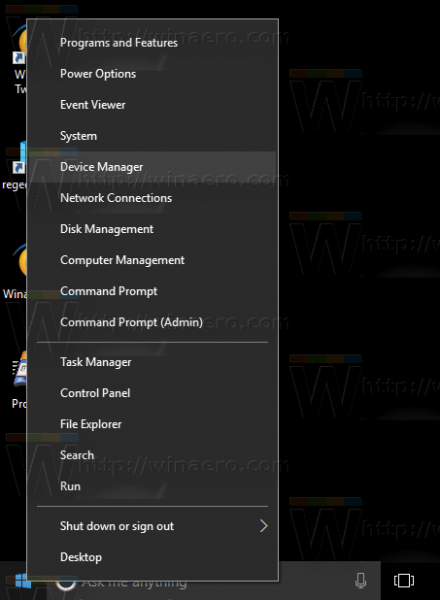
Tip: you can customize the Win + X menu of Windows 10.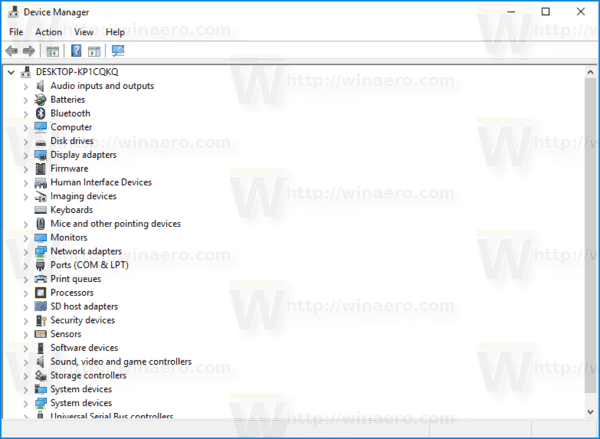
- In the device tree, go to the Audio inputs and outputs node.
- Right-click on the Microphone device and select Disable device from the context menu.
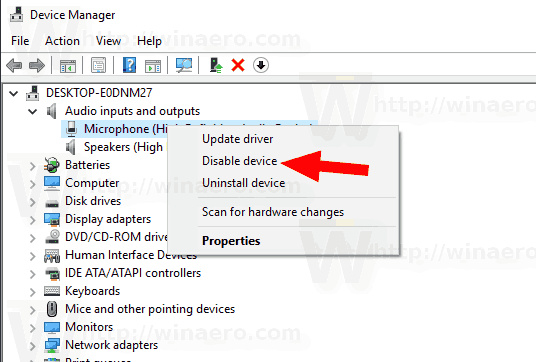
- You can re-enable the disabled later by selecting "Enable device" from the context menu.


Alternatively, you can use the Settings app to disable the microphone. Here's how.
Disable the Microphone using Settings
- Open the Settings app.

- Go to System - Sounds.
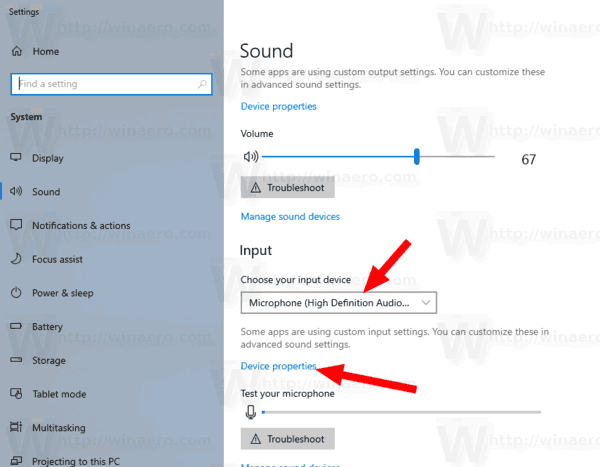
- On the right, go to the Input section.
- Select your microphone in the device drop down list.
- Click on the link Device properties.
- On the next page, turn on the option Disable device.
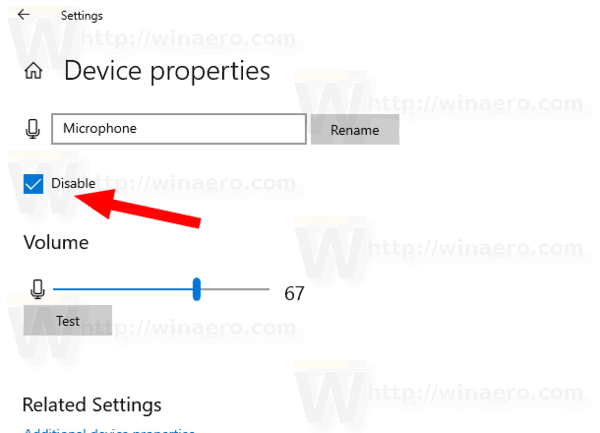


You are done.
There is an alternative method that involves the classic Sound applet. Let's see how to use it.
Disable the microphone using the classic Sound applet
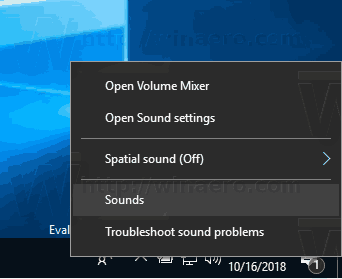
- Right-click on the sound icon in the system tray area.
- Select Sounds from the context menu.
- In the Sound dialog, switch to the tab Recording.
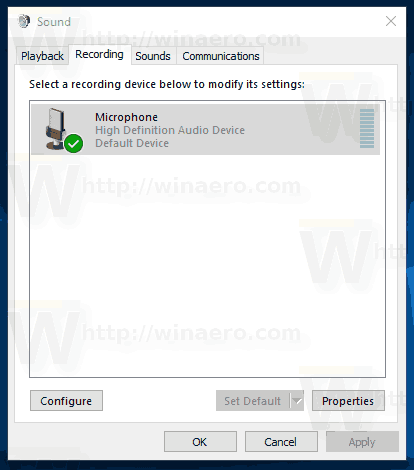
- There, find your microphone device in the list.
- Right-click on it and select Disable from the context menu.
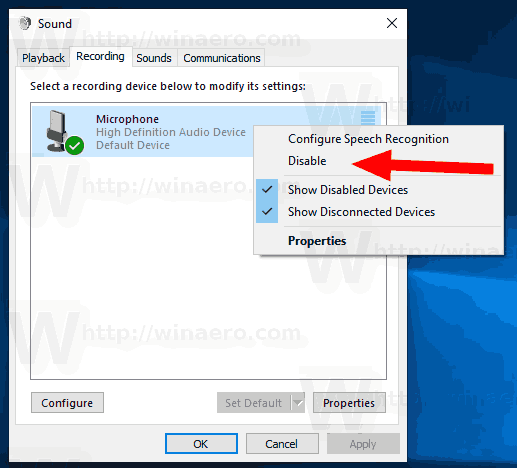


The device is now disabled.
Finally, you can apply a Registry tweak to disable your microphone. Here is how.
Disable your Microphone with a Registry tweak
- Open the Registry Editor app.
- Go to the following Registry key.
HKEY_LOCAL_MACHINE\SOFTWARE\Microsoft\Windows\CurrentVersion\MMDevices\Audio\Capture
See how to go to a Registry key with one click.
- Expand the Capture key on the left.
- Open the Properties subkey of each {GUID} subkeys you have under the Capture key until you find your microphone device.
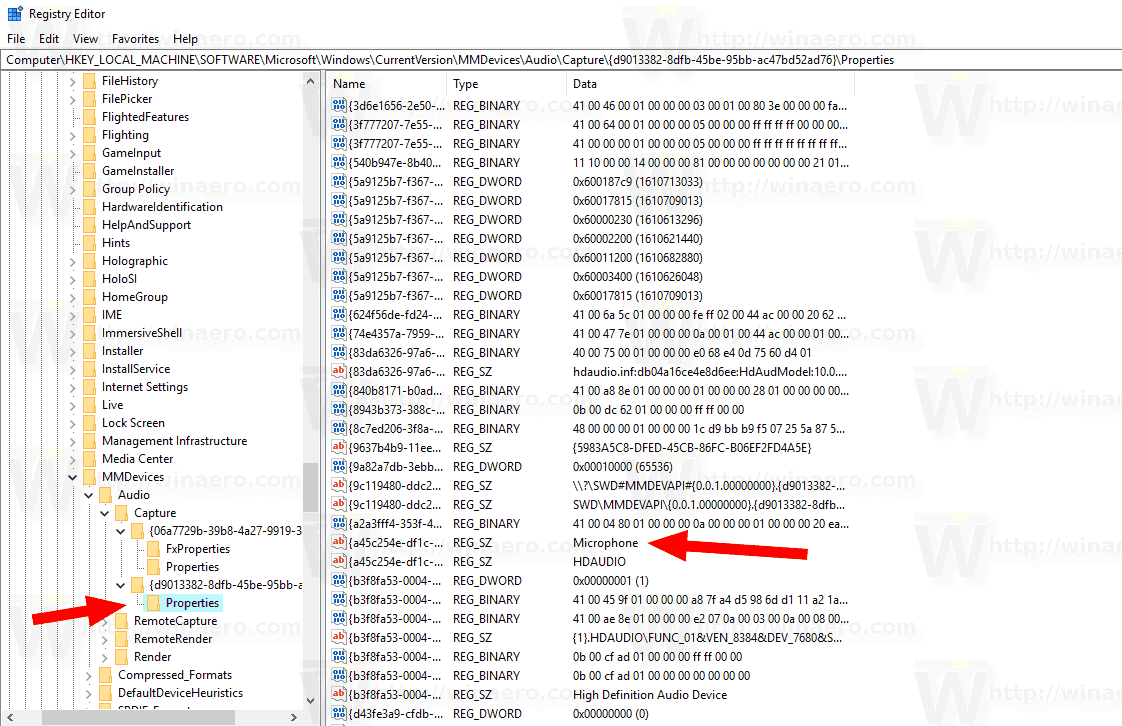
- On the right, of the {GUID} key related to your microphone, modify or create a new 32-Bit DWORD value DeviceState. Note: Even if you are running 64-bit Windows you must still create a 32-bit DWORD value.
Set its value to 10000001 in hexadecimal to disable the device. A value data of 1 will enable it.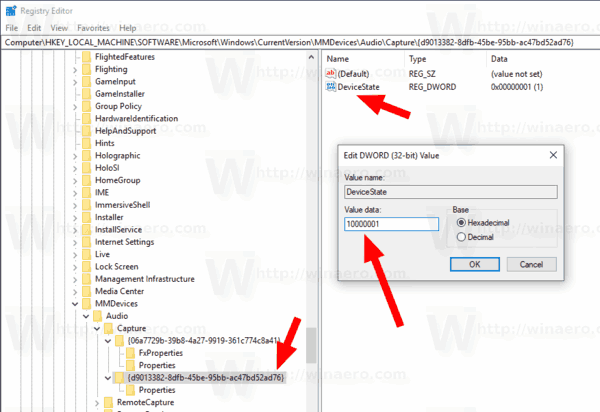
- Restart Windows 10.


That's it.
Support us
Winaero greatly relies on your support. You can help the site keep bringing you interesting and useful content and software by using these options:
Cortana wouldn’t like this!
for sure :-)