AutoPlay is a special feature of the shell which allows the user to quickly pick a desired action for various media types you have connected or attached to your computer. You can configure it to open your favorite image viewer app when you insert a disk with photos, or launch a media player app automatically for your drive containing media files. It saves your time, since the required app starts automatically every time you connect your device or insert your disk.
Advertisеment
In Windows 10, there are different ways to enable or disable AutoPlay. It can be done using Settings, the classic Control Panel or the Registry. Let's review these methods.
Disable or Enable AutoPlay using Settings
To disable AutoPlay in Windows 10, do the following.
- Open the Settings app.

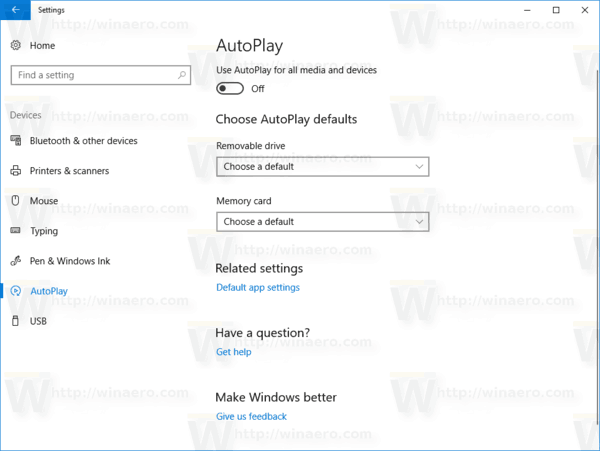
- Go to Devices -> AutoPlay.
- On the right, turn off the option "Use AutoPlay for all media" and you are done.
To enable AutoPlay in Windows 10, do the following.
- Open the Settings app.
- Go to Devices -> AutoPlay.
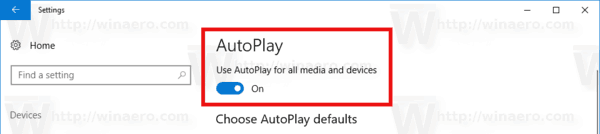
- On the right, turn on the option "Use AutoPlay for all media".
- Under Choose AutoPlay defaults, configure the desired action for each media type.

Tip: It is also possible to hide or show some pages from the Settings app.
Configure AutoPlay with the classic Control Panel
- Open the classic Control Panel app.
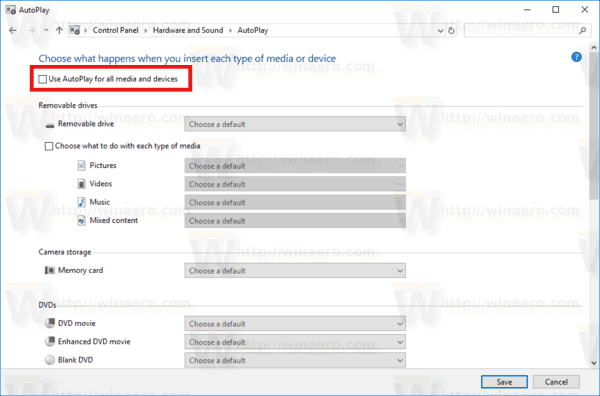
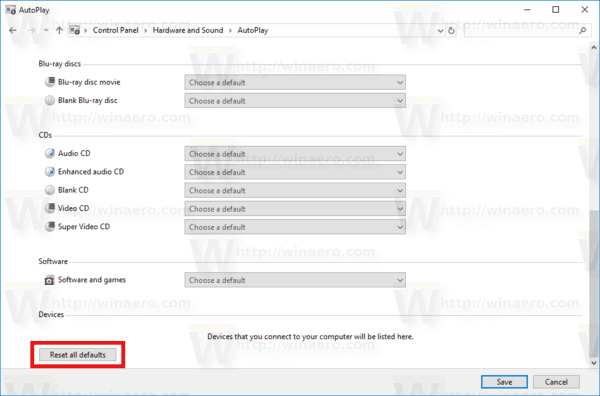
- Go to Control Panel\Hardware and Sound\AutoPlay.
- To disable AutoPlay, uncheck the option Use AutoPlay for all media and devices.
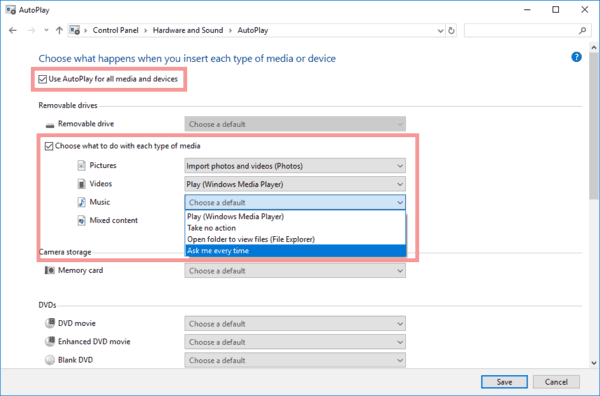
- To enable AutoPlay, turn on the option Use AutoPlay for all media and devices and select the desired action for each media type for each item listed below.
- You can use the Reset all defaults button to quickly reset all actions and set them to their default values.
Tip: You can pin Control Panel applets to the taskbar to access frequently used settings faster.
Disable AutoPlay using a Registry tweak
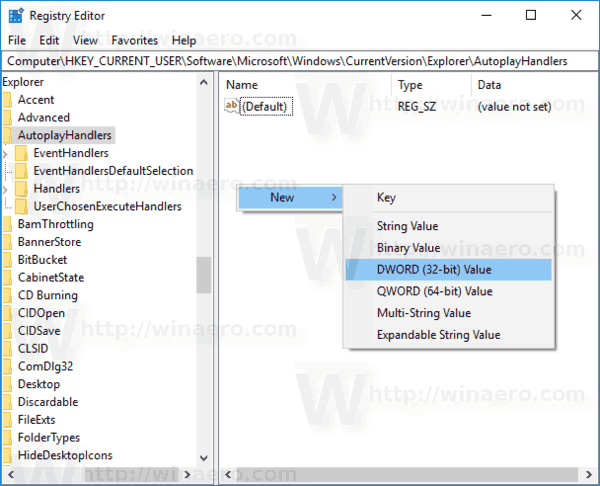
- Open the Registry Editor app.
- Go to the following Registry key.
HKEY_CURRENT_USER\Software\Microsoft\Windows\CurrentVersion\Explorer\AutoplayHandlers
See how to go to a Registry key with one click.
- On the right, modify or create a new 32-Bit DWORD value "DisableAutoplay". Set it to 1.
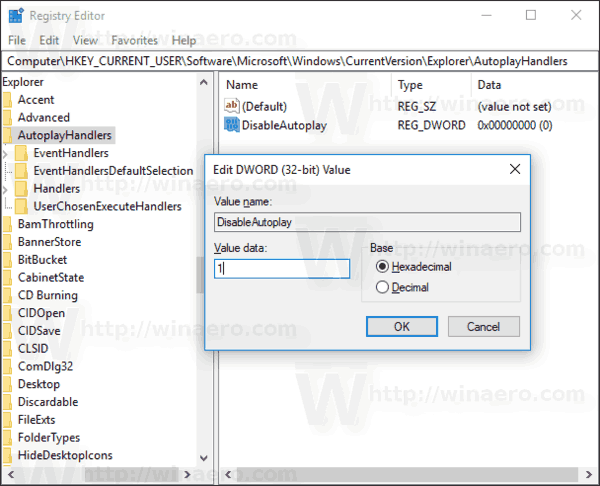
Note: Even if you are running 64-bit Windows you must still create a 32-bit DWORD value. - To make the changes done by the Registry tweak take effect, you need to sign out and sign in to your user account.
That's it.
Support us
Winaero greatly relies on your support. You can help the site keep bringing you interesting and useful content and software by using these options:
If you like this article, please share it using the buttons below. It won't take a lot from you, but it will help us grow. Thanks for your support!
Advertisеment
