
There are several ways to delete or uninstall themes in Windows 10. Starting with Windows 10 Creators Update, you can use Settings, the classic Personalization options or just File Explorer.
Today, we will review all these methods in detail. Starting with Windows 10 Creators Update, Microsoft added the ability to manage themes with Settings. This is a nice addition to existing ways of changing the appearance of the operating system.
Table of contents.
Delete a theme using Settings
Starting with Windows 10 build 15002, a fully working Themes page was added to Personalization options in Settings. There, you can change themes or install a new theme from the Windows Store. Themes are shown as a grid with previews.
To delete a theme in Windows 10 using Settings, do the following.
Open the Settings app. Click the Personalization icon and then click Themes to see the list of installed themes.
Right click the theme you want to uninstall. A small context menu will appear with only one item Delete. Click it to delete a theme from Windows 10.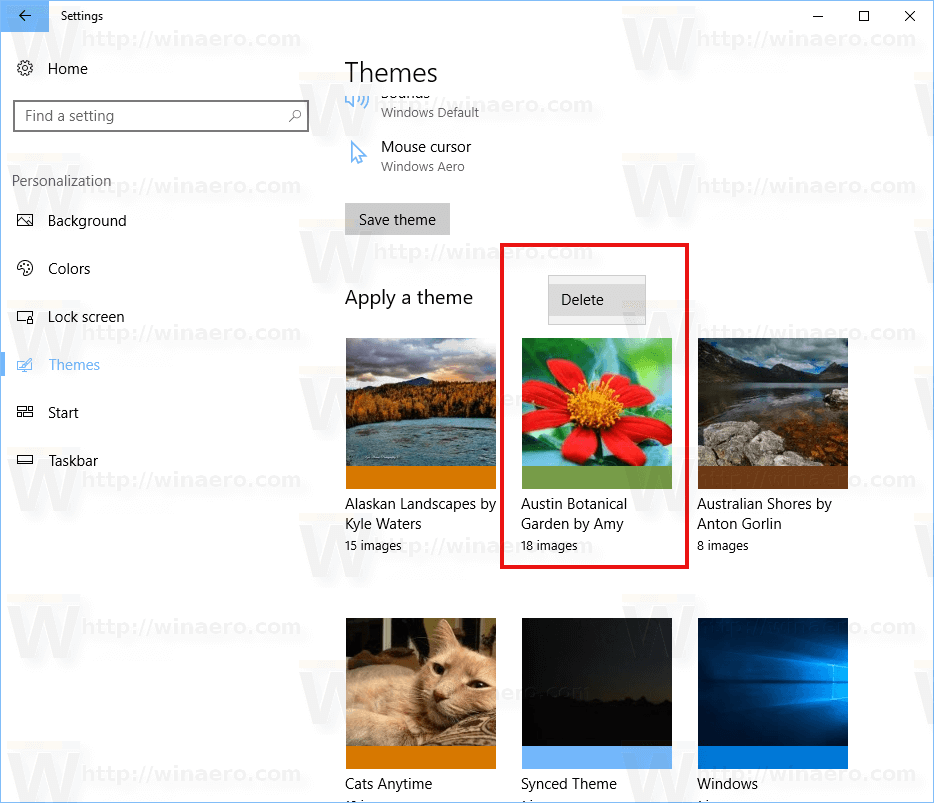
Currently, Windows 10 doesn't allow you to delete the active theme. So, if you need to delete the currently used theme, switch to another theme first. For example, you can switch to the default theme and then delete the one you no longer need.
Uninstall a theme in Control Panel
The classic Control Panel can be used to remove installed themes. To uninstall a theme in Control panel, follow the instructions below.
Open Control Panel. Type Control Panel in the search box on the taskbar to open it quickly.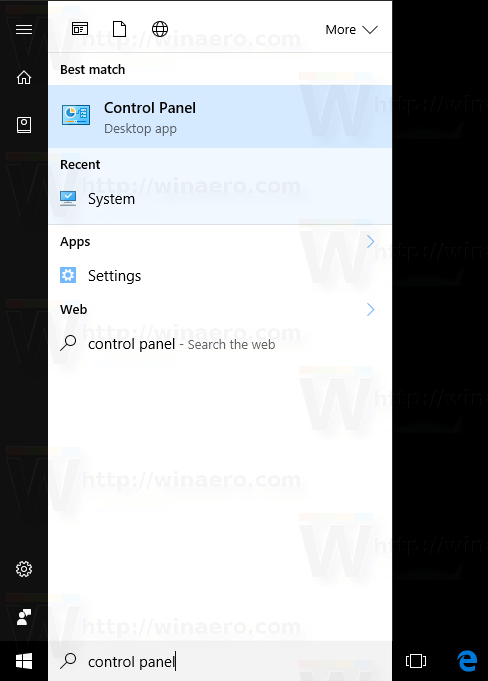
Click on the Appearance and Personalization category and then click the Personalization icon.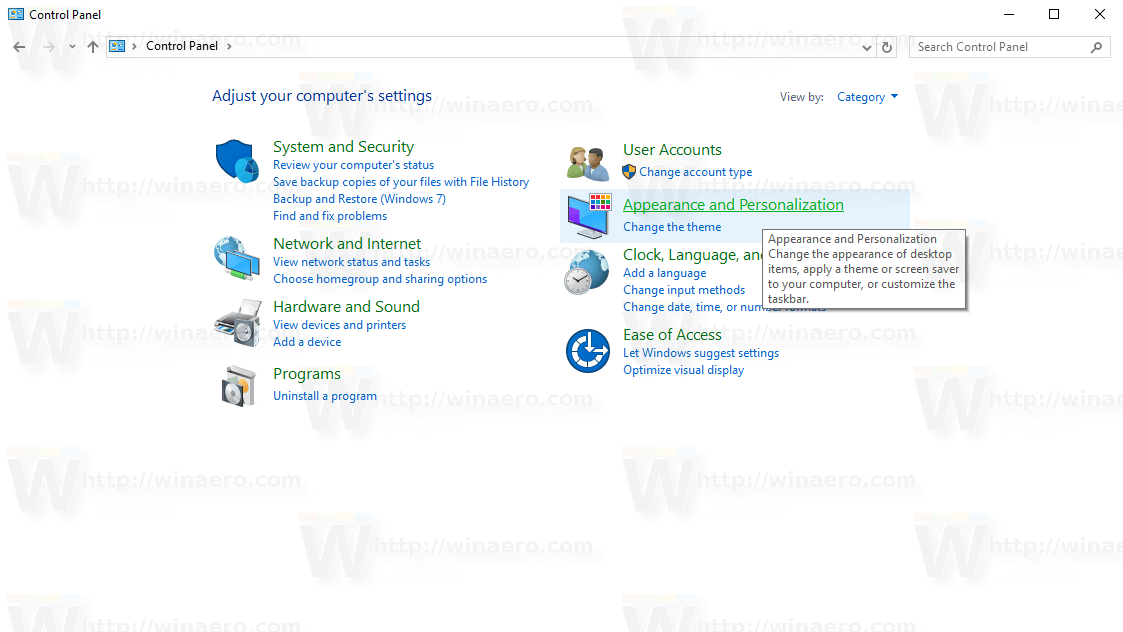
![]()
In the next window, right click a theme you want to uninstall. In the context menu, select Delete theme.
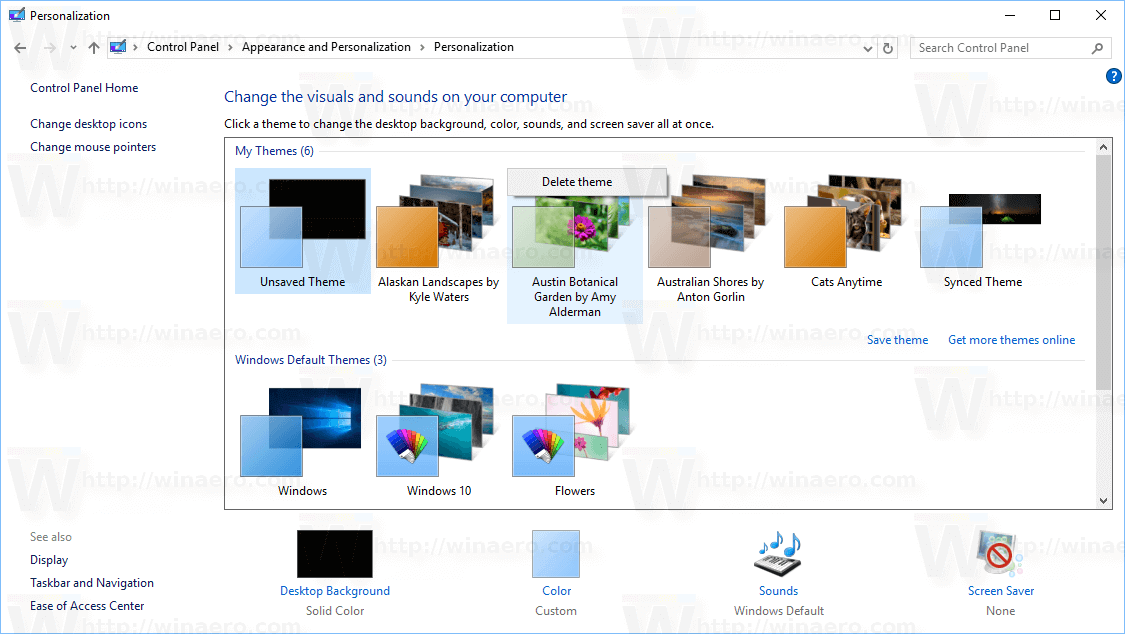
That's it. The theme will be deleted from Windows 10. As above, if a theme is currently in use, Windows won't allow you to delete it. Switch to another theme first and then delete the one you no longer need.
Delete a theme using File Explorer
You can delete installed themes using File Explorer, the default file manager of Windows 10. Here is how it can be done.
Open File Explorer. Its icon is pinned to the taskbar.![]()
In File Explorer, type or copy-paste the following in the address bar:
%localappdata%\Microsoft\Windows\Themes
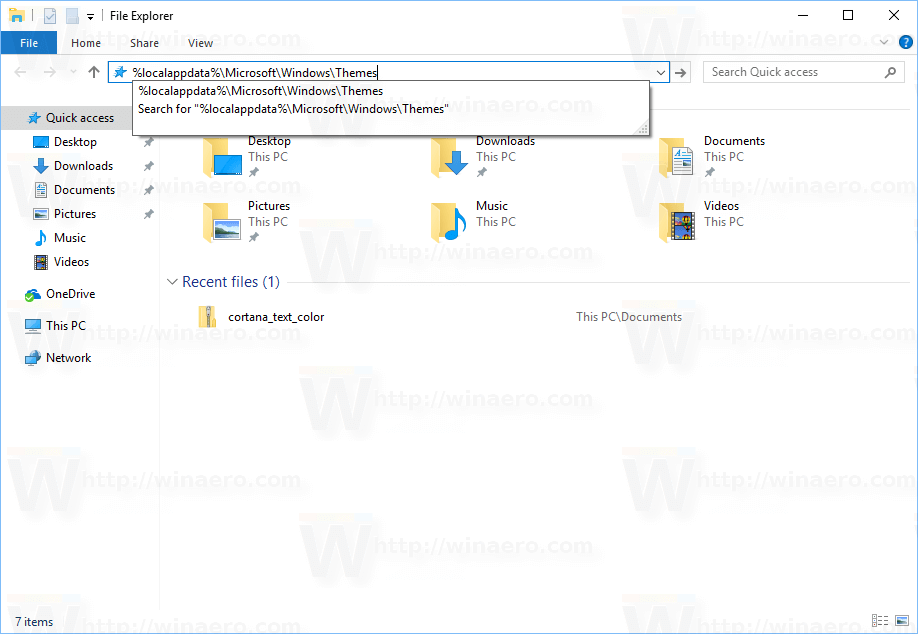
The folder with all installed themes on your PC will be opened. Each theme is stored in its own folder which also stores wallpapers included in the theme. Right click on the theme folder you want to remove and click Delete from the context menu.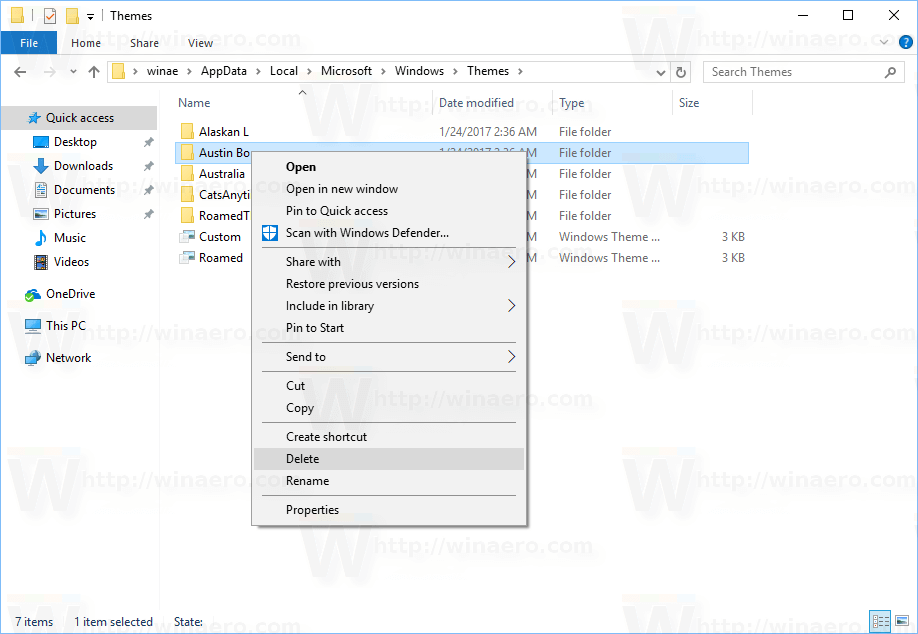
That's it.
Support us
Winaero greatly relies on your support. You can help the site keep bringing you interesting and useful content and software by using these options: