
A number of users are interested in delaying the upgrade to the next Windows 10 feature update when it becomes available. There are many reasons for this. Most users don't want to disturb their existing setup and do not want their custom settings getting reset again by the new OS version. Here is the official way to defer upgrades in Windows 10.
Windows 10 allows the user to delay updates coming to the operating system. This option can be used to defer feature updates like Windows 10 Anniversary Update, Windows 10 Creators Update, Windows 10 Fall Creators Update and so on. Here is how it's done.
How to defer upgrades in Windows 10
To defer upgrades in Windows 10, do the following.
- Open the Settings app.

- Go to Update & security -> Windows Update.
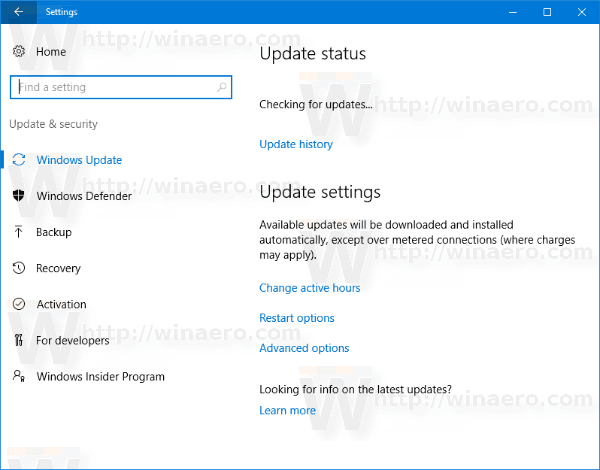
- On the right, click Advanced options.

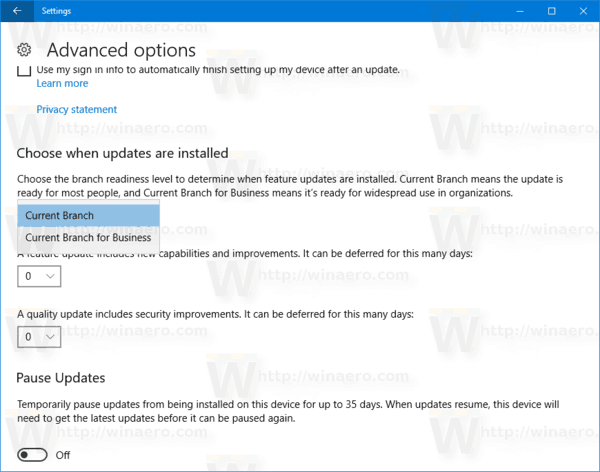
- On the next page, Under Choose when updates are installed, select the Current Branch or Current Branch for Business option in the drop down list.
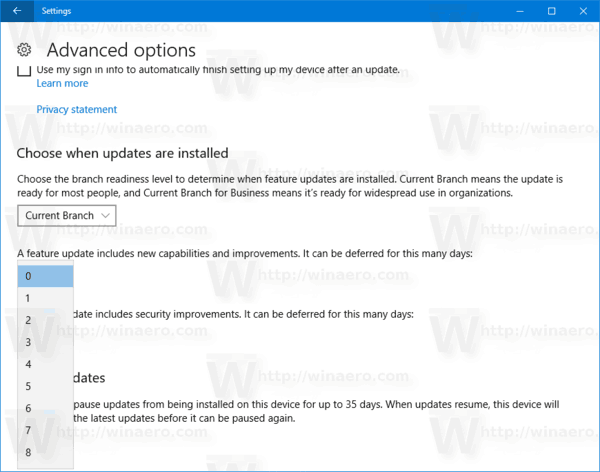
- Under Choose when updates are installed, select for how long to defer feature updates. This option can be set to 0 - 365 days. Feature updates will install you a new build of Windows 10.
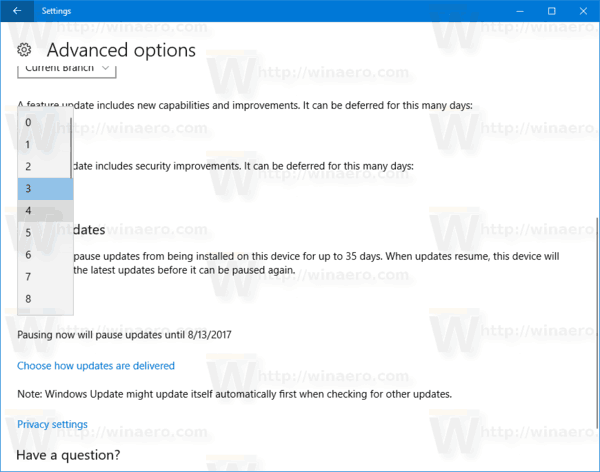
- Repeat the same for quality updates. They too can be deferred for many days: 0 - 365 days. These updates are monthly cumulative updates for the currently installed build of Windows 10.


Alternatively, you can configure the defer upgrade feature with a Registry tweak. Here is how.
Defer upgrades in Windows 10 with a Registry tweak
- Open the Registry Editor app.
- Go to the following Registry key.
HKEY_LOCAL_MACHINE\SOFTWARE\Microsoft\WindowsUpdate\UX\Settings
See how to go to a Registry key with one click.
- On the right, modify the following 32-Bit DWORD values (Note: Even if you are running 64-bit Windows you must still create a 32-bit DWORD value.):
BranchReadinessLevel - specifies the branch readiness level. To set it to "Current Branch", set the value data to 10 in hexadecimals. For "Current Branch for Business", set the value data to 20 in hexadecimals.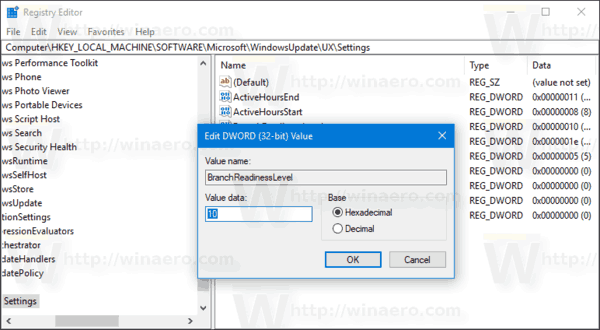
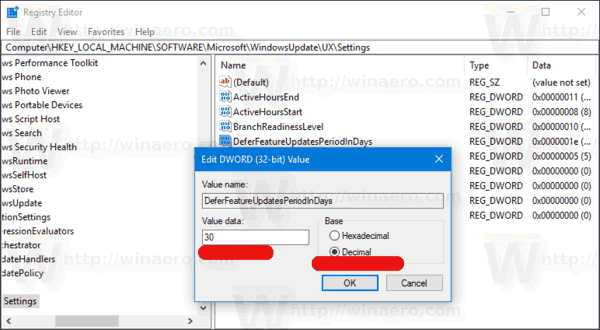
- To set the defer period in days for feature updates, modify the DWORD value DeferFeatureUpdatesPeriodInDays and set it to the desired amount of days in decimals.
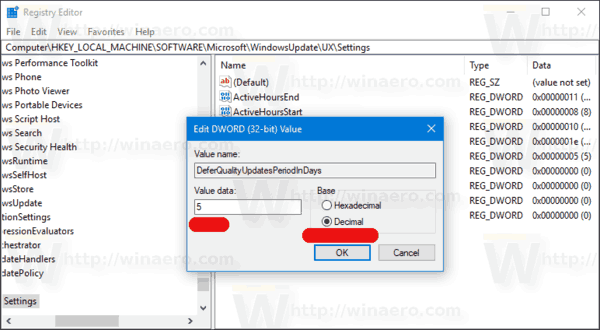
- To set the defer period in days for quality updates, modify the DWORD value DeferQualityUpdatesPeriodInDays and set it to the desired amount of days in decimals.

You are done.
Support us
Winaero greatly relies on your support. You can help the site keep bringing you interesting and useful content and software by using these options:
Not for Windows 10 Home, I think.
I think you are right. I have not tried the Registry method in Windows 10 Home. Maybe this way it can be configured. Need a confirmation.