You can enable check boxes to make selecting multiple files and folders easier. This is particularly useful when your device has no physical keyboard and comes with a touch screen. Here is how.
Advertisеment
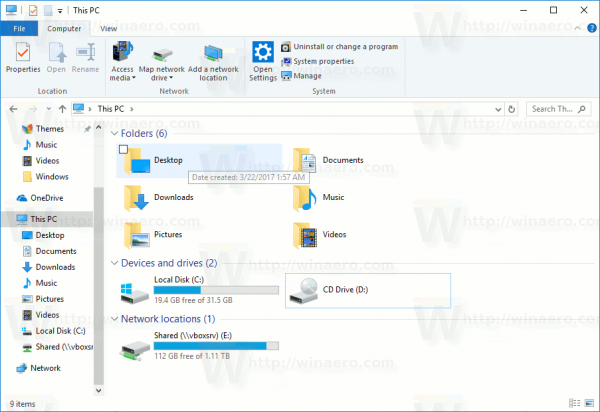
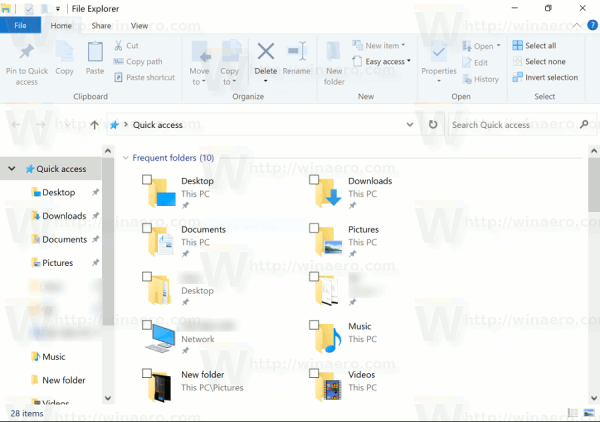
The ability to select files and folders with check boxes was initially introduced in Windows Vista. When the feature is enabled, check boxes are not visible by default on devices without a touch screen. To see the check box on a classic Desktop PC, you need to hover the pointer over a file or a folder. On devices with a touch screen, like tablets or transformers, check boxes are visible out of the box. See these screenshots:
In addition to existing Ribbon commands, and hotkeys like Ctrl+A or context menus to select files, check boxes can improve the usability of the default file manager of Windows 10. Let's see how to enable them.
To enable check boxes in File Explorer in Windows 10, do the following.
Open File Explorer. You do not need to open any specific location, just run the app.
In the Ribbon user interface of Explorer, go to the View tab.
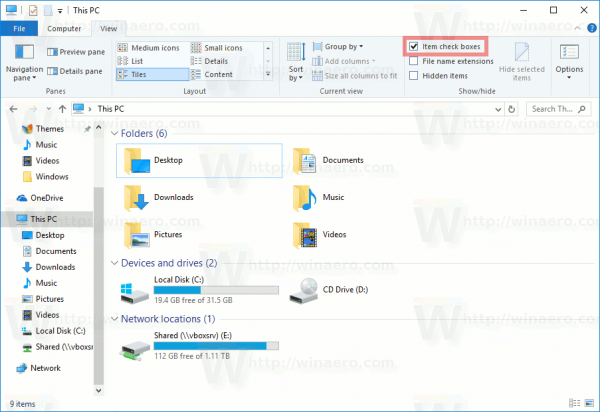
There, tick the Item check boxes checkbox. Now hover the pointer over a file or a folder. A small check box will appear in the top left corner of the hovered icon.
Voila, you just enabled check boxes in File Explorer.
The same can be done in File Explorer options.
In the Ribbon user interface of Explorer, click File -> Change folder and search options.

If you have disabled the Ribbon using a tool like Winaero Ribbon Disabler, press F10 -> click Tools menu - Folder Options.
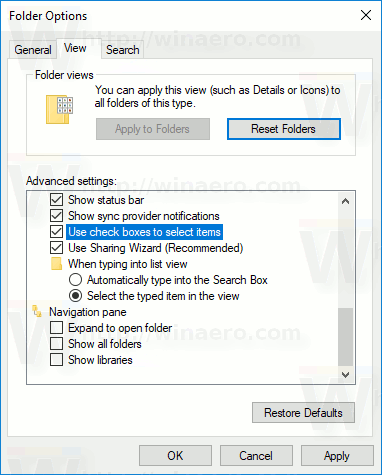
In the "File Explorer options" dialog window, switch to the View tab, and tick (enable) the option Use check boxes to select items. This will enable check boxes for items in File Explorer.
If you need to change this option with a Registry tweak, this is also possible.
Open the Registry Editor app and go to the key
HKEY_CURRENT_USER\SOFTWARE\Microsoft\Windows\CurrentVersion\Explorer\Advanced
There is a 32-bit DWORD value AutoCheckSelect. Set it to 1 to enable check boxes. Otherwise, set it to 0 (this is default setting).
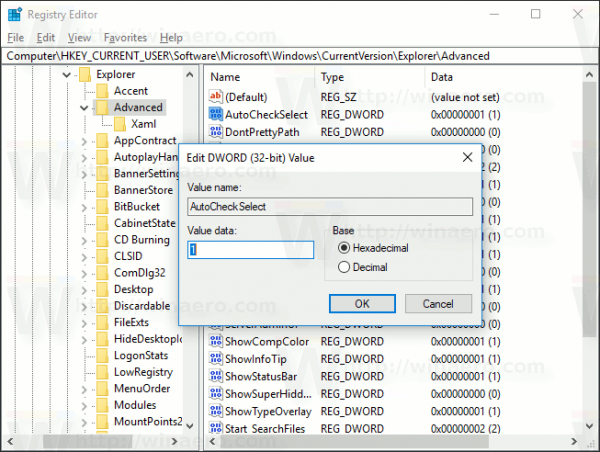
Note: If you do not have that value, then just create it. Even if you are running a 64-bit Windows 10 version, you need to use a 32-bit DWORD value type.
Once you change the AutoCheckSelect value, you only need to refresh your folder in File Explorer by pressing F5 to make the changes take effect.
Also see: Add Item Check Boxes Context Menu in Windows 10
Support us
Winaero greatly relies on your support. You can help the site keep bringing you interesting and useful content and software by using these options:
If you like this article, please share it using the buttons below. It won't take a lot from you, but it will help us grow. Thanks for your support!
Advertisеment
