How to Change DPI Scaling Level for Display in Windows 10
The DPI value of a screen indicates how many dots per inch or pixels per inch it supports. As the resolution increases, the display density also increases. Here are a number of methods you can use to change DPI for a display in Windows 10.
Advertisеment
Today, many PCs ship with very high resolution displays even if the PC form factor is smaller for example, an Ultrabook or a tablet. Or you may have a desktop monitor with 4K resolution. At such resolutions, Windows automatically turns on DPI scaling so everything on your screen becomes larger. DPI stands for Dots per inch. It is the physical measurement of number of pixels in a linear inch of a display. DPI defines a scale factor that Windows transfers to apps and the shell to resize their content and controls. Today, most popular scaling factors are in range 95-110 DPI.
You may want to adjust the DPI value in Windows 10 if the OS fails to detect it properly, or you find the current value not suitable for your needs. You can use the following methods.
To Change DPI Scaling Level for Display in Windows 10,
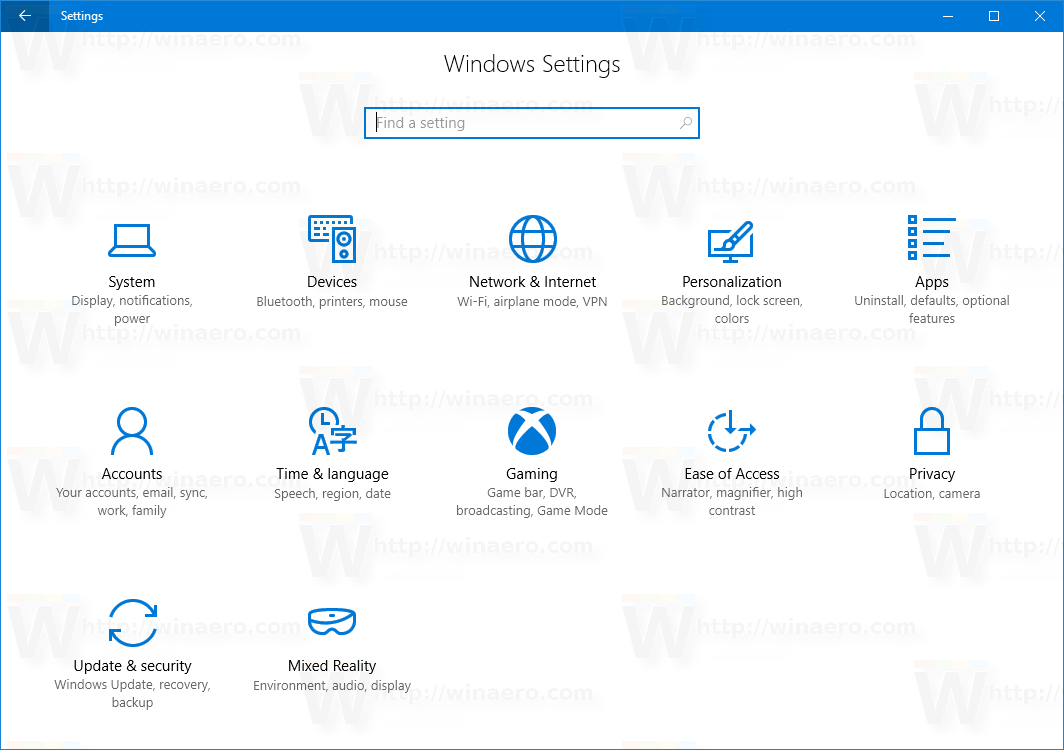
- Open Settings.

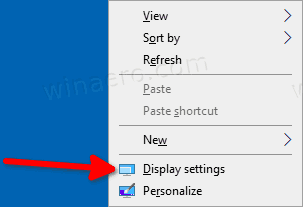
- Go to Settings > Display. Alternatively, you can right-click on the Desktop and select Display from the context menu.
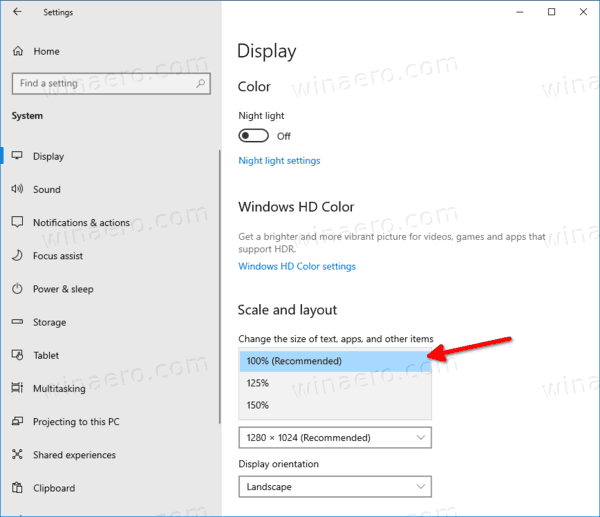
- On the right, select a display at the top that you want to change the DPI for, if you have more than one display connected to your PC.
- Under Change the size of text, apps, and other items, select the DPI scaling value you want to set for your display.
You are done!
Alternatively, you can set a custom DPI level for a display. Here is how it can be done.
Set Display Custom Scaling in Windows 10
- Open Settings.
- Go to Settings - Display.
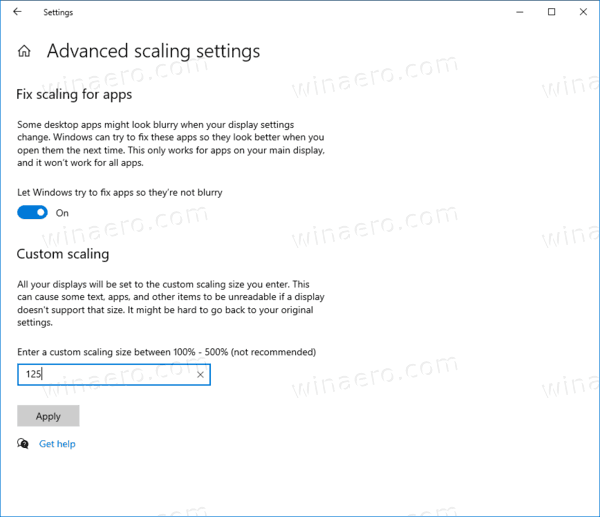
- On the left, click the Advanced scaling settings link under "Scale and Layout".
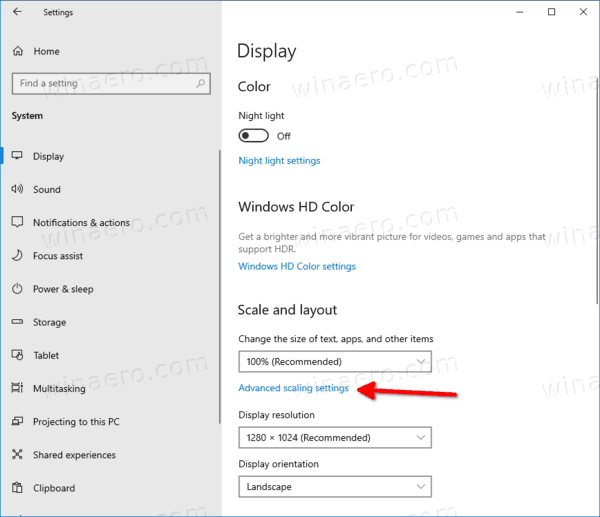
- The Custom scaling page will be opened. Specify a new value for scaling percent from 100 to 500.
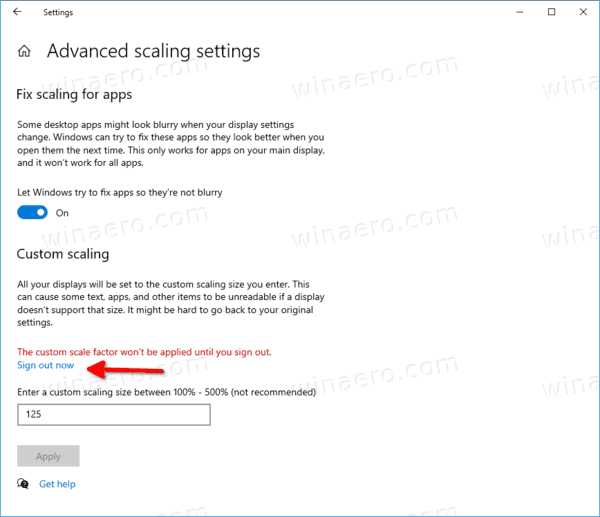
- You'll be prompted to sign out to apply the changes.
Once you configure the custom scale option, all your displays will be set to the custom size that you specified. This will change the text size, app windows and buttons.
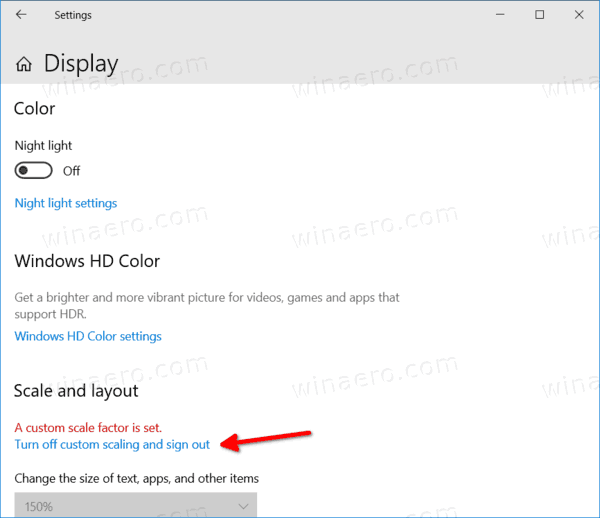
Note: To undo the custom DPI scaling level, open Settings > Display, and click on the Turn off custom scaling and sign out link under Scale and layout on the right side.
Finally, you can set the DPI scaling value right in the Registry. Here's how.
Change DPI in the Registry
- Open the Registry Editor app.
- Go to the following Registry key:
HKEY_CURRENT_USER\Control Panel\Desktop. See how to go to a Registry key with one click. - On the right, modify or create a new 32-Bit DWORD value LogPixels. Note: Even if you are running 64-bit Windows you must still create a 32-bit DWORD value.
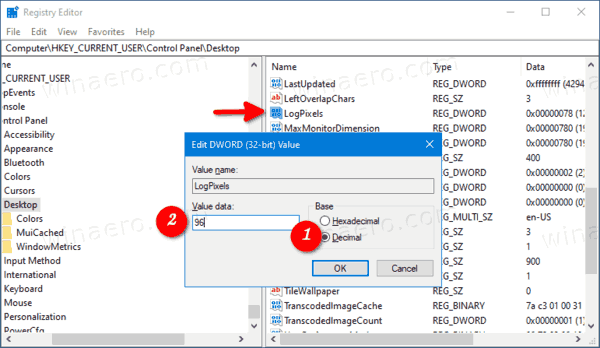
- Select its value data to one of the following numbers in Decimal:
- 96 = default 100%
- 120 = medium 125%
- 144 = larger 150%
- 192 = extra large 200%
- 240 = custom 250%
- 288 = custom 300%
- 384 = custom 400%
- 480 = custom 500%
- Now, create a modify a new 32-bit DWORD value Win8DpiScaling.
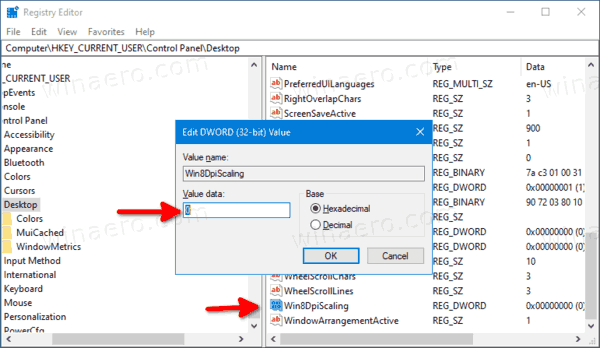
- Leave its value data as 0 if you set LogPixels to
96. - Otherwise, set it to 1.
- To make the changes done by the Registry tweak take effect, you need to sign out and sign in to your user account. Alternatively, you can restart Windows 10.
You are done.
To undo the changes you made and restore the default DPI scaling level, you can also download the following Registry tweak (.reg).
You need to need to sign out and sign in to your user account after applying it.
That's it.
Articles of interest:
- Make fonts bigger without changing the DPI in Windows 10
- How to Fix Scaling for Blurry Apps in Windows 10
- Change DPI of Hyper-V Virtual Machine (Display Scaling Zoom Level)
- See DPI Awareness in Task Manager in Windows 10
- How to Find and Change Screen DPI in Linux
Support us
Winaero greatly relies on your support. You can help the site keep bringing you interesting and useful content and software by using these options:
If you like this article, please share it using the buttons below. It won't take a lot from you, but it will help us grow. Thanks for your support!
Advertisеment

Hello. Thanks for your tutorial. I have been trying the registry adjustment and it works for the User that is logged in, but it doesn’t affect other Users who login in after. Is there anyway to make this registry change affect all Users, even if they haven’t created a profile on the computer yet?
Thanks.