
Windows 10 comes with a "re-imagined" Language settings UI in its modern control panel, the Settings app. For a user who migrated to Windows 10 from Windows 8 or Windows 7, the new UI may look very confusing. Even some power users have been having issues with configuring language settings and have been asking me for help when they moved to Windows 10. So, today we will see how to add or remove additional languages in Windows 10.
It is possible to install an additional language or even several languages at once so you will be able to type in them and have the ability to check spelling. As of this writing, you can use the classic Control Panel for that task, but its days are coming to end. So it is better to learn how it can be done with Settings. Let's see in detail how to add or remove a new language in Windows 10.
To add a language in Windows 10, do the following.
- Open Settings.

- Go to Time & Language.
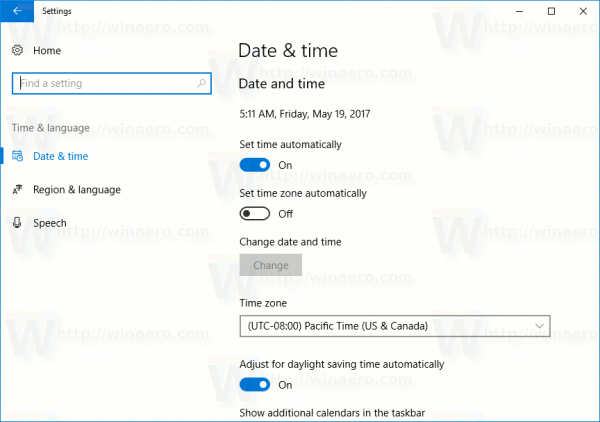
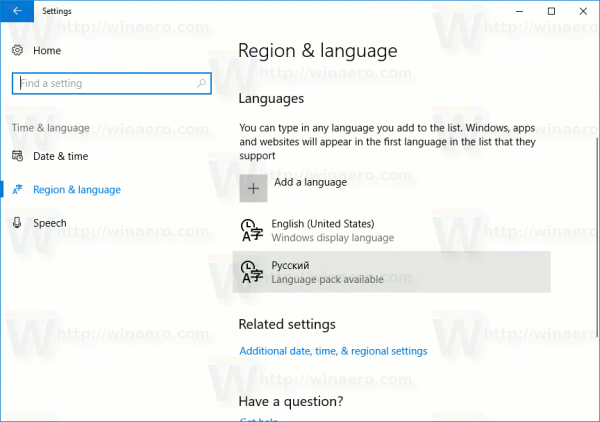
- On the left, click on the Region & Language.
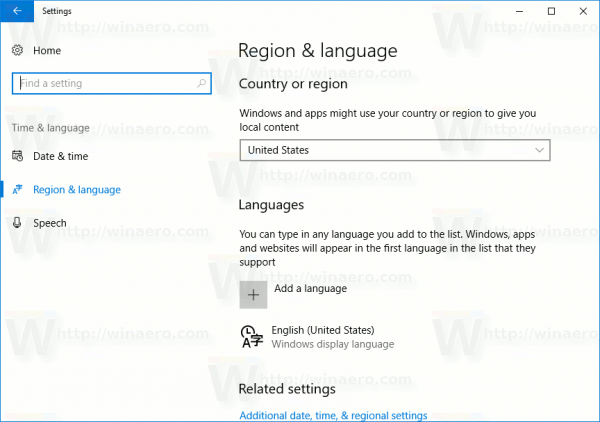
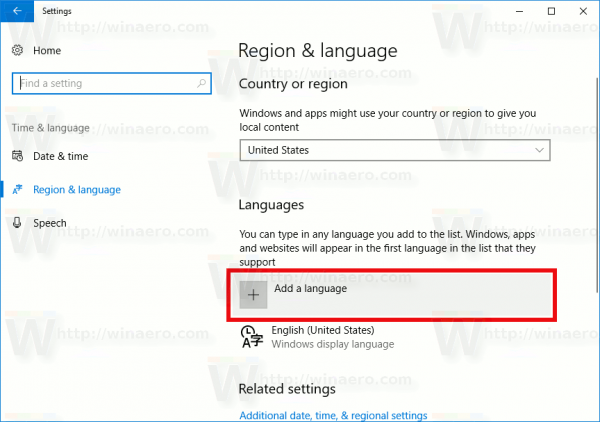
- On the right, find the "Add a language" button under the Languages section.
- The next page will appear:
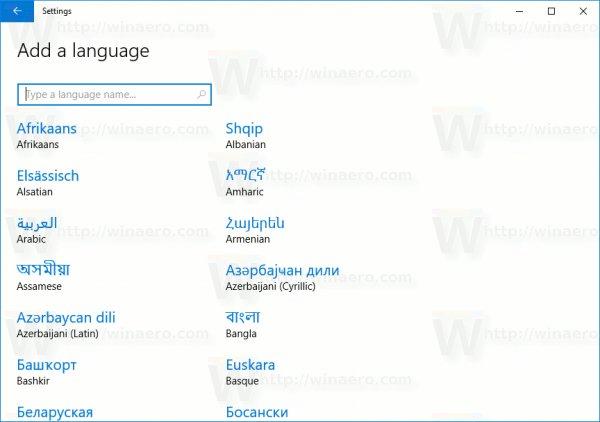
Here, find the desired language you want to add. You can search for it using the search box at the top of the page.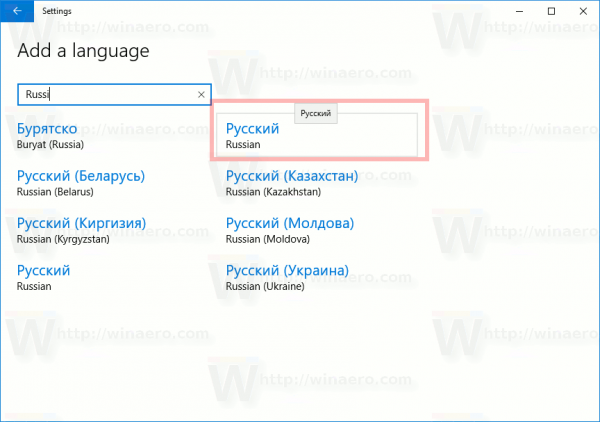
- Click on the language you need. After a couple of minutes, it will be added to your language list and you can start using it.


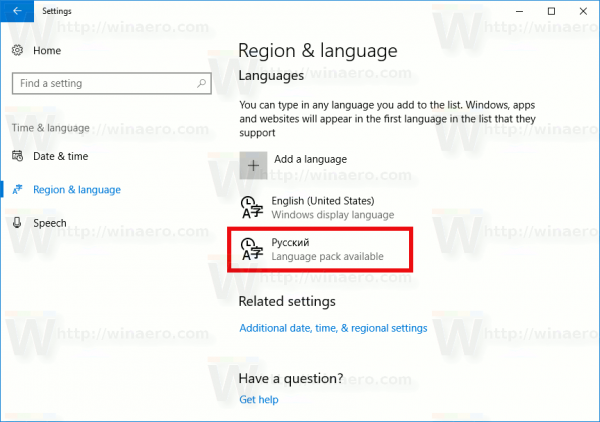
To remove a language in Windows 10, click on the language name in the list under "Region and Language".
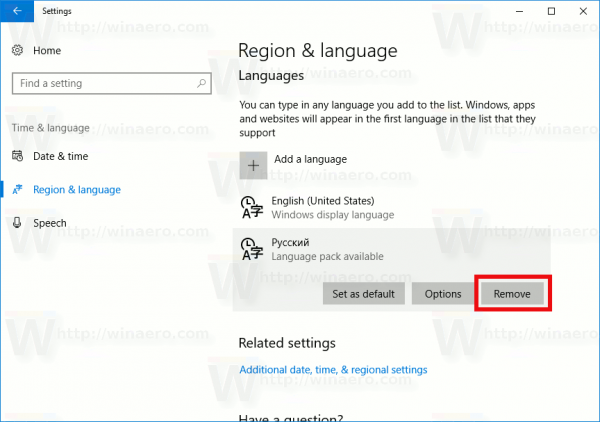
The remove button will appear under the name. Click it and you are done:
Now, you might want to change hotkeys to switch between installed languages.
To do that, click on the link Additional date, time & regional settings.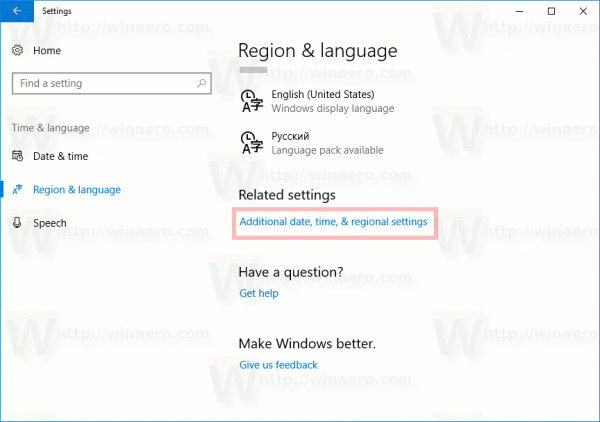
The following window will appear:

By default, Windows 10 comes with two predefined keyboard shortcuts to switch layouts: one of them is the old, familiar Alt+Shift key combination and the other is Win+Space key combination. However, some users also used the Ctrl+Shift key combination prior to Windows 10. Because of redesigned settings, it may not be so obvious how to change this hotkey.
To set Ctrl+Shift as the default hotkey, you need to click Advanced settings on the left, and then click on the "Change language bar hot keys" link.

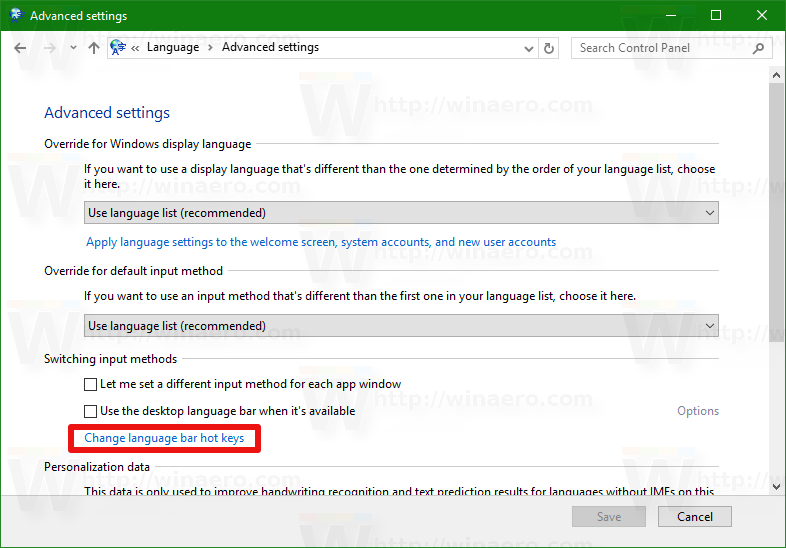
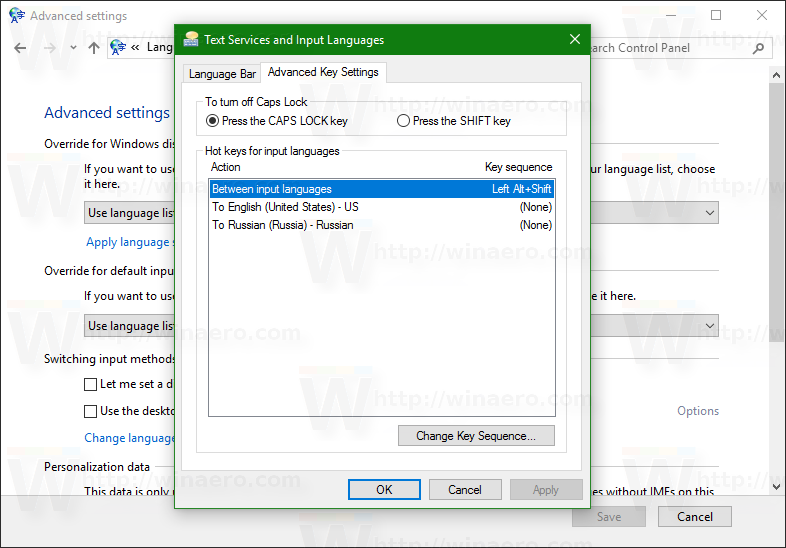
The "Text Services and Input Languages" window will appear on the screen. Here you can change the hotkey as you used to in earlier versions of Windows:
Finally, you can enable the classic language indicator and language bar in Windows 10. Read the following article:
Get the old language indicator and language bar in Windows 10
That's it.
Support us
Winaero greatly relies on your support. You can help the site keep bringing you interesting and useful content and software by using these options: