
Windows has a special location called Recycle Bin where deleted files and folders are stored temporarily, so the user has a choice to restore accidentally deleted stuff or remove it permanently. In this article, we will see how to add an Empty Recycle Bin command to the context menu of the Desktop and folders in Windows 10 so this task becomes faster.
Tip: It is possible to empty the Recycle Bin folder automatically. There is a special PowerShell cmdlet Clear-RecycleBin which you can use in a task in Task Scheduler. Also, starting with Windows 10 build 15014, a new option "Storage Sense" in Settings -> System -> Storage allows the user to empty Recycle Bin automatically. See the following article:
Empty Recycle Bin automatically in Windows 10
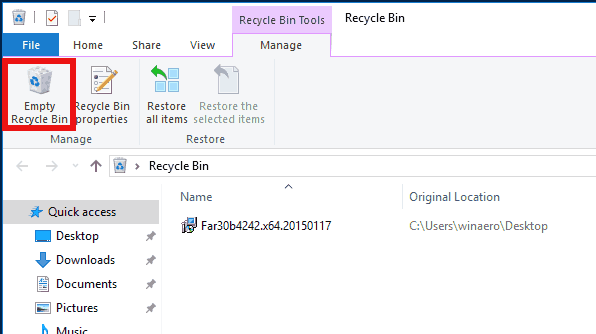
In Windows 10, the Empty Recycle Bin command is available on the Manage tab of the Ribbon interface when Recycle Bin is opened in File Explorer.

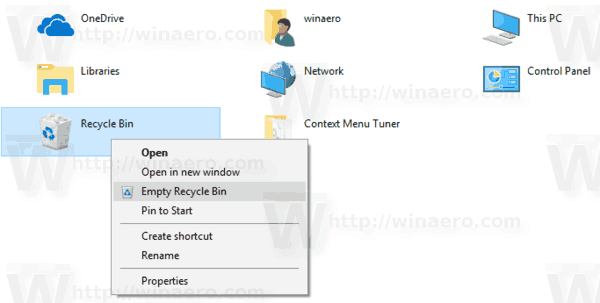
It is also available in the context menu of the Recycle Bin icon.

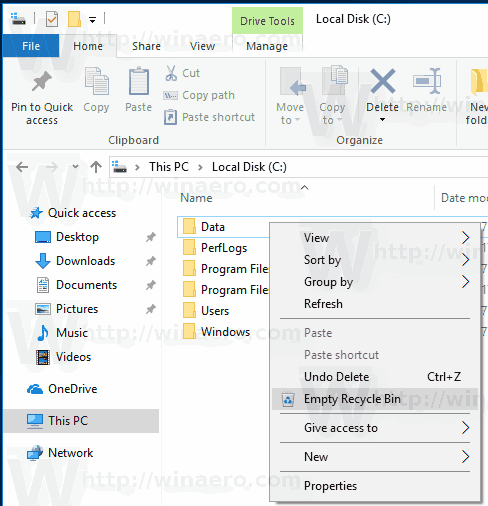
Let's see how to add the Empty Recycle Bin item to the File Explorer context menu in Windows 10.
To add the Empty Recycle Bin context menu in Windows 10, do the following.
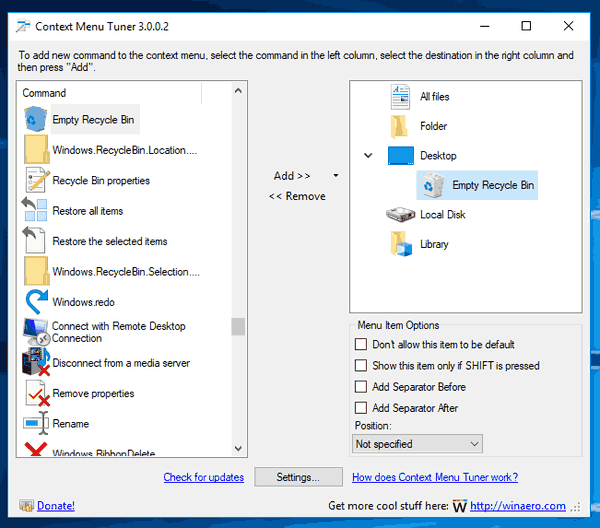
- Download Context Menu Tuner. This freeware will allow you to add any Ribbon command to the context menu.
- Select "Empty Recycle Bin" in the left on the left.
- Select "Desktop" on the right.
- Now, click the "add" button.
- Repeat these steps for other desired locations like Folder, All Files or Library Folder to add the command to the context menu of all files and folders.
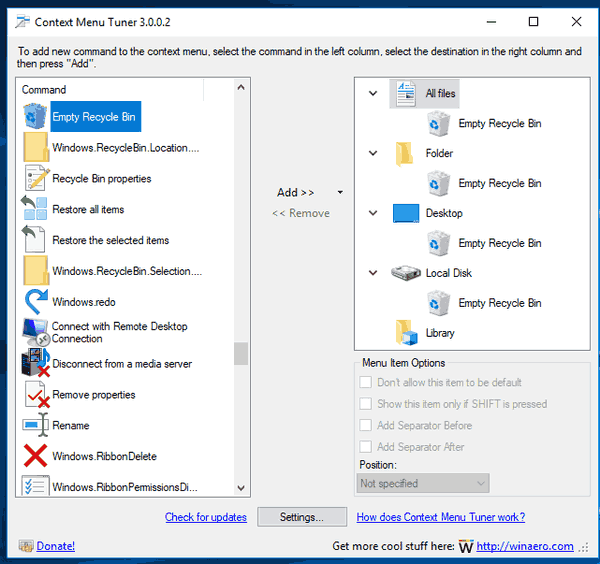


From now, you can empty your Recycle Bin instantly by right-clicking any object in File Explorer.

The Context Menu Tuner app is the easiest way to add any Ribbon command to the context menu. However, if you prefer doing it manually by editing the Registry yourself, read on.
Add Empty Recycle Bin Context Menu in Windows 10 (Registry Tweak)
Here are the contents of the *.reg file that you need to apply.
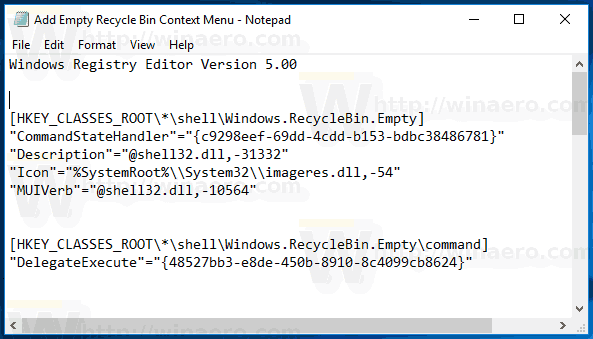

Windows Registry Editor Version 5.00


[HKEY_CLASSES_ROOT\*\shell\Windows.RecycleBin.Empty]
"CommandStateHandler"="{c9298eef-69dd-4cdd-b153-bdbc38486781}"
"Description"="@shell32.dll,-31332"
"Icon"="%SystemRoot%\\System32\\imageres.dll,-54"
"MUIVerb"="@shell32.dll,-10564"


[HKEY_CLASSES_ROOT\*\shell\Windows.RecycleBin.Empty\command]
"DelegateExecute"="{48527bb3-e8de-450b-8910-8c4099cb8624}"


[HKEY_CLASSES_ROOT\Directory\Background\shell\Windows.RecycleBin.Empty]
"CommandStateHandler"="{c9298eef-69dd-4cdd-b153-bdbc38486781}"
"Description"="@shell32.dll,-31332"
"Icon"="%SystemRoot%\\System32\\imageres.dll,-54"
"MUIVerb"="@shell32.dll,-10564"


[HKEY_CLASSES_ROOT\Directory\Background\shell\Windows.RecycleBin.Empty\command]
"DelegateExecute"="{48527bb3-e8de-450b-8910-8c4099cb8624}"


[HKEY_CLASSES_ROOT\Drive\shell\Windows.RecycleBin.Empty]
"CommandStateHandler"="{c9298eef-69dd-4cdd-b153-bdbc38486781}"
"Description"="@shell32.dll,-31332"
"Icon"="%SystemRoot%\\System32\\imageres.dll,-54"
"MUIVerb"="@shell32.dll,-10564"


[HKEY_CLASSES_ROOT\Drive\shell\Windows.RecycleBin.Empty\command]
"DelegateExecute"="{48527bb3-e8de-450b-8910-8c4099cb8624}"


[HKEY_CLASSES_ROOT\DesktopBackground\Shell\Windows.RecycleBin.Empty]
"CommandStateHandler"="{c9298eef-69dd-4cdd-b153-bdbc38486781}"
"Description"="@shell32.dll,-31332"
"Icon"="%SystemRoot%\\System32\\imageres.dll,-54"
"MUIVerb"="@shell32.dll,-10564"


[HKEY_CLASSES_ROOT\DesktopBackground\Shell\Windows.RecycleBin.Empty\command]
"DelegateExecute"="{48527bb3-e8de-450b-8910-8c4099cb8624}"
Run Notepad. Copy and paste the text above into a new document. In Notepad, press Ctrl + S or execute the File - Save item in the menu. This will open the Save dialog.


There, type or copy-paste the following name "Add Empty Recycle Bin Context Menu.reg" including quotes. Double quotes are important to ensure that the file will get the "*.reg" extension and not *.reg.txt. You can save the file to any desired location, for example, you can put it in your Desktop folder.
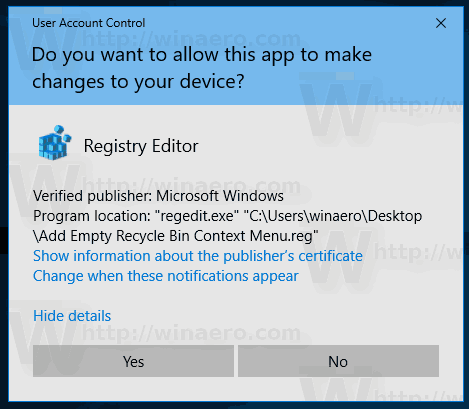
Now, double-click the file Share.reg that you created. Confirm the UAC prompt and click Yes to merge it into the Registry.

The command will appear in the context menu instantly. See the following screenshots:
To save your time, I made ready-to-use Registry files. You can download them here:
The undo file is included, so you can avoid manual Registry editing completely.
If you are interested in learning how the tweak works, refer to the following article:
How to add any Ribbon command to the right click menu in Windows 10
It explains the magic behind the trick perfectly.
You might be interested in reading the following articles:
- How to pin Recycle Bin to Quick Access in Windows 10
- How to add Recycle Bin icon to navigation pane in Windows 10 File Explorer
- Enable Delete Confirmation in Windows 10
That's it.
Support us
Winaero greatly relies on your support. You can help the site keep bringing you interesting and useful content and software by using these options: