In Windows 7, some of your personal folders and files may have a padlock overlay icon on them and you might be wondering what it indicates and how to get rid of it. The Lock icon indicates that the file or folder is shared with nobody but you, and that your account alone has the permission to access it (besides the SYSTEM and admin accounts). This icon is shown only when some item that was shared previously with other users was made private. It is easy to remove this icon if you find it unwanted.
Advertisеment
In older versions of Windows such as Windows XP, whenever you shared a folder, only the network share permissions were set, to allow or deny other users on the network from accessing the share. An overlay icon showing a sharing hand was displayed on that folder. Whenever you stopped sharing a folder, the share was deleted.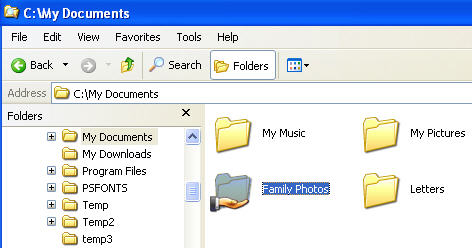
This concept has completely changed in newer versions of Windows. The older concept of modifying only share permissions got renamed to "Advanced Sharing" and Windows introduced a new Sharing Wizard to share files. In modern versions such as Windows 8.1/8, and Windows 7, whenever you right click a file/folder to share it using the Share With menu or click the Share button in Properties, it uses the Sharing Wizard by default.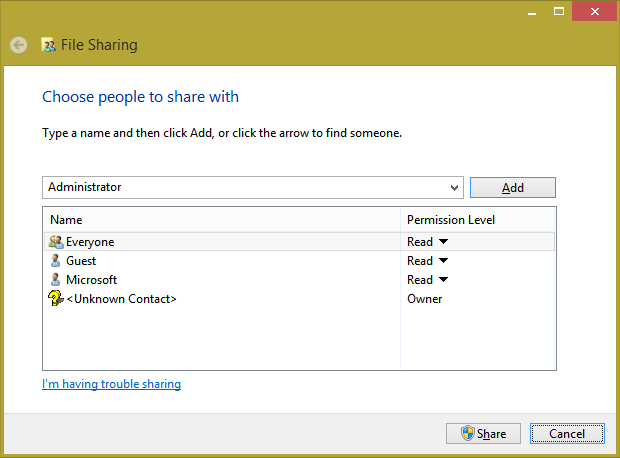
The Sharing Wizard not only sets up network sharing permissions but it also explicitly configures local NTFS access permissions for other standard user accounts on the same PC so they either get read-only or writable access to your shared folder, or get access denied, depending on which users you choose to share with. When you stop sharing the folder, the Sharing Wizard does not always reliably delete the share. It removes the access to the folder from other local user accounts on the same PC and network accounts. The lock overlay icon indicates exactly this - that the item is private - not even local Authenticated Users group can access it.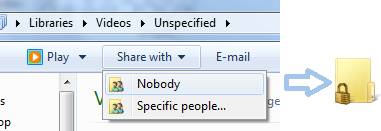
How to remove the padlock icon (method 1)
One way to remove the padlock icon is to unregister the icon overlay shell extension handler that is used for the padlock icon. To do this, follow these simple instructions:
- Open Registry Editor (see how).
- Go to the following Registry key:
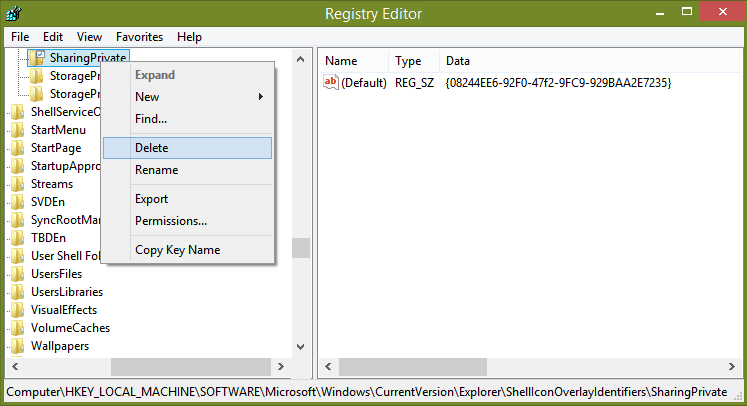
HKLM\SOFTWARE\Microsoft\Windows\CurrentVersion\Explorer\ShellIconOverlayIdentifiers\SharingPrivate
Tip: You can access any desired Registry key with one click.
- Backup the 'SharingPrivate' registry key by exporting it. To export it, right click the SharingPrivate key, click Export and then save it somewhere as a file.
- Now delete the SharingPrivate key.
- If you are running 32-bit Windows, skip directly to step 7. If you are running 64-bit Windows, also go to the following key:
HKLM\SOFTWARE\Wow6432Node\Microsoft\Windows\CurrentVersion\Explorer\ShellIconOverlayIdentifiers\SharingPrivate
- Repeat steps 3 and 4 for this key as well.
- Restart the Explorer shell.
That's it. The padlock icon will be gone from all your folders and files. Note that since you clicked "Share with nobody", the item will remain private and inaccessible from other local user accounts except the Administrators group. You just made the icon hidden.
If you need to restore the padlock icon later, you can double click the exported .REG backup file you created earlier to merge it into the Registry and restart the Explorer shell again.
How to remove the padlock icon (method 2)
Instead of hiding the padlock icon, you can correct the permissions on the folder so it's no longer private, that is, local user accounts can access but it is blocked from network users. To do this:
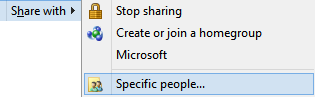
- Right click the folder with the padlock icon and click "Share With" -> Specific people. In the dialog that comes up, choose Everyone from the drop down and click Share.
- The folder will be shared with Everyone on the local PC and network user. Now you need to delete the share to remove network access.
- Right click the folder you just shared and click Properties. Go to the Sharing tab.
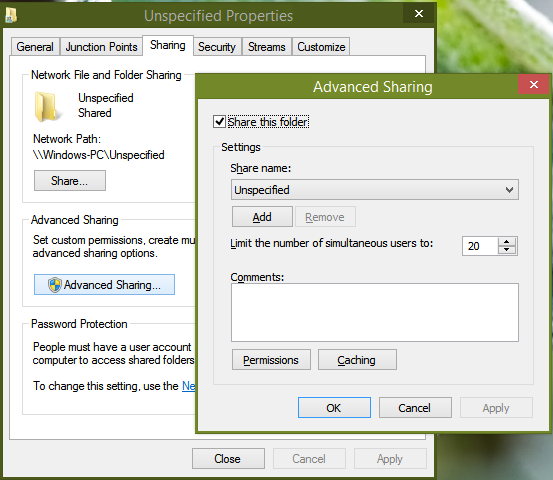
- Click Advanced Sharing, confirm the UAC prompt and uncheck "Share this folder".
- Click OK and click Close. This will remove the share and the padlock icon. This also won't prevent locally authenticated standard users from accessing the folder, unless you want to block them by making it private (in that case, follow method 1).
In short, when you share something it doesn't matter how you share it. But when deleting a share, you should use "Share with nobody" only if you wish to make the item private. Otherwise you should use Advanced Sharing to simply remove the share from the network and avoid the lock icon.
Users didn't know what they did to get the lock icon to show and were even more confused how to remove this lock icon on Windows 7. Windows 8 gets rid of this padlock overlay icon although it still uses the Sharing Wizard where clicking Stop sharing makes the item private instead of only unsharing the folder.
Personally, I always use Advanced Sharing only because I don't like how the Sharing Wizard messes with the local file and folder permissions. Also, sometimes, using the Sharing Wizard to stop sharing doesn't always delete the share. I recommend you to use Advanced Sharing only. From the command line, you can also use the net share command which is the equivalent to Advanced Sharing.
Support us
Winaero greatly relies on your support. You can help the site keep bringing you interesting and useful content and software by using these options:
If you like this article, please share it using the buttons below. It won't take a lot from you, but it will help us grow. Thanks for your support!
Advertisеment

Hello, i have this issue at work when i do some acls actions with takeowner/icalcs ..set owner .. for example on the Desktop folder .. after i have padlock on every folder / files on desktop .. i actually remove the registry Sharingprivate key, and it work but i’ll be happy to find why when i use these command, it put padlock … if someone can help me, i’ll appreciate..
best regards
Chris
That’s what I explained in the article. Instead of using “Share with nobody”, you must go to Advanced Permissions and remove/delete the share from there to prevent the padlock icon. The padlock icon appears when the item is made private, meaning it’s not just unshared but ACLs are also set on it to prevent other users on the same PC from accessing it.
thx for the answer, but i need something i can do using powershell, and as i said i don’t use “Share with nobody” i use takeown commad to get the ownership and after i set acls with icacls, and set back owner to the user
hello,
no idea ?
Thank You very much! Finally I could get rid of these stupid lock symbols without changing privacy settings!