Every network adapter you have installed in your PC, laptop or tablet has a physical address called the "MAC address". The MAC address is a unique identifier assigned to each network interface for communication on the physical network segment. There are a number of situations when you need to find your network card's MAC address in Windows 10.
Advertisеment
To find the MAC Address in Windows 10, you can use one of the following methods.
- Find the MAC Address in Settings
- Find the MAC Address in Command Prompt
- Find the MAC Address in Control Panel
- Find the MAC Address using PowerShell
Find the MAC Address in Settings
You can find the MAC address in Windows 10 using the Settings app. It can be done for an Ethernet adapter and for a Wi-Fi adapter if you have one installed.
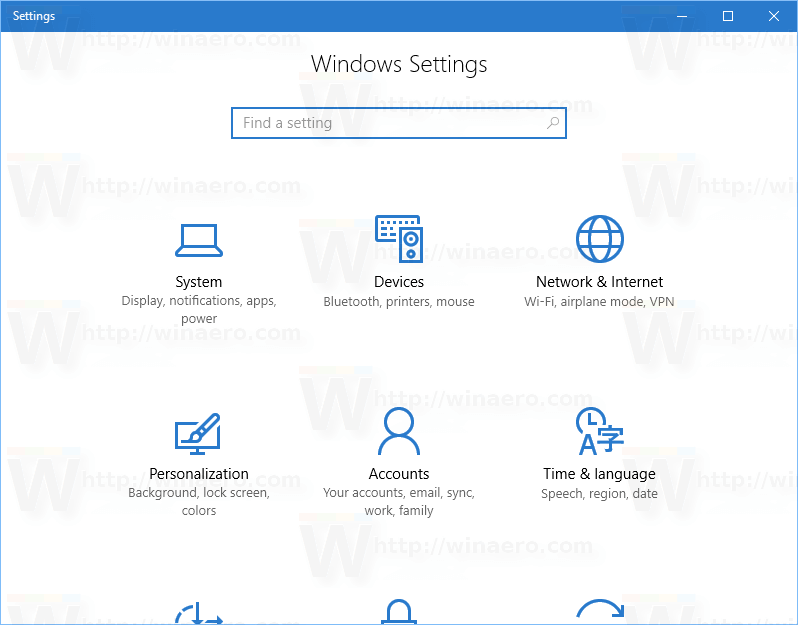
- Open the Settings app.

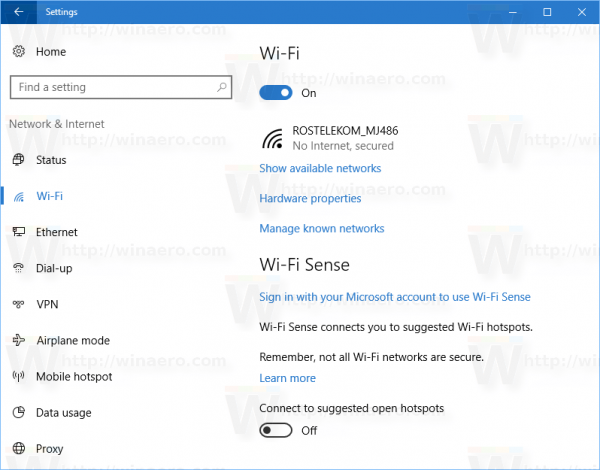
- Go to Network & Internet -> WiFi if you are looking for the MAC Address of your Wi-Fi adapter.
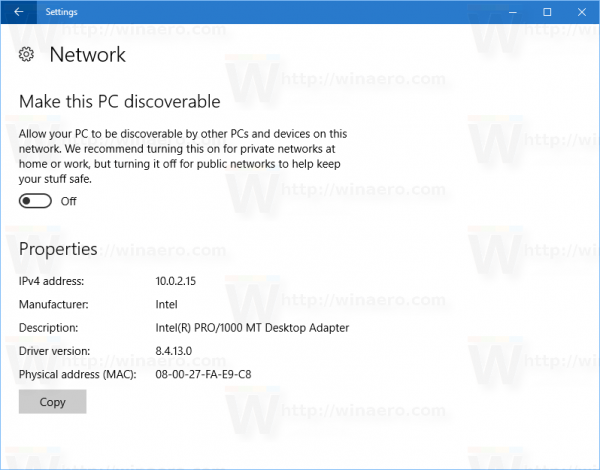
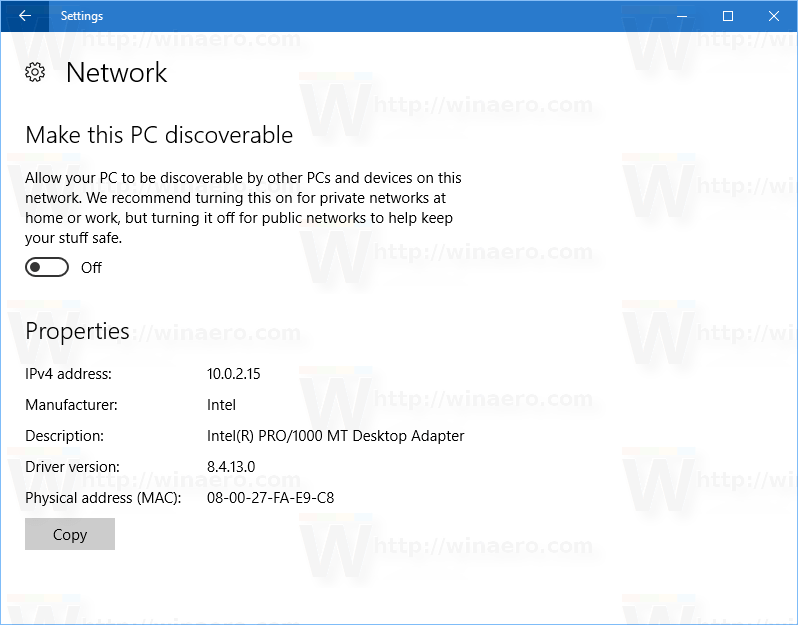
- Go to Network & Internet -> Ethernet if you need to find the MAC Address of your Ethernet adapter.
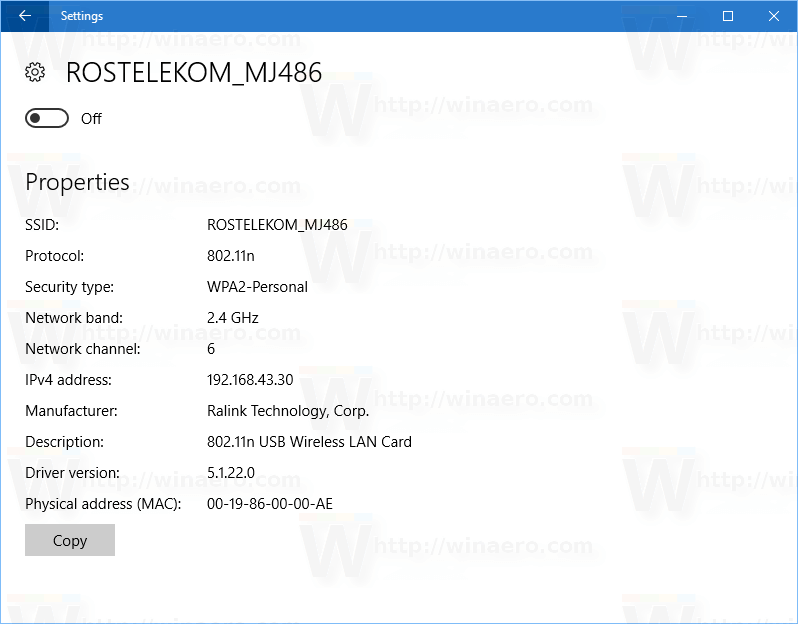
- Click on the network name to see its properties.
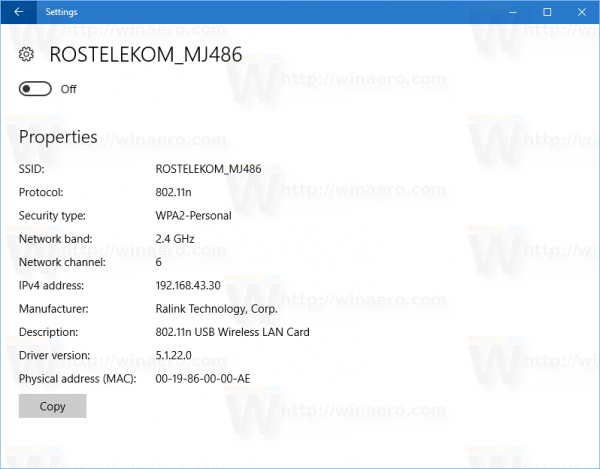
- On the next page, you will find the line Physical address(MAC). It is the MAC Address value you are looking for.

Find the MAC Address in Command Prompt
It is possible to find the MAC address in Windows 10 using a couple of console commands. You need to open a new command prompt instance and type or paste one of the following commands.
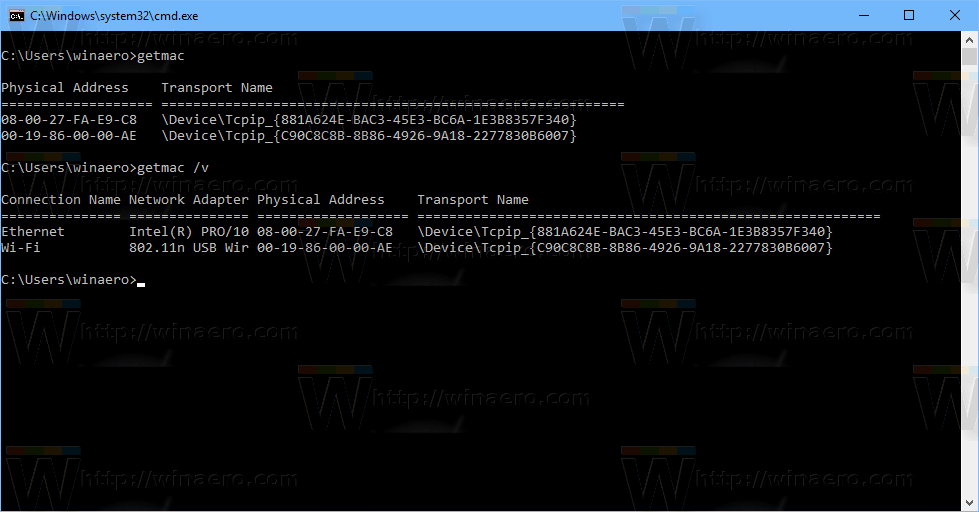
getmac /v
The getmac tool shpws the MAC address for network adapters on your system. The switch "/v" enables verbose output which include the adapter's name. See the following screenshot.
Alternatively, you can use the command "ipconfig /all". Type it in the command prompt:
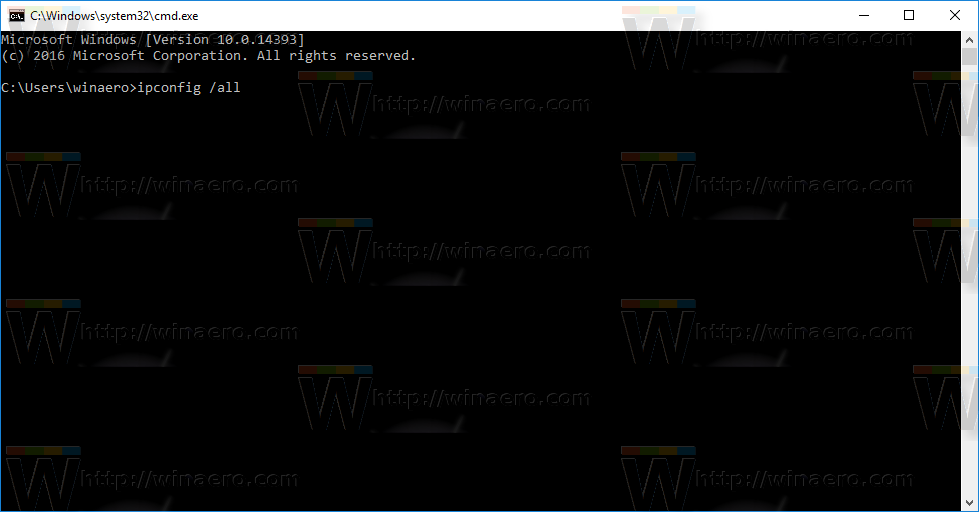
In the output, see the Physical address value: 
Find the MAC Address in Control Panel
It is possible to find the MAC address of a network adapter using Control Panel.
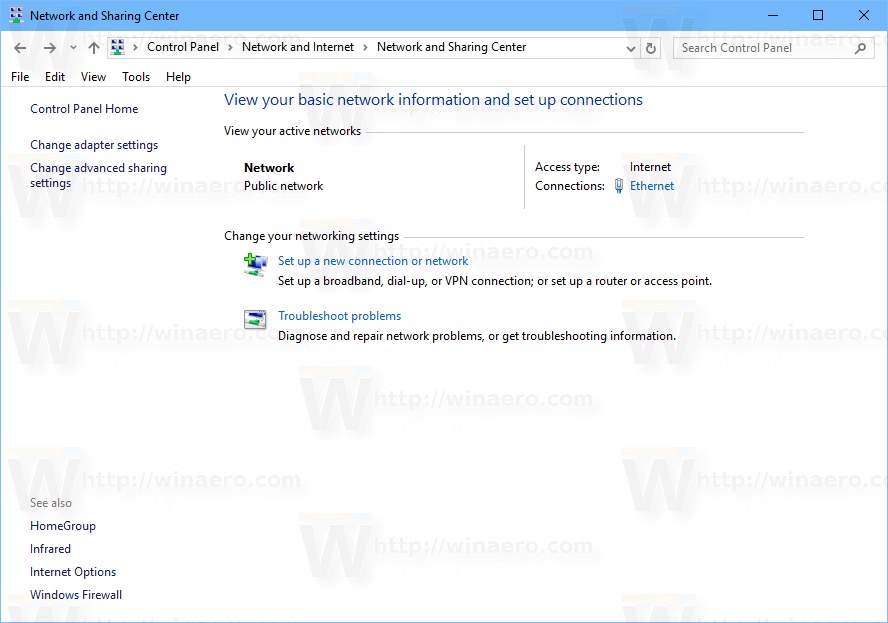
- Open Control Panel
- Go to Control Panel\Network and Internet\Network and Sharing Center.
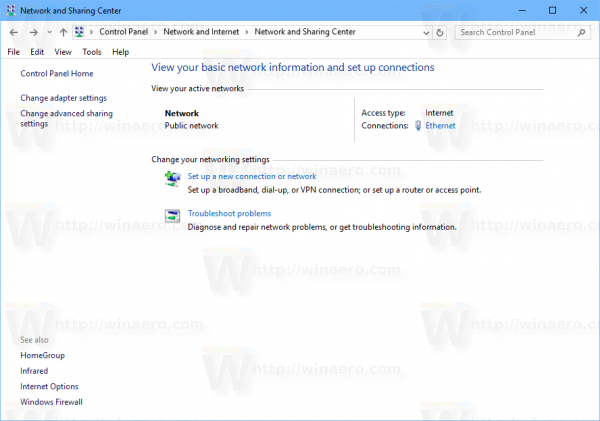
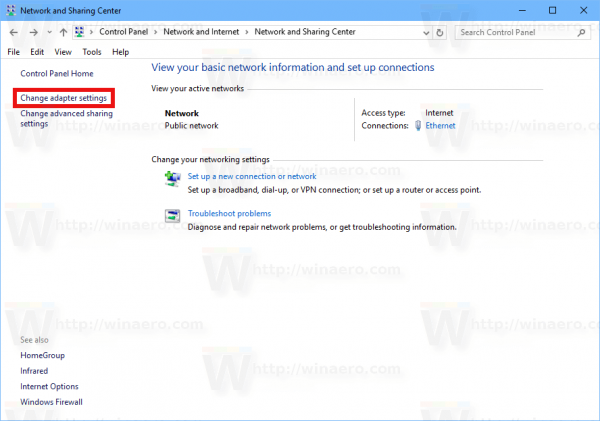
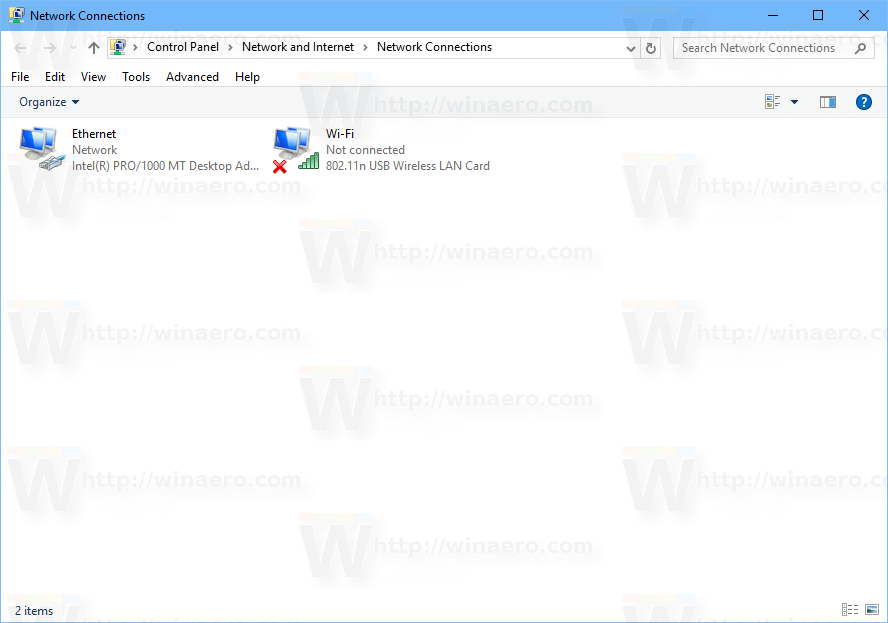
- Click the link "Change adapter settings" on the left.
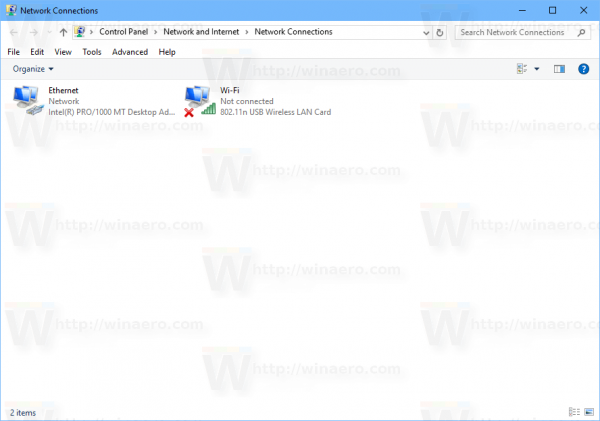
- Double-click on the network adapter (connection) you want to see the MAC address for.
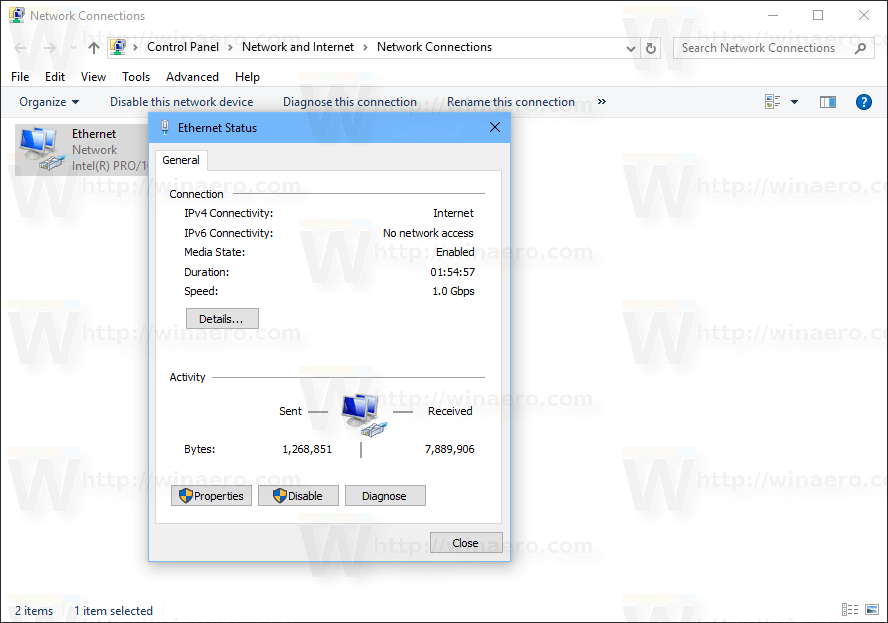
- The connection status window will be opened. Click on the button "Details".
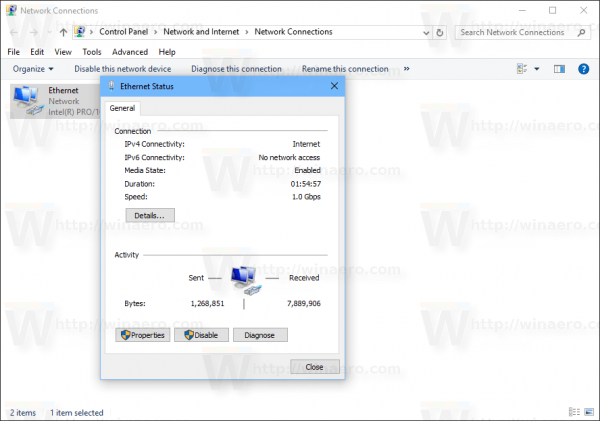
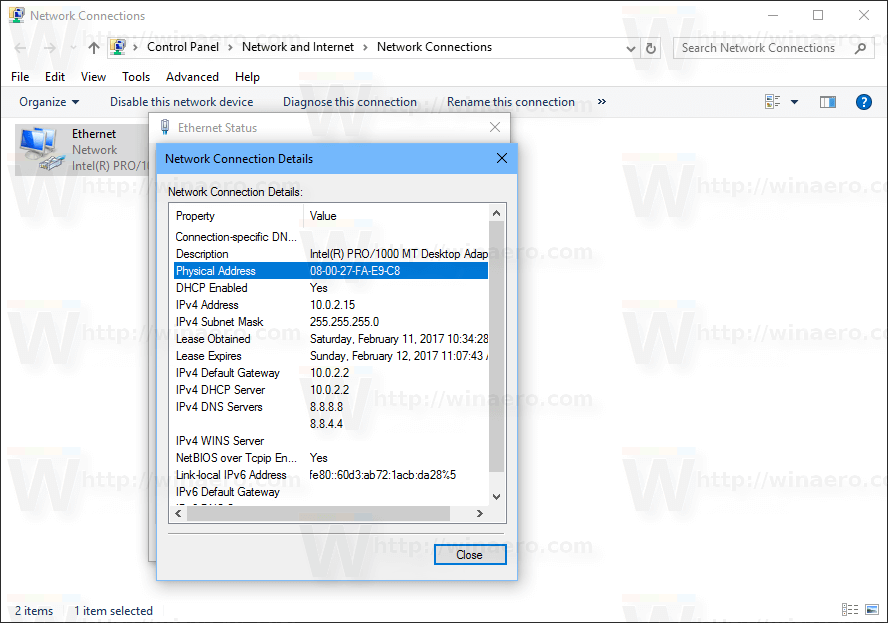
- The property "Physical address" is the MAC address of the selected network adapter.


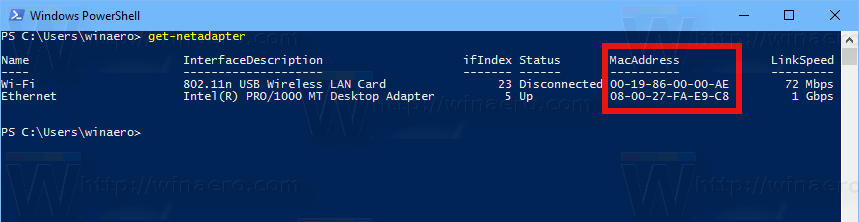
Find the MAC Address using PowerShell
Open PowerShell and type or paste the following command:
get-netadapter
In the output of the cmdlet you will find the MACAddress column, which is exactly what we are looking for.
That's it.
Support us
Winaero greatly relies on your support. You can help the site keep bringing you interesting and useful content and software by using these options:
If you like this article, please share it using the buttons below. It won't take a lot from you, but it will help us grow. Thanks for your support!
Advertisеment

Hello Sergey:
Is there any way to enable random Mac address for wired connection (aka I’m connecting to my router with an Ethernet cable).
Sincerely,
Jerome
Hi Jerome,
It looks like there is no way to get this feature working with the ethernet connection.
what is my mac wifi address