You can add Hide Select Items to the Context Menu in Windows 10. Once you do this, you will be able to hide your files from the context menu with just one click. It is very time saving compared to opening Properties and setting the Hidden Attribute, then clicking OK.
Advertisеment
In Windows 10, there are several ways to make a file or a folder hidden. These include the good old "attrib" console command, the Ribbon command "Hide Selected Items" on the View tab and the file properties dialog. To see step-by-step instructions on how you can hide files, refer to the article How to hide and unhide files quickly in Windows 10.
Today, I would like to share with you a tutorial on how to add the useful Hide Selected Items verb to the context menu of files and folders in File Explorer in Windows 10. This is the fastest way to hide items. Here is how it can be done.
Add Hide Selected Items to Context Menu in Windows 10
The easiest way to add any Ribbon command to the context menu is to use Winaero's Context Menu Tuner. It has an easy-to-use interface and will allow you to add any command you want to the right-click menu. The command is called "Hide Selected Items". See the following screenshot:
 Add it for the Folder item and for the All Files item.
The result will be as follows: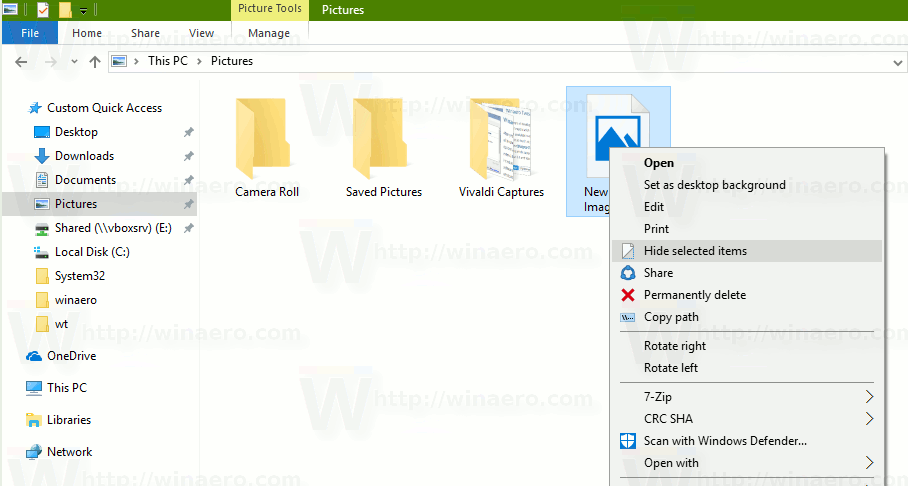
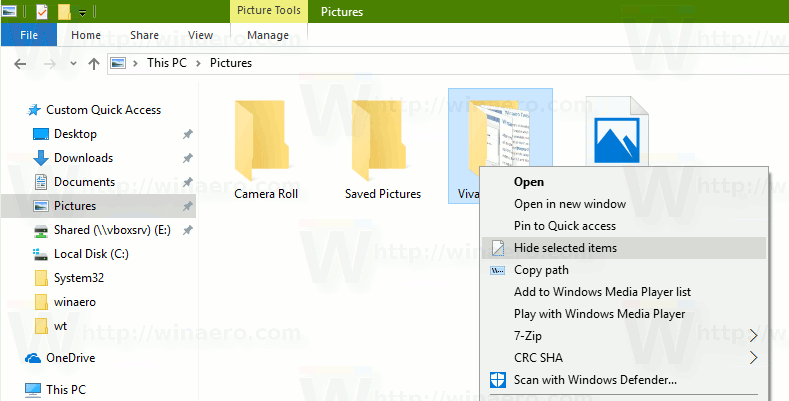
Once you click the Hide Selected Items command, the selected files and folders will be hidden in File Explorer.
If you prefer doing it manually by editing the Registry yourself, read on.
Here are the contents of the *.reg file that you need to apply.
Windows Registry Editor Version 5.00

[HKEY_CLASSES_ROOT\*\shell\Windows.HideSelected]
"Description"="@shell32.dll,-37575"
"ExplorerCommandHandler"="{0947c622-f98a-48a5-9df7-60e5fe202e07}"
"Icon"="imageres.dll,-5314"
"MUIVerb"="@shell32.dll,-37574"


[HKEY_CLASSES_ROOT\Folder\shell\Windows.HideSelected]
"Description"="@shell32.dll,-37575"
"ExplorerCommandHandler"="{0947c622-f98a-48a5-9df7-60e5fe202e07}"
"Icon"="imageres.dll,-5314"
"MUIVerb"="@shell32.dll,-37574"
Run Notepad. Copy and paste the text above into a new document.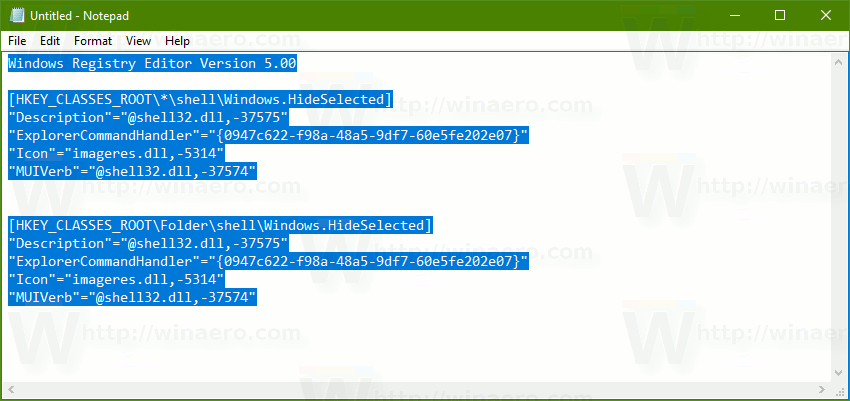
In Notepad, press Ctrl + S or execute the File - Save item in the menu. This will open the Save dialog.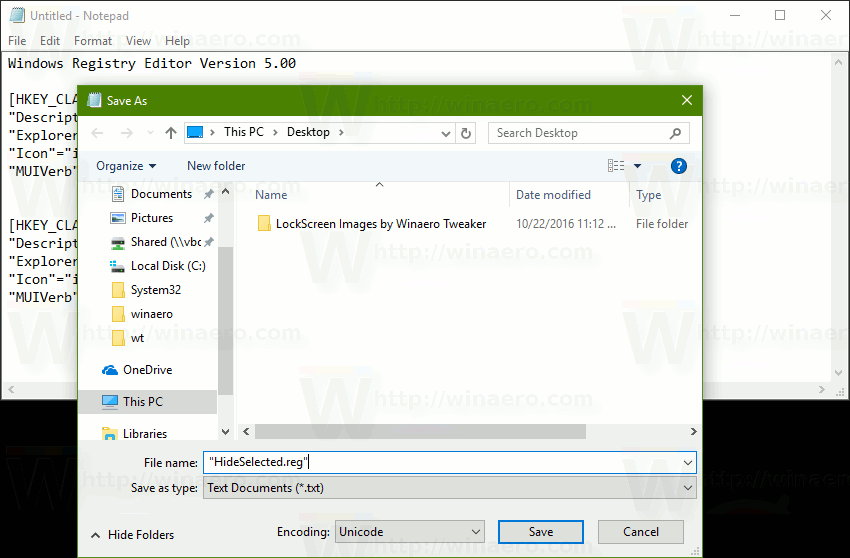
There, type or copy-paste the following name "HideSelected.reg" including quotes. Double quotes are important to ensure that the file will get the "*.reg" extension and not *.reg.txt. You can save the file to any desired location, for example, you can put it in your Desktop folder.
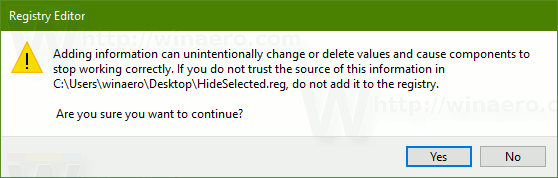
Now, double-click the file HideSelected.reg that you created. Confirm the UAC prompt and click Yes to merge it into the Registry.
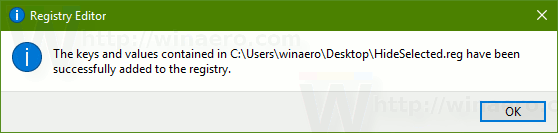
The command will appear in the context menu instantly.
To save your time, I made ready-to-use Registry files. You can download them here:
The undo file is included, so you can avoid manual Registry editing completely.
If you are interested in learning how the tweak works, refer to the following article:
How to add any Ribbon command to the right click menu in Windows 10
That's it.
Support us
Winaero greatly relies on your support. You can help the site keep bringing you interesting and useful content and software by using these options:
If you like this article, please share it using the buttons below. It won't take a lot from you, but it will help us grow. Thanks for your support!
Advertisеment
